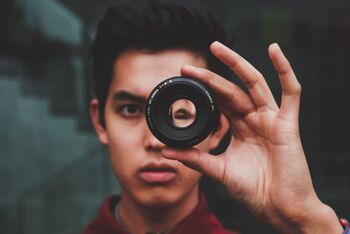
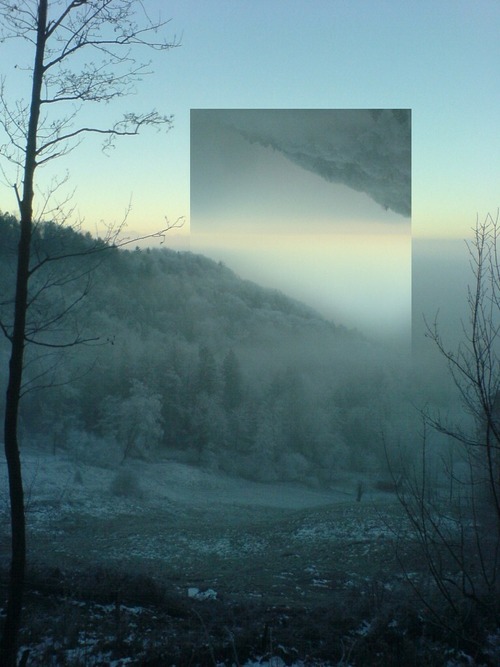
The art of capturing life and all its COMPLEXITIEs in an image
I am From...
|
Why?
WhAT?
|
HOW?
|
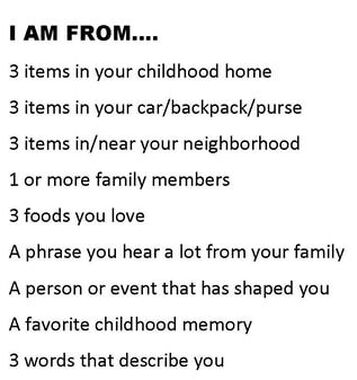
Adapted from George Ella Lyons Poem "where I am From" And Hope and Healing in Urban Education By SHawn GinWright
|
|


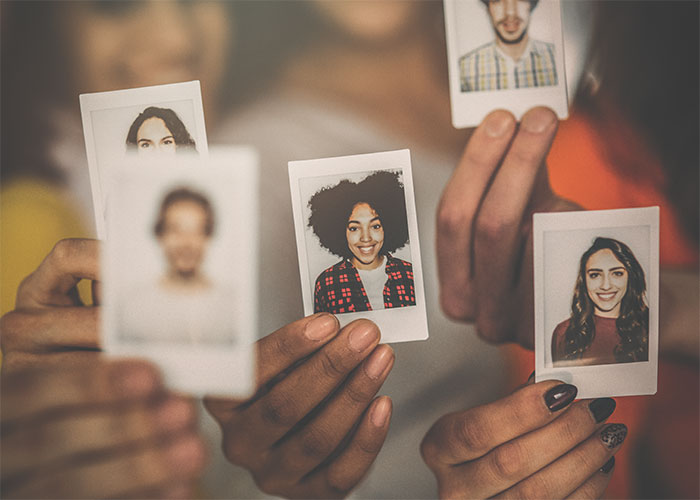
INCLUSION
|
What?
How?
|
Why?
|


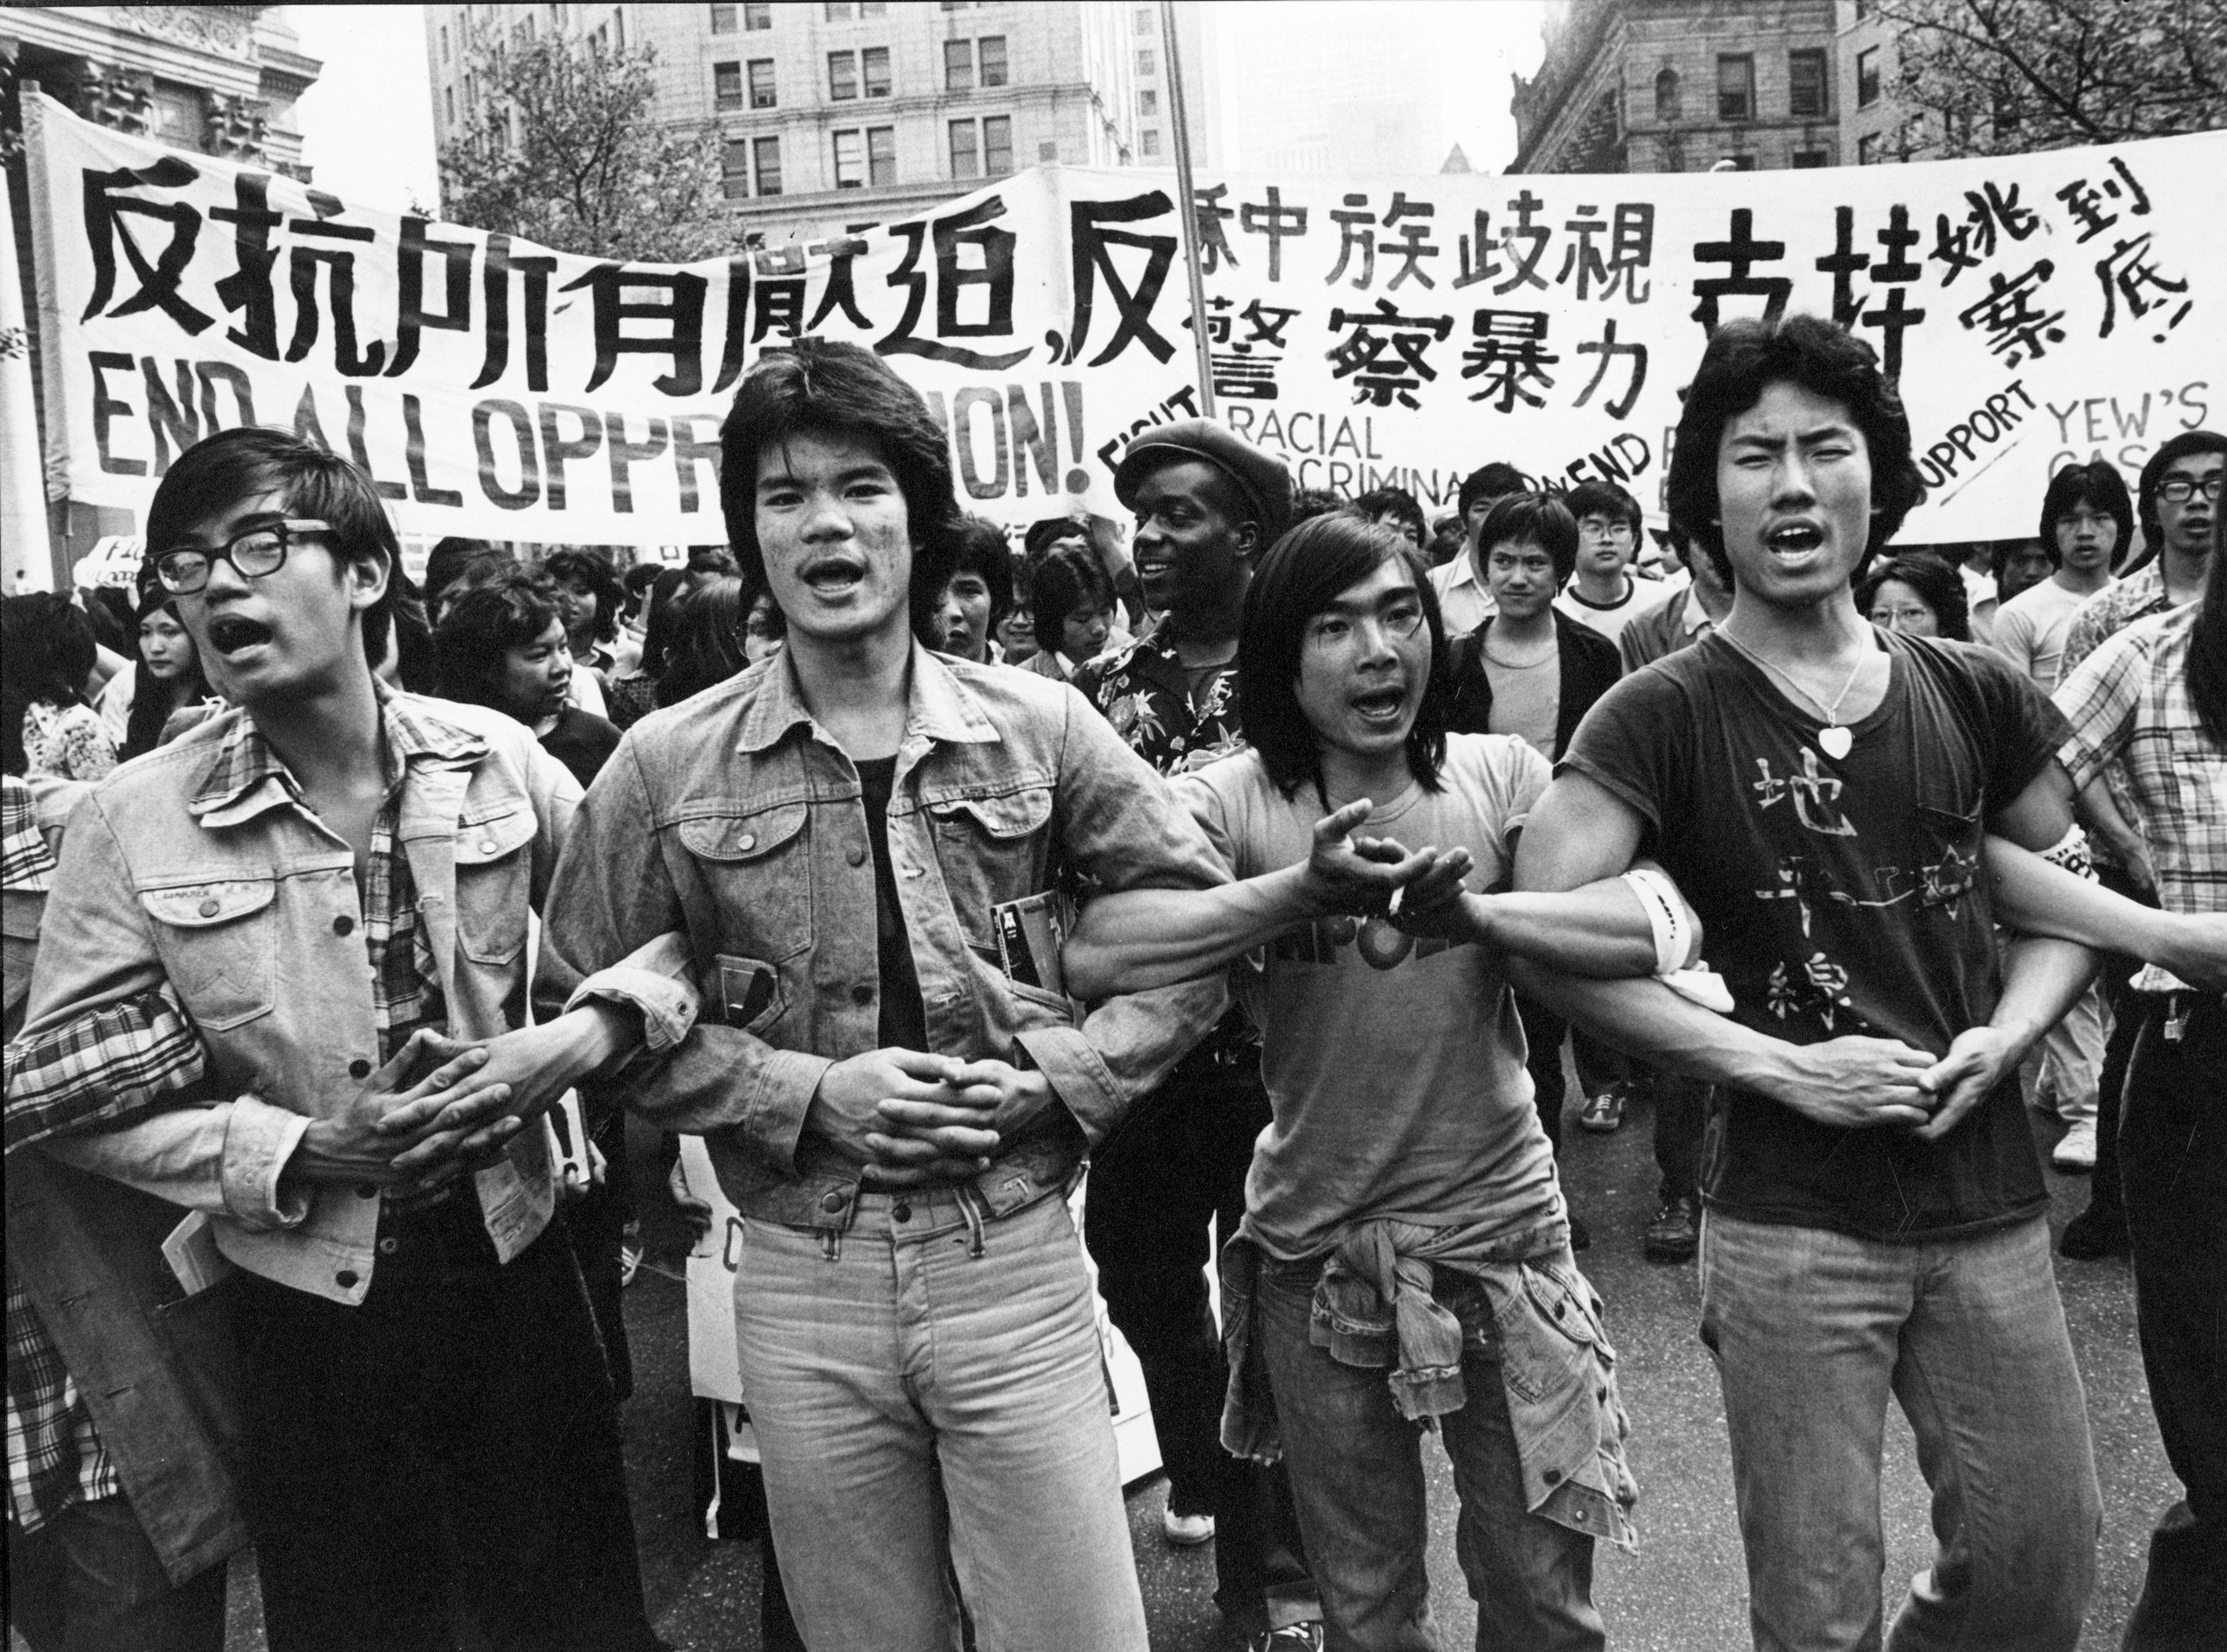
Read more about Corky Lee, a prominent Asian American photographer
|
|

|

|
walk a mile in my shoes
|
Why?
WHAT?
|
Examples:
|
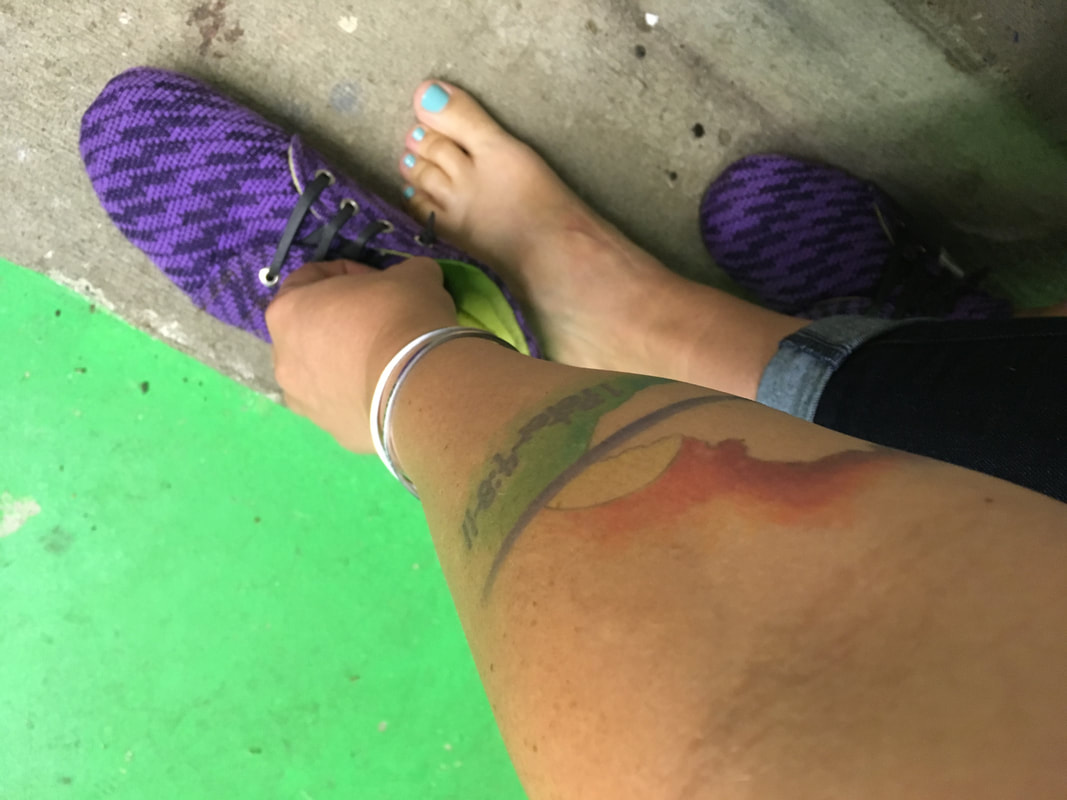
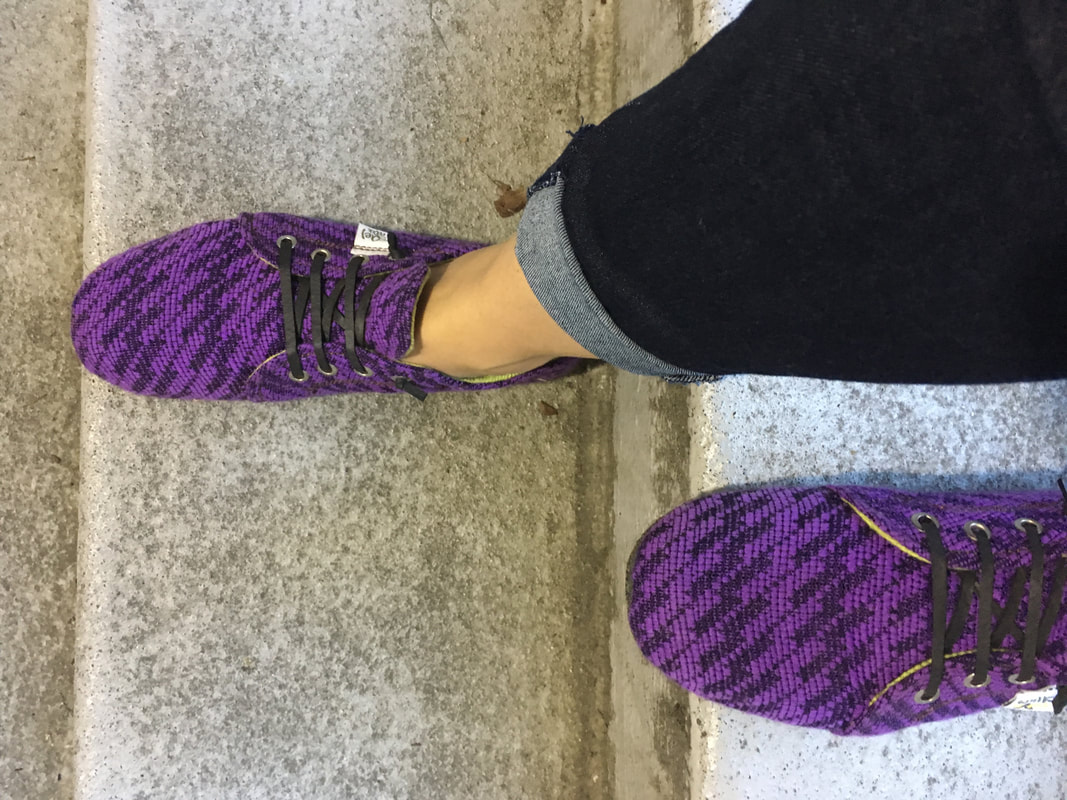
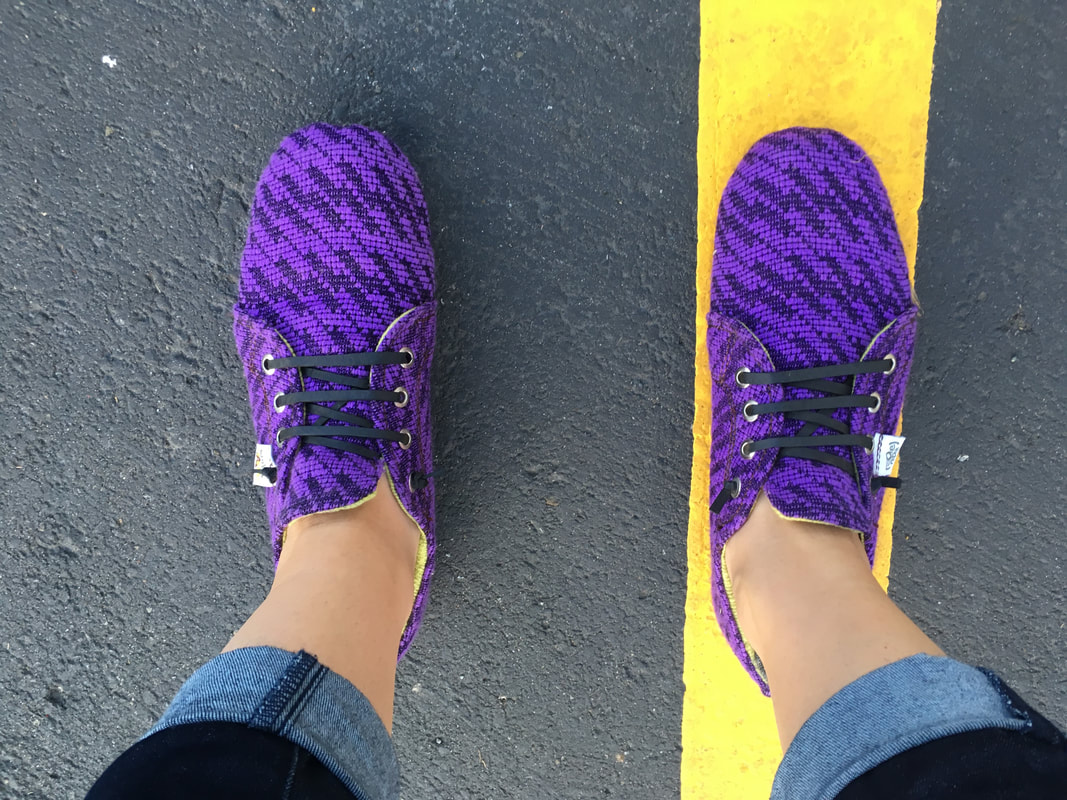
Ability Diversity
|
What?
|
Why?
How?
|
Below are several websites to help you further understand ability diversity.

This is a quick facts list about physical disabilities.
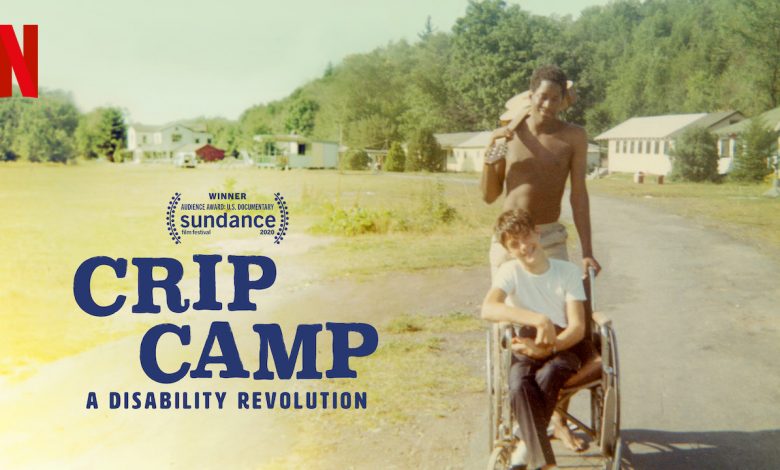
If you are interested in a deeper dive into disability laws in the US, this is an amazing documentary.
|
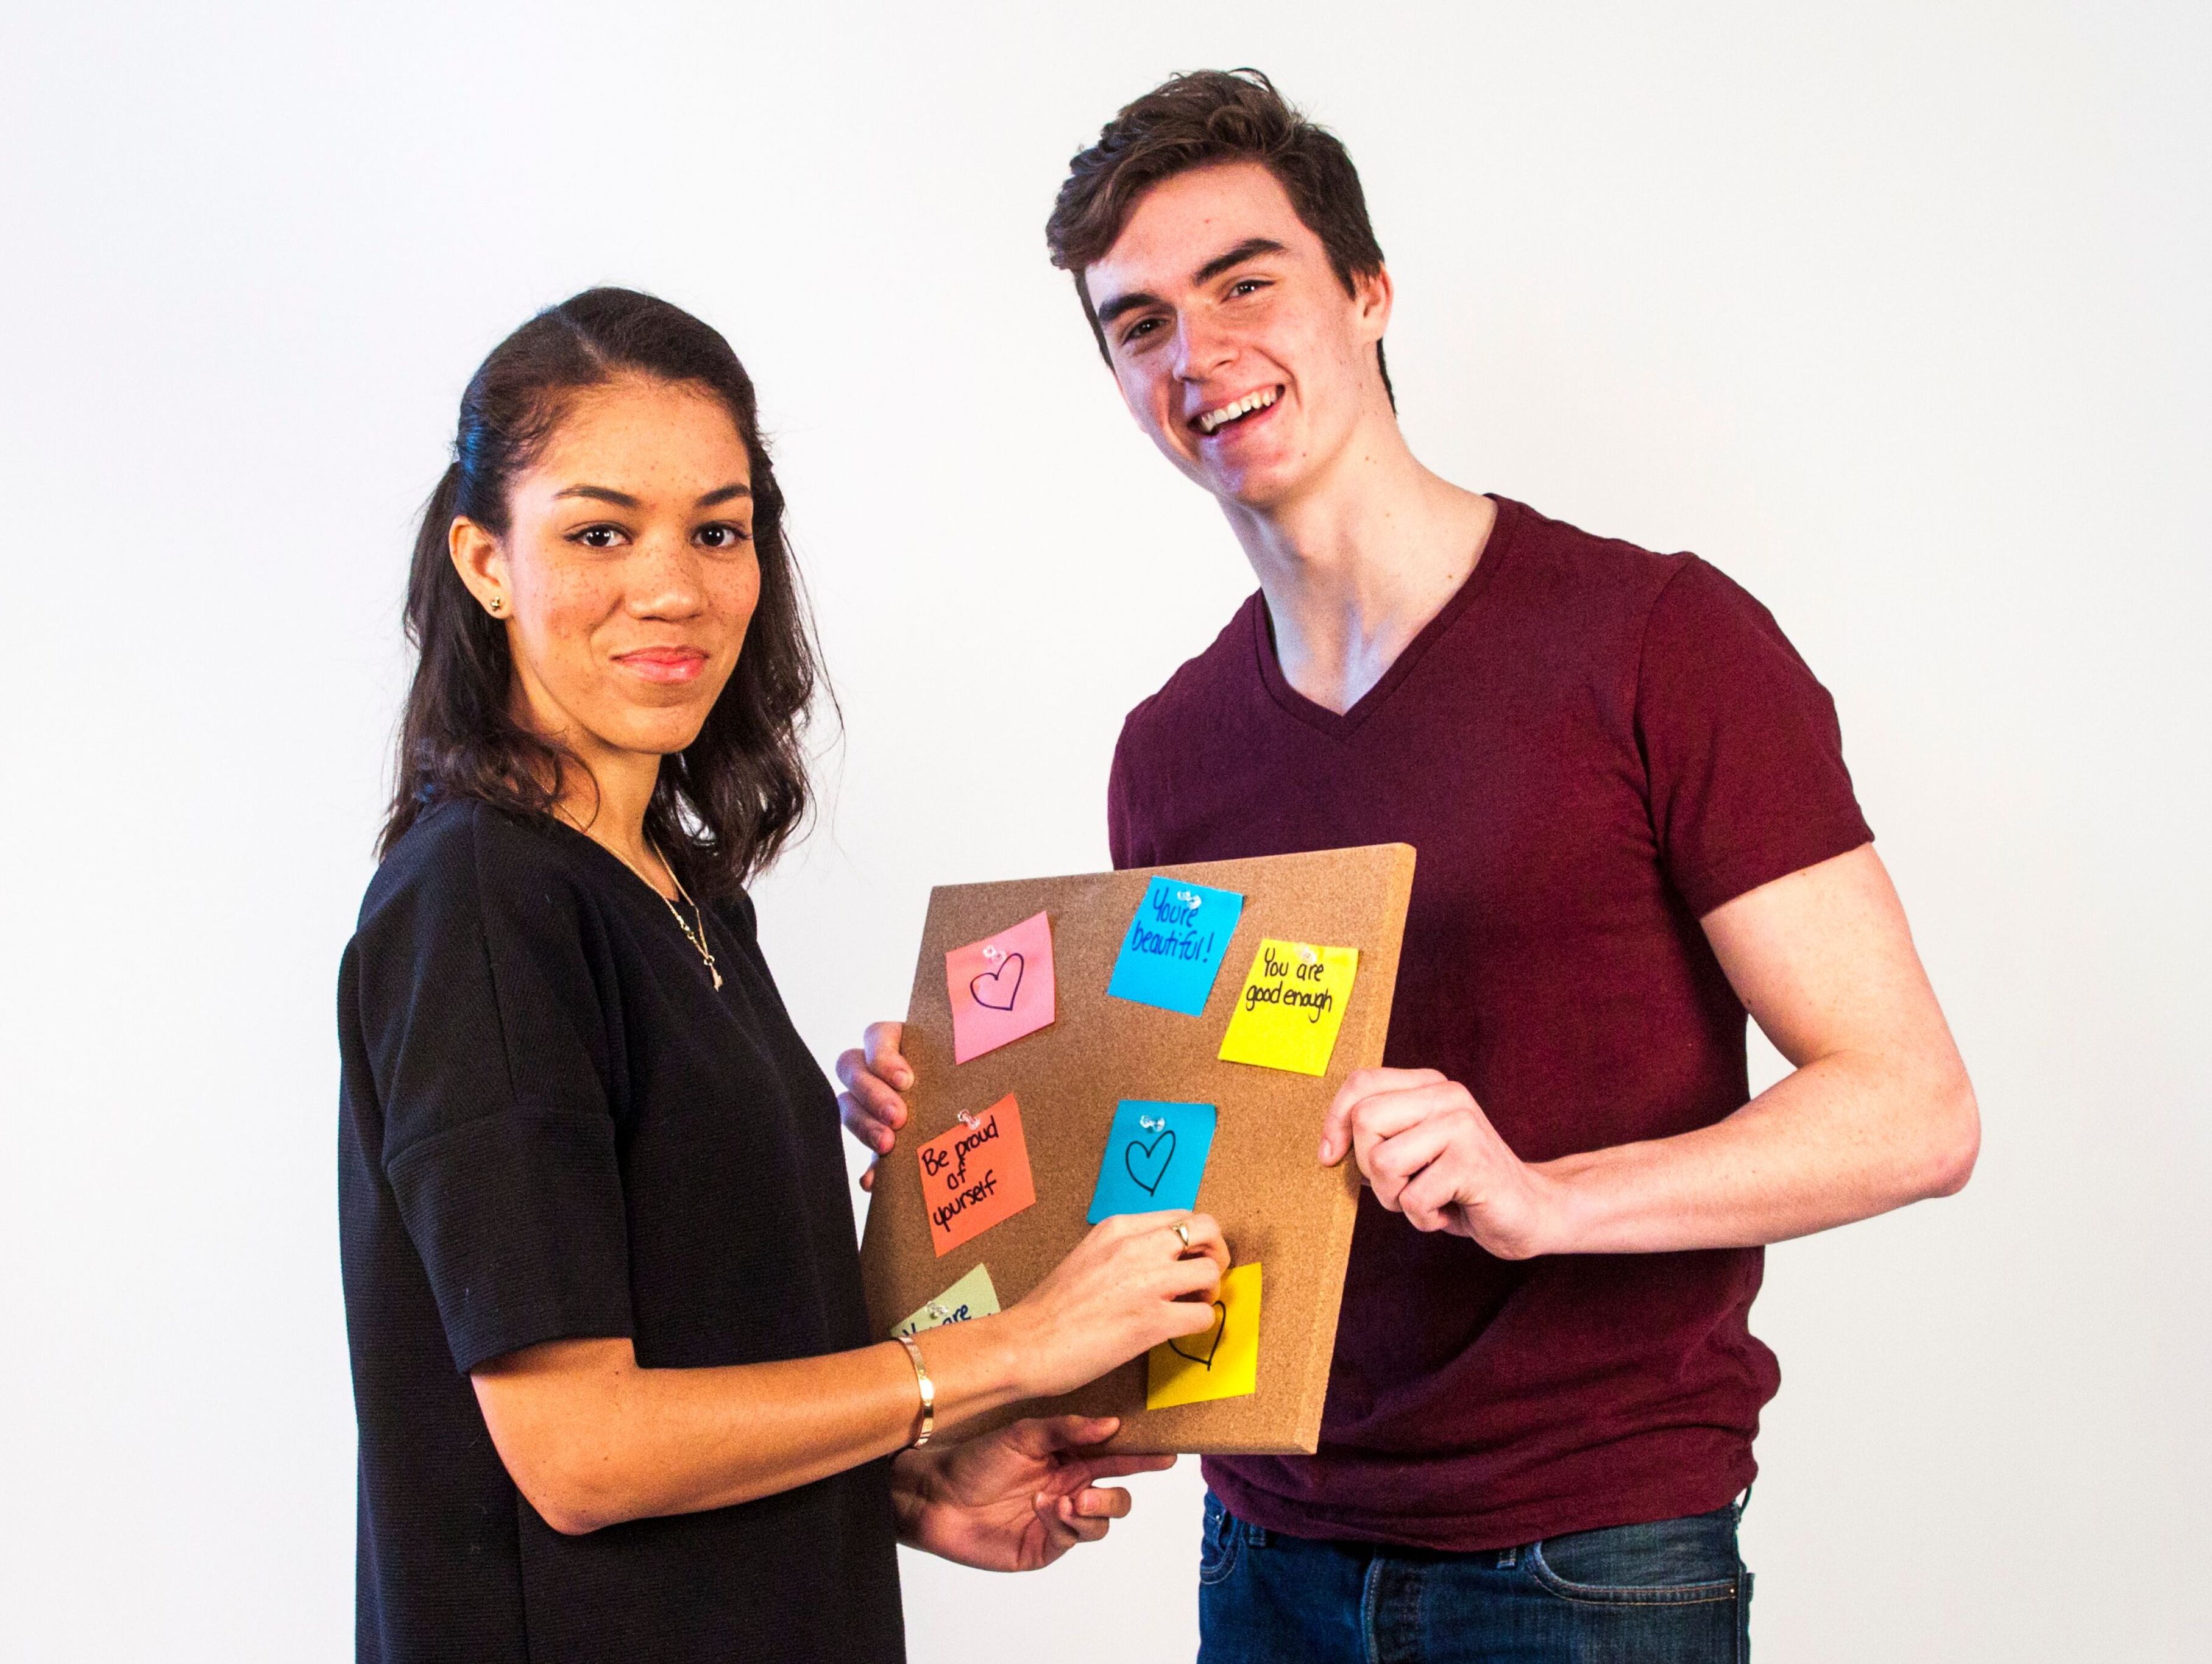
This is a cool idea for tangibly supporting teens who struggle with mental illness.
This is a great video of a BCS grandparent who uses the assistance of a seeing eye dog.
|

A very informative article with video and book suggestions.
|
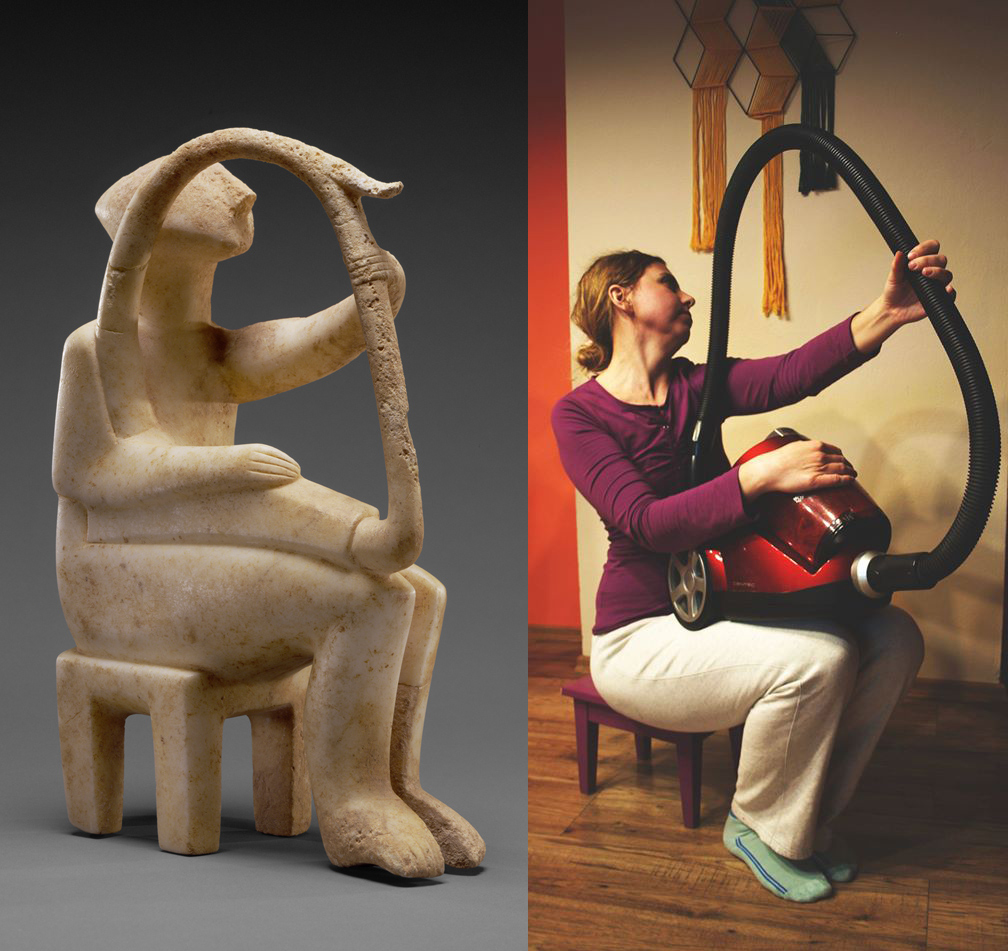
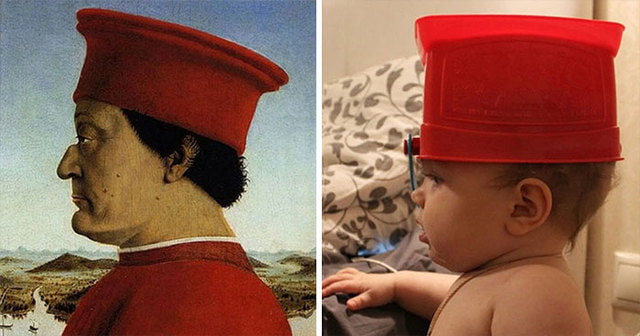
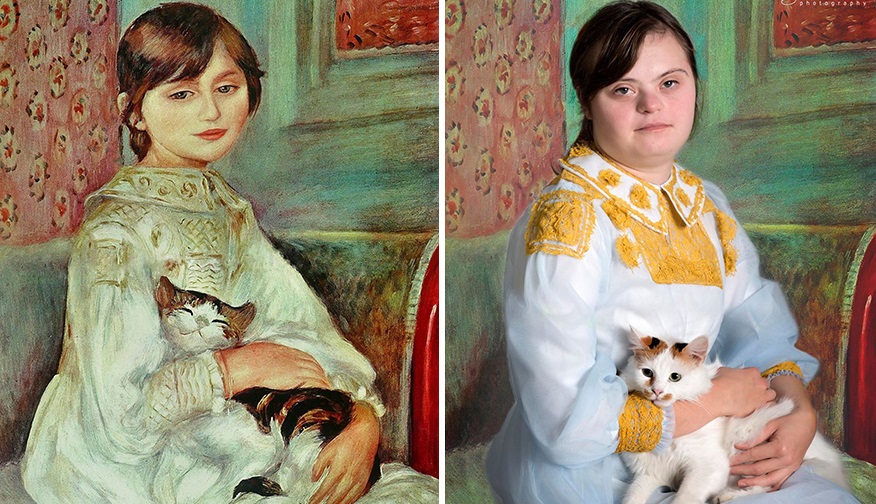
Art History Photos
WHY?
- an opportunity to explore new and different ideas. Artist around the world are getting creative with this time of social isolation and with the materials they have in their homes. so we are going to do the same!
- A unique opportunity to learn about a famous artist.
- A chance to be creative and up our photography game.
WHAT?
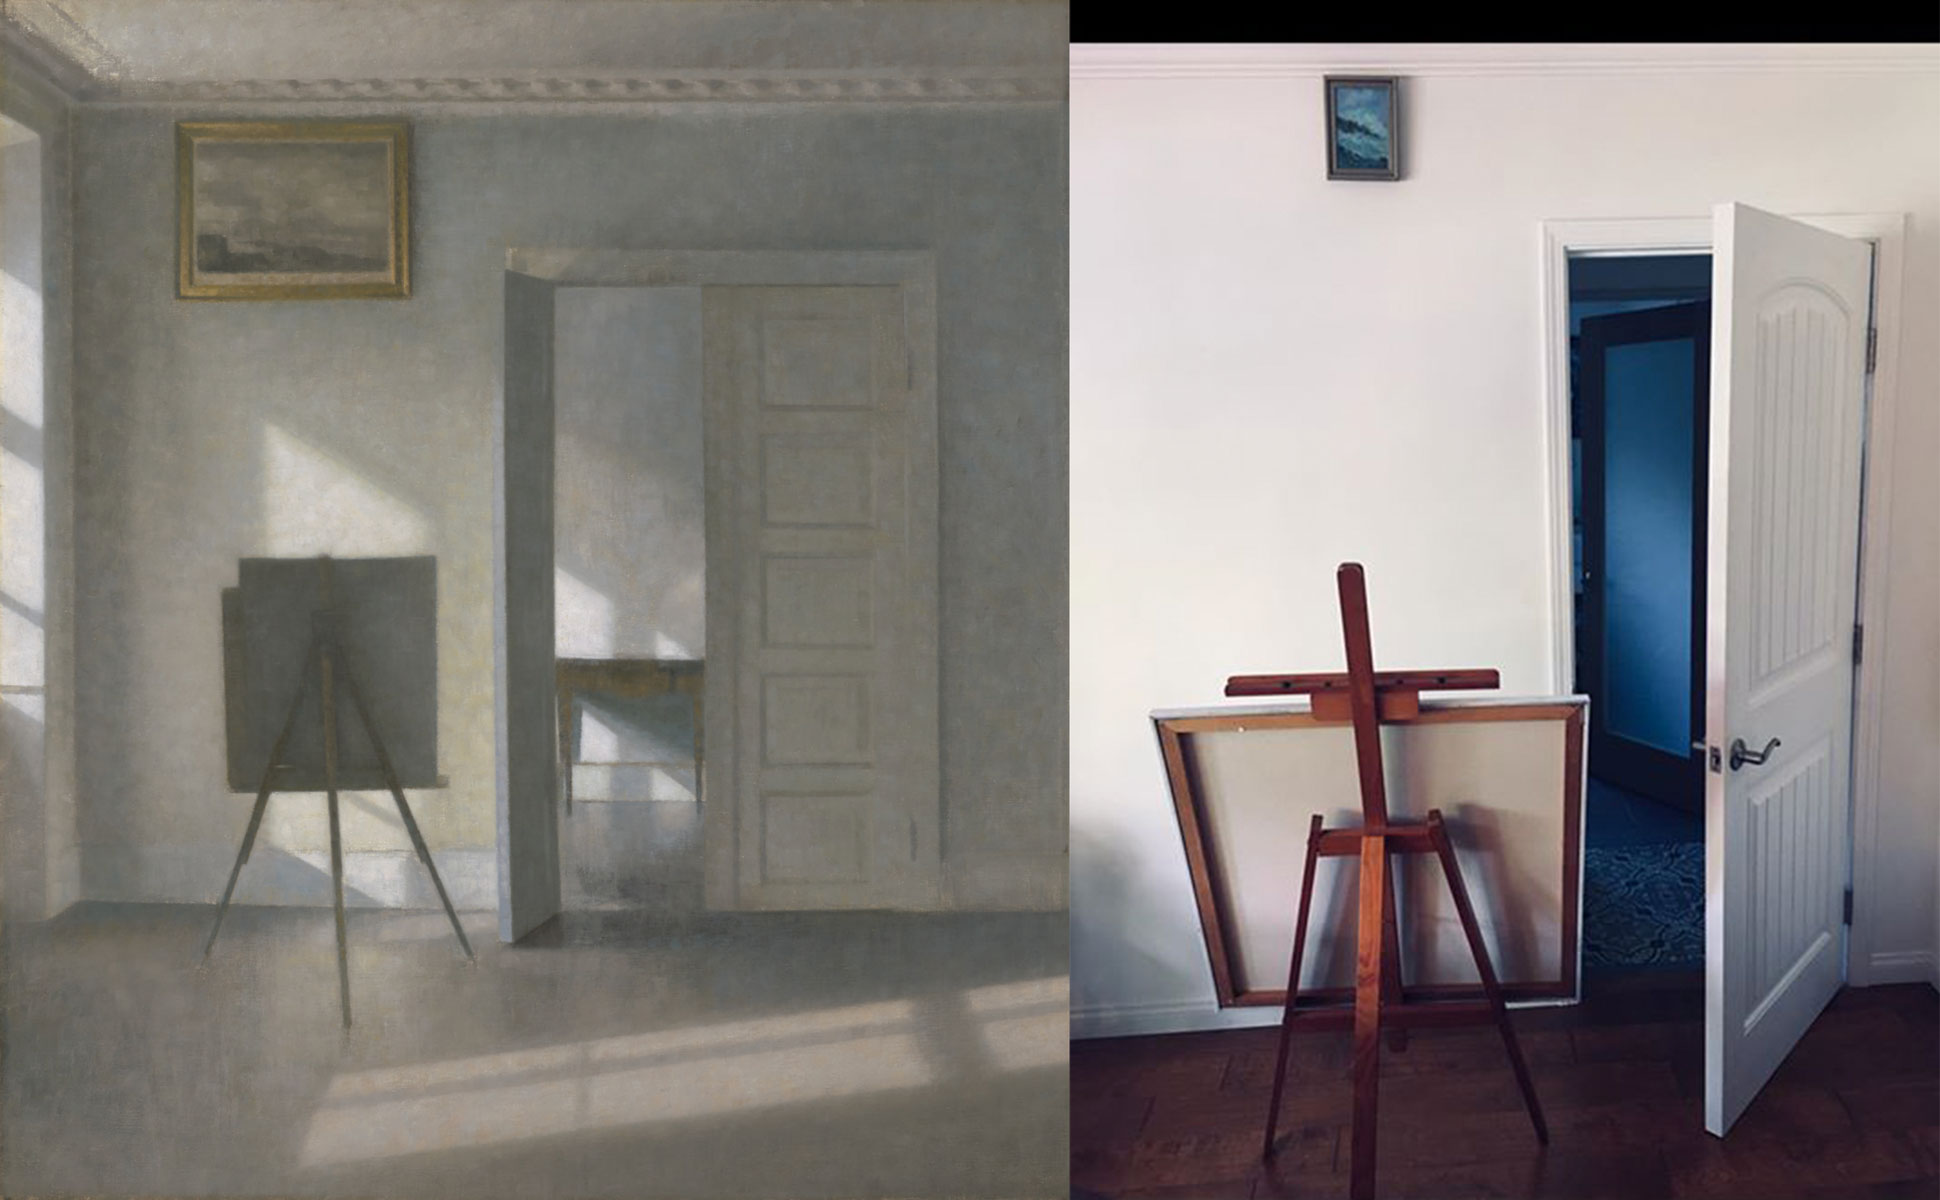
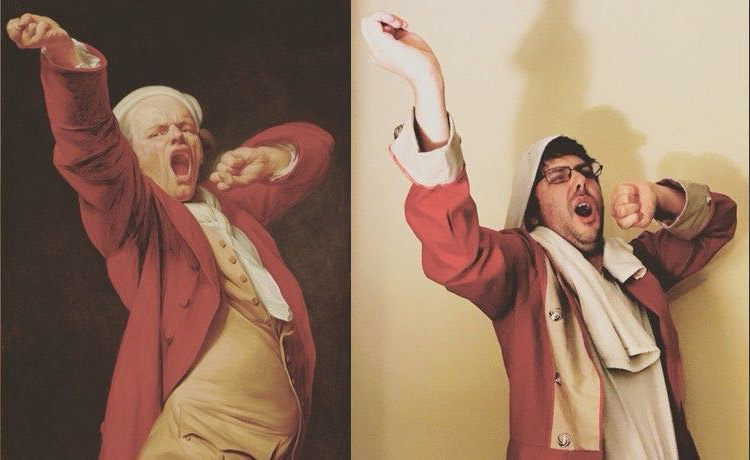
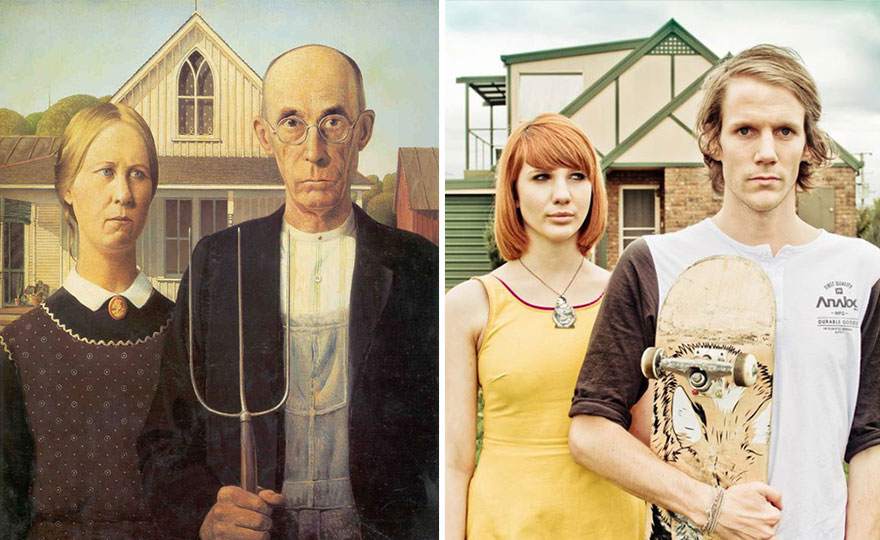
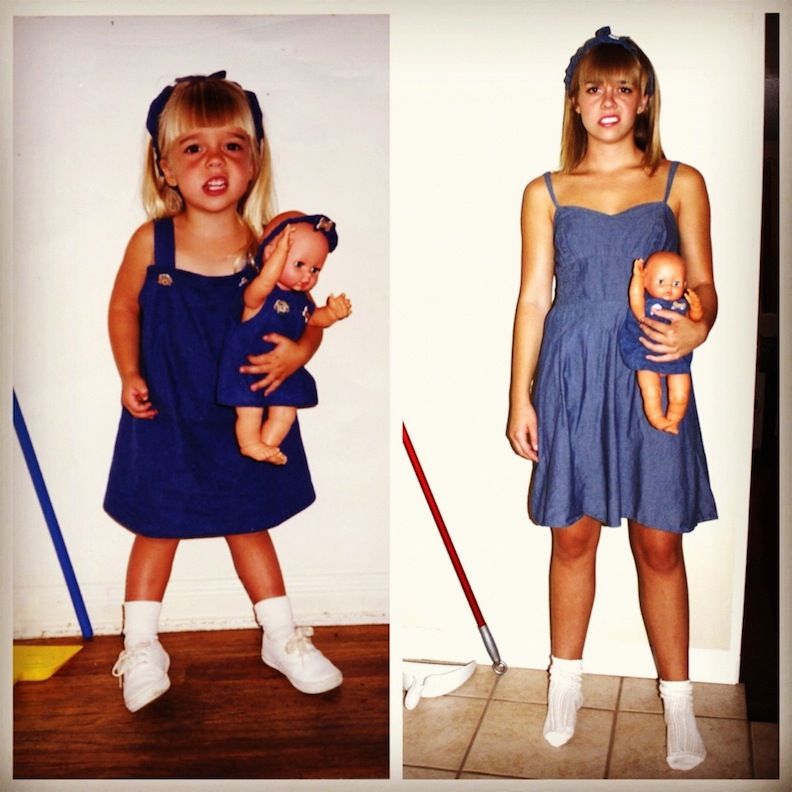
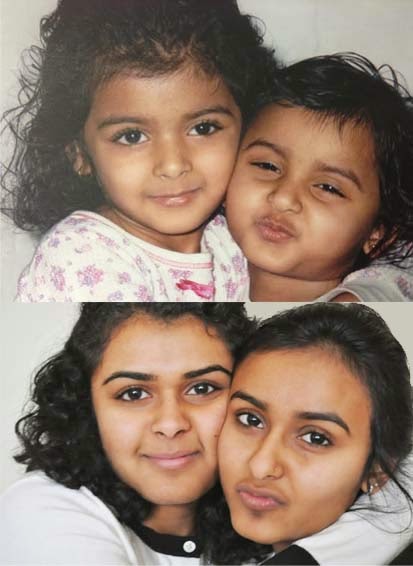
- A recreation of a famous work of art using items around your house!
- Your final "project" will be a photograph of your recreation side by side with the original.
- Idea comes from this blog post by getty
|
|
HOW?
- We will study the below as a class over teams
- Art History
- Artist around the world in social isolation
- How to "stage" of photograph
- You will choose the a famous work of art and have it ready for Friday's class
- We will do small group critiques to give each other suggestions
- You will use two class periods to complete your Photo project
- See Below for the actions shots of getting this image of my daughter
|
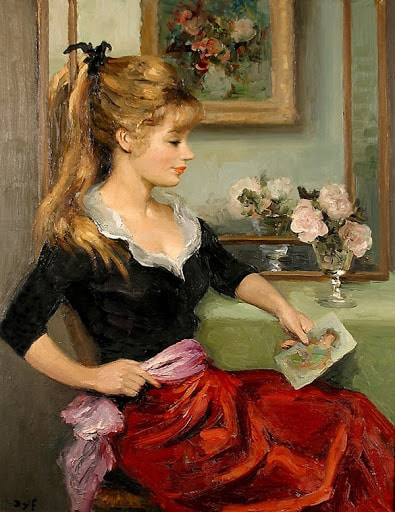
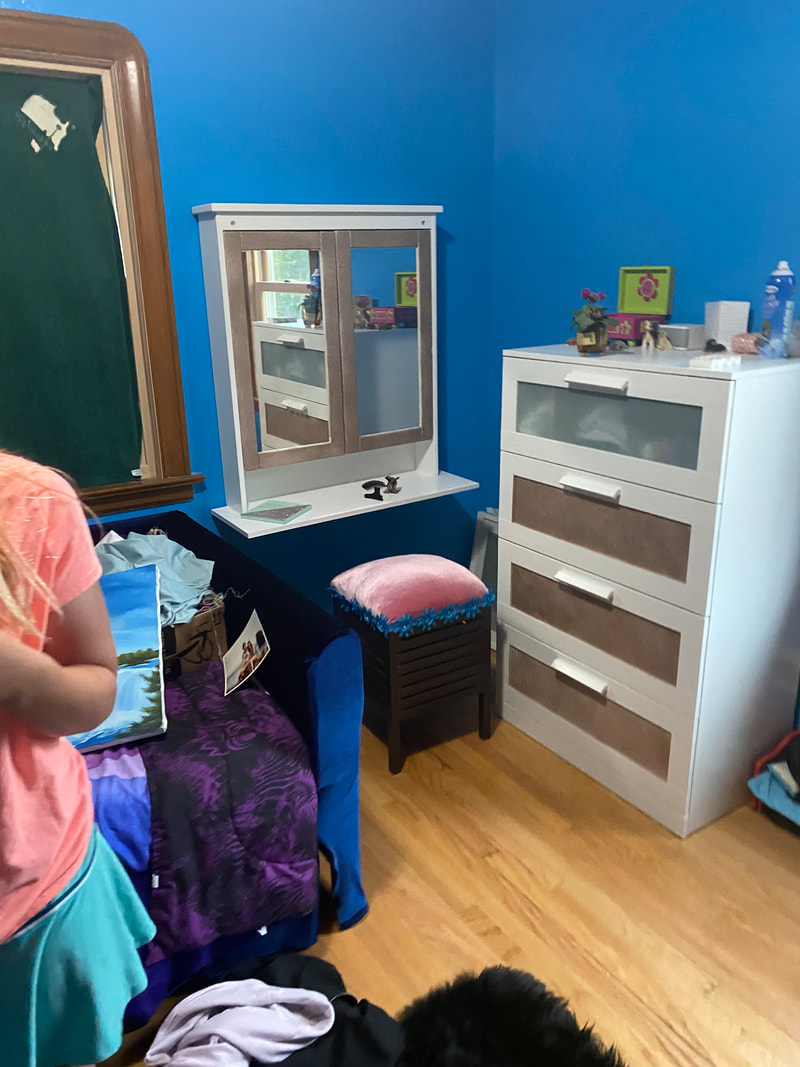
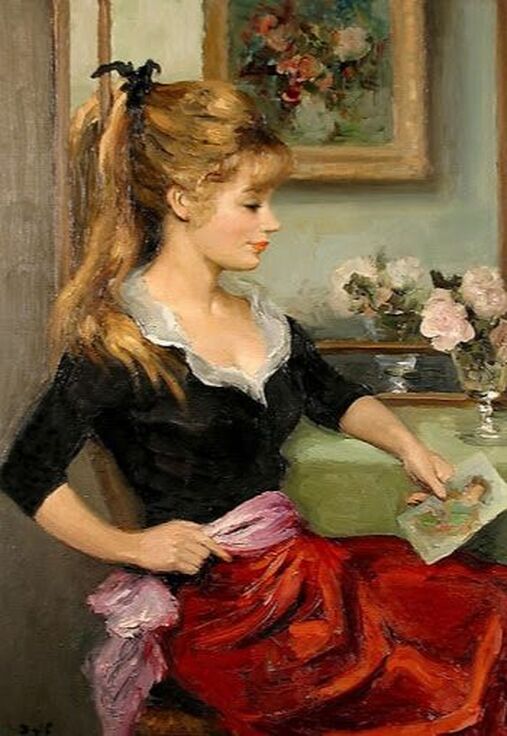
Step 1: We started by choosing our Historic/Famous photo. CLAUDINE À L'ESTAMPE by Marcel Dyf (1960). Then we explored our house to see if there was a location and props.
|
STEP 2: We started by choosing our location. My daughter's make up mirror seemed to fit the photo fairly well. Remember you are trying to get close, not exact.
|
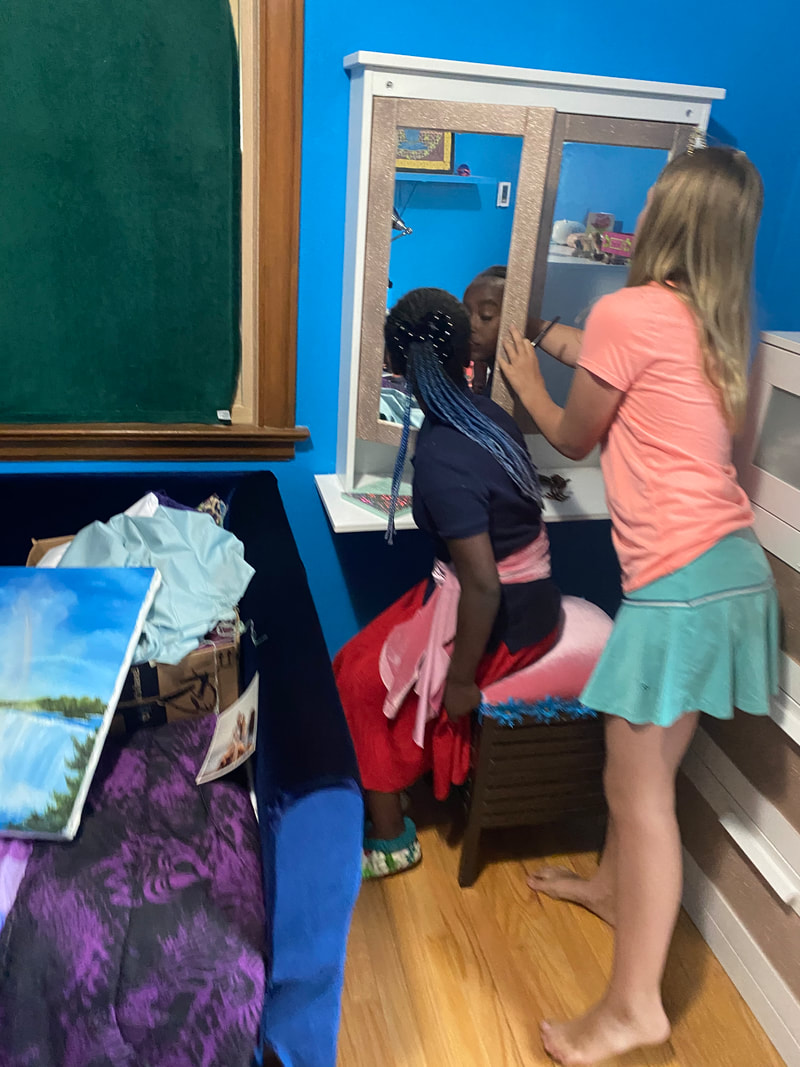
STEP 3: We then got creative with the outfit, trying out different combinations to see what was closest to looking like the original.

|
|
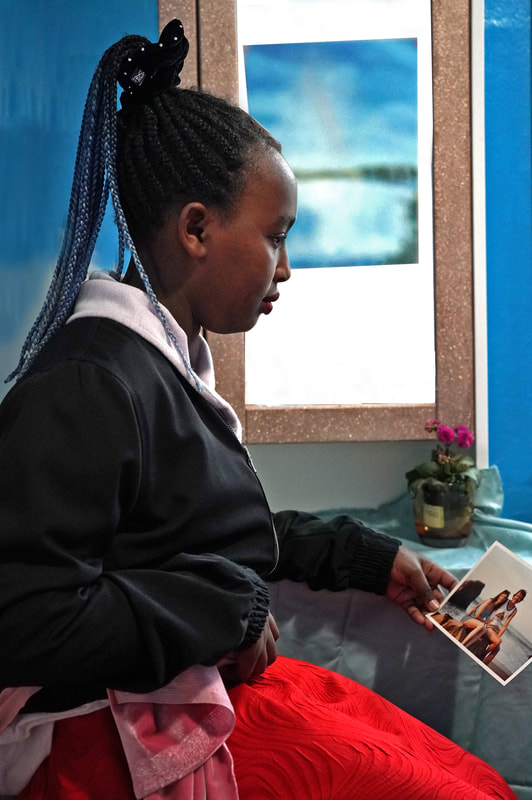
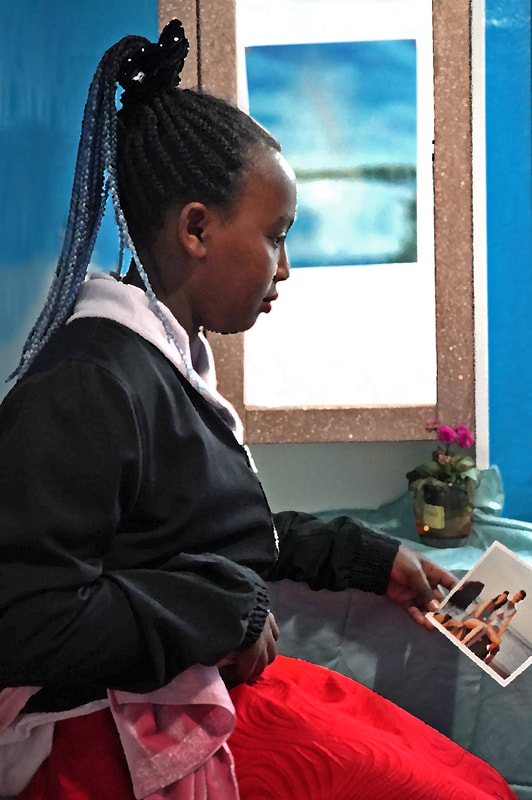
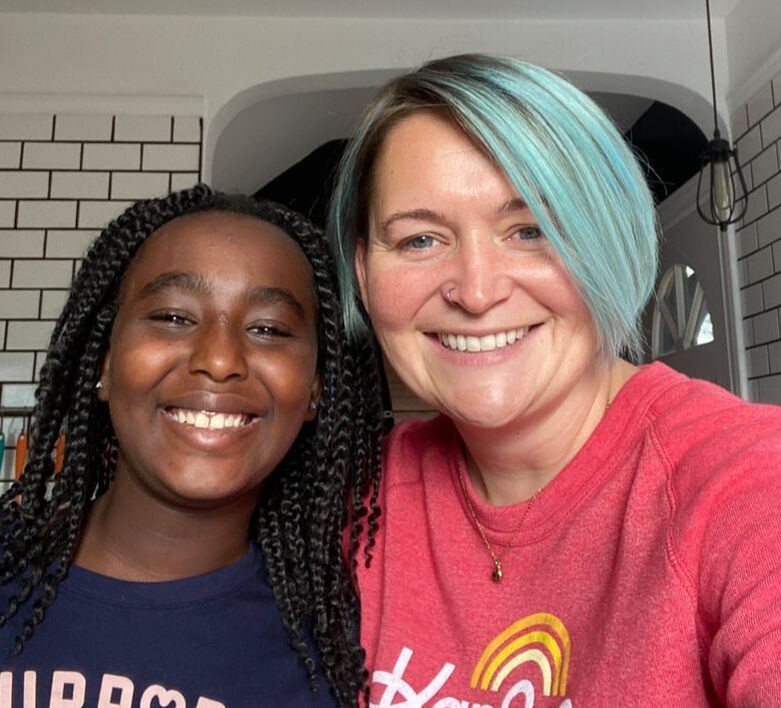
STEP 4: we gathered all the details: flowers, cloth to drape, a photo... and Our neighbor helped my daughter get the makeup just right. DETAILS are what make these work! Take your time to notice the little things.
|
STEP 5: we set up the shot and started taking pictures. this one is straight out of the camera. It helps to have extra hands, or a tripod.

|
|
STEP 6: Editing the photo. You can use free programs like Gimp (see projects below for links and tutorials on gimp) Or you can use photoshop. If shot on your phone you could also download an editing app. We knew the photo would need to be flipped so we did that first. then some edits to exposure and color helped to get it closer to the original.

|
STEP 7: (Optional) further editing is not NECESSARY but can be fun. We played around with the clone stamp in the background and making the picture in the mirror bigger to look more like the original. you can see in the final version, we also tried out some filters to get closer to the paint texture of the original piece.
|
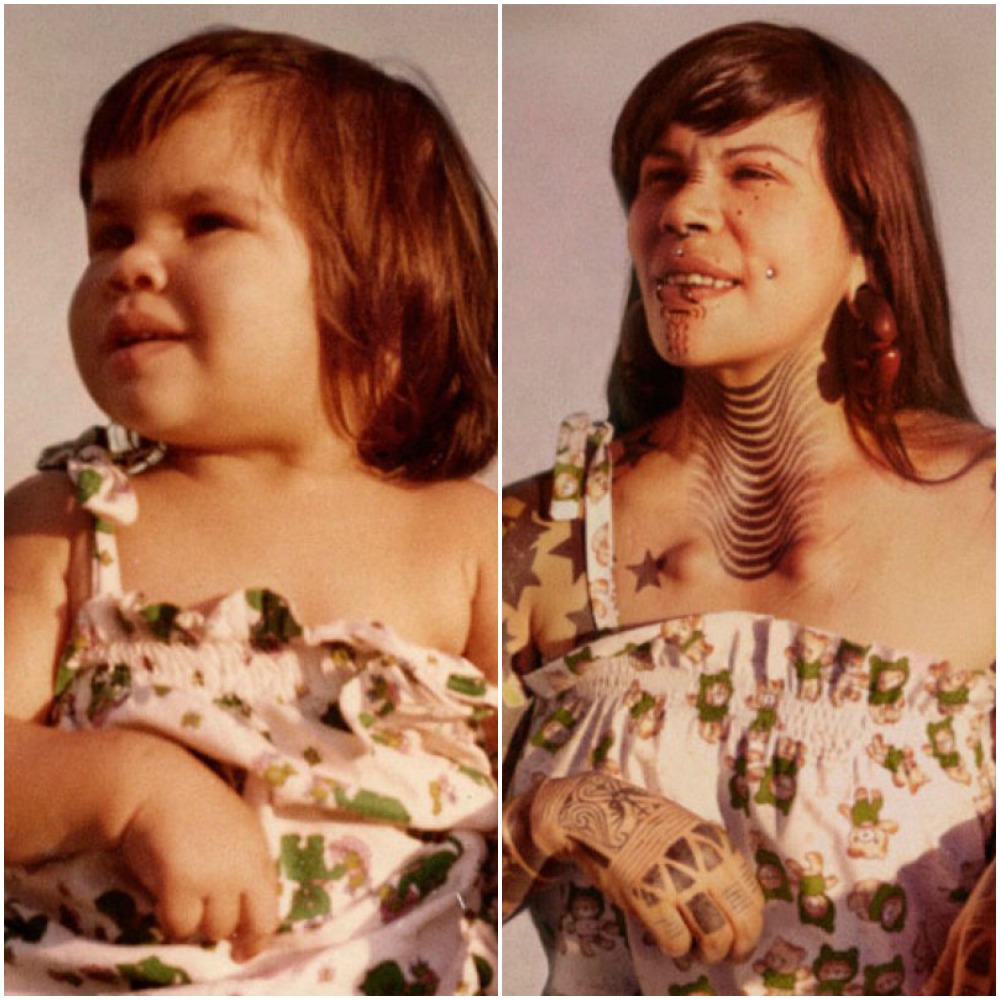
Below is the final version of the image we created. Not Exact, but pretty close to the original.
|
|
A look back...
|
Why?
|
WhAT?
|
HOW?
- Work at home to set a scene and choose clothing to match the original photo.
- Post to your website
|
|

What's your Perspective Continued...
IF YOU ARE AN AT HOME STUDENT OR UNABLE TO ATTEND THE FIELD TRIP FOR ANY REASON SEE THE Previous assignmenT.
|
What?

|
|


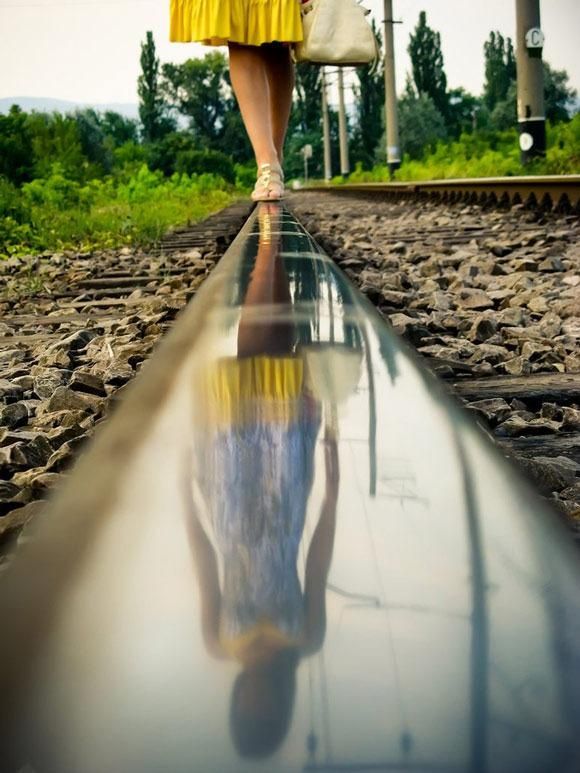
What's your Perspective?
|
Why?
How?
WHEN?
|
What?
|


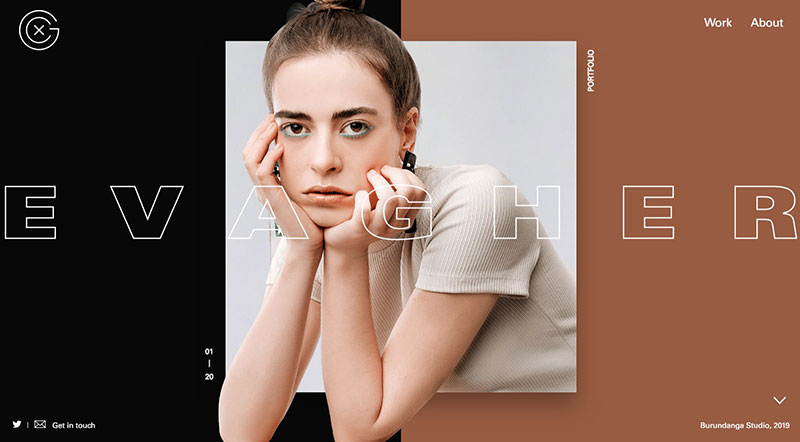
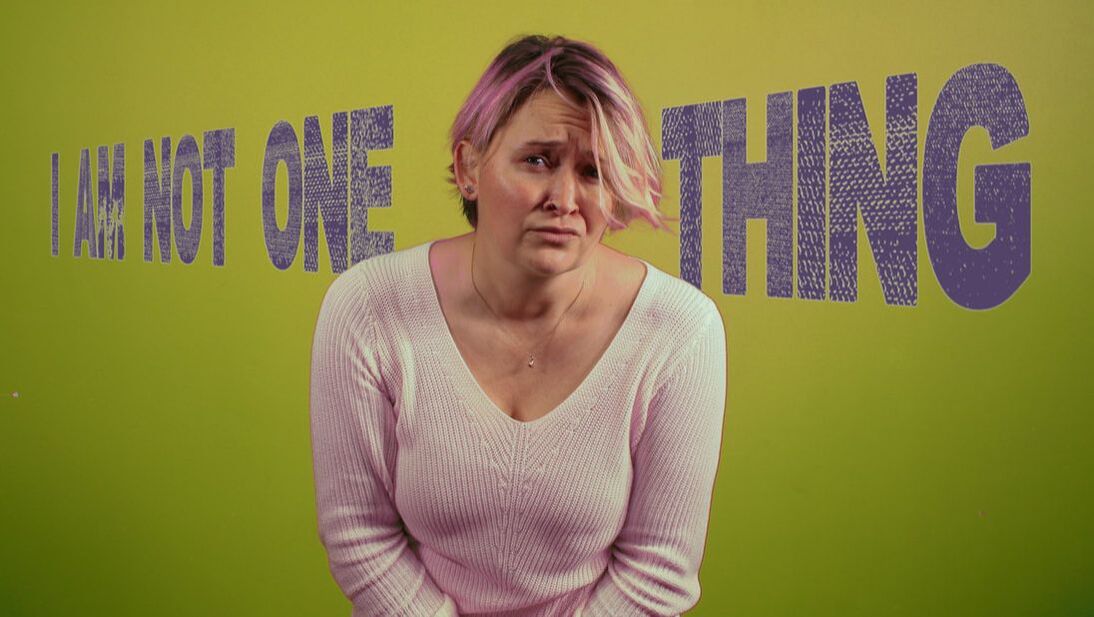
DESIGNED PHOTOGRAPHY!
Why?
- Because we are transitioning from camera settings into COMPOSITION studies.
- We are making the best of only being able to take photos at BCS
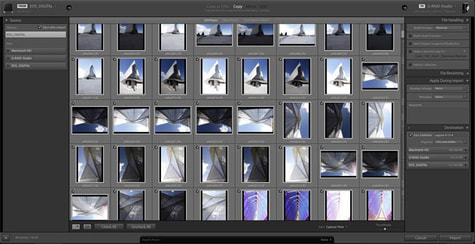
- We are ready to start practicing editing using lightroom and photoshop
What?
- 1 (or more) high quality Portrait of you (THESE could BE TAKEN DURING CLASS WORKING TOGETHER TO SET UP LIGHTING AND BACKDROPS) or Nature photo or sports photo or......
- It should include a background and/or text that accompany the photo.
- These will be printed and hung in the commons.
HOW?
Watch the Tutorials below or follow along in class
Watch the Tutorials below or follow along in class
|
|
|
Below are examples
|

|
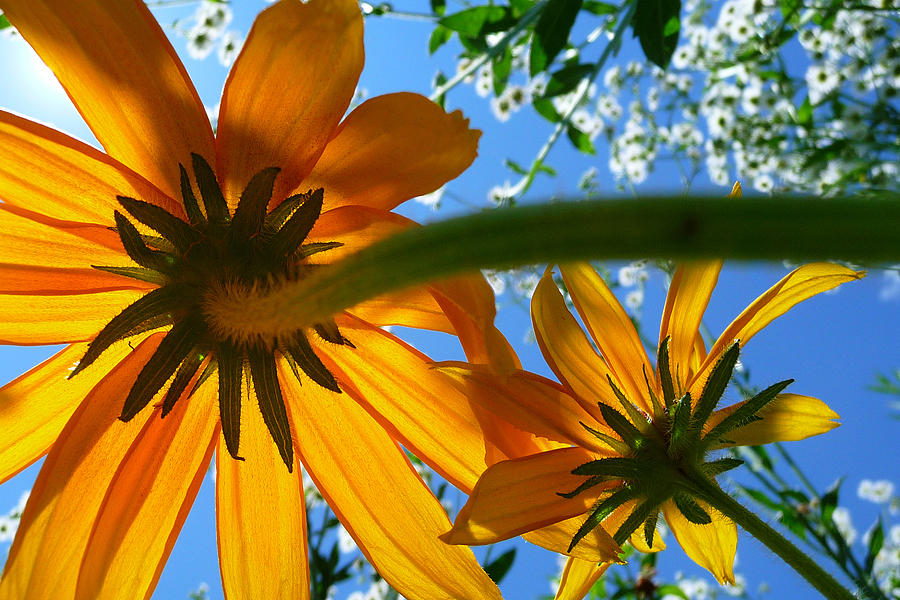
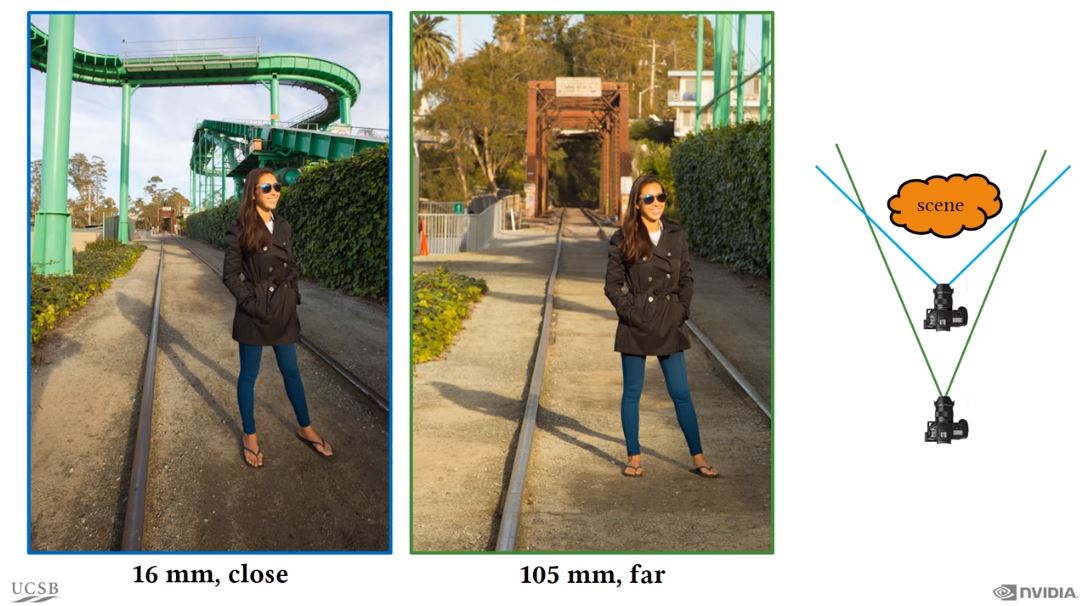
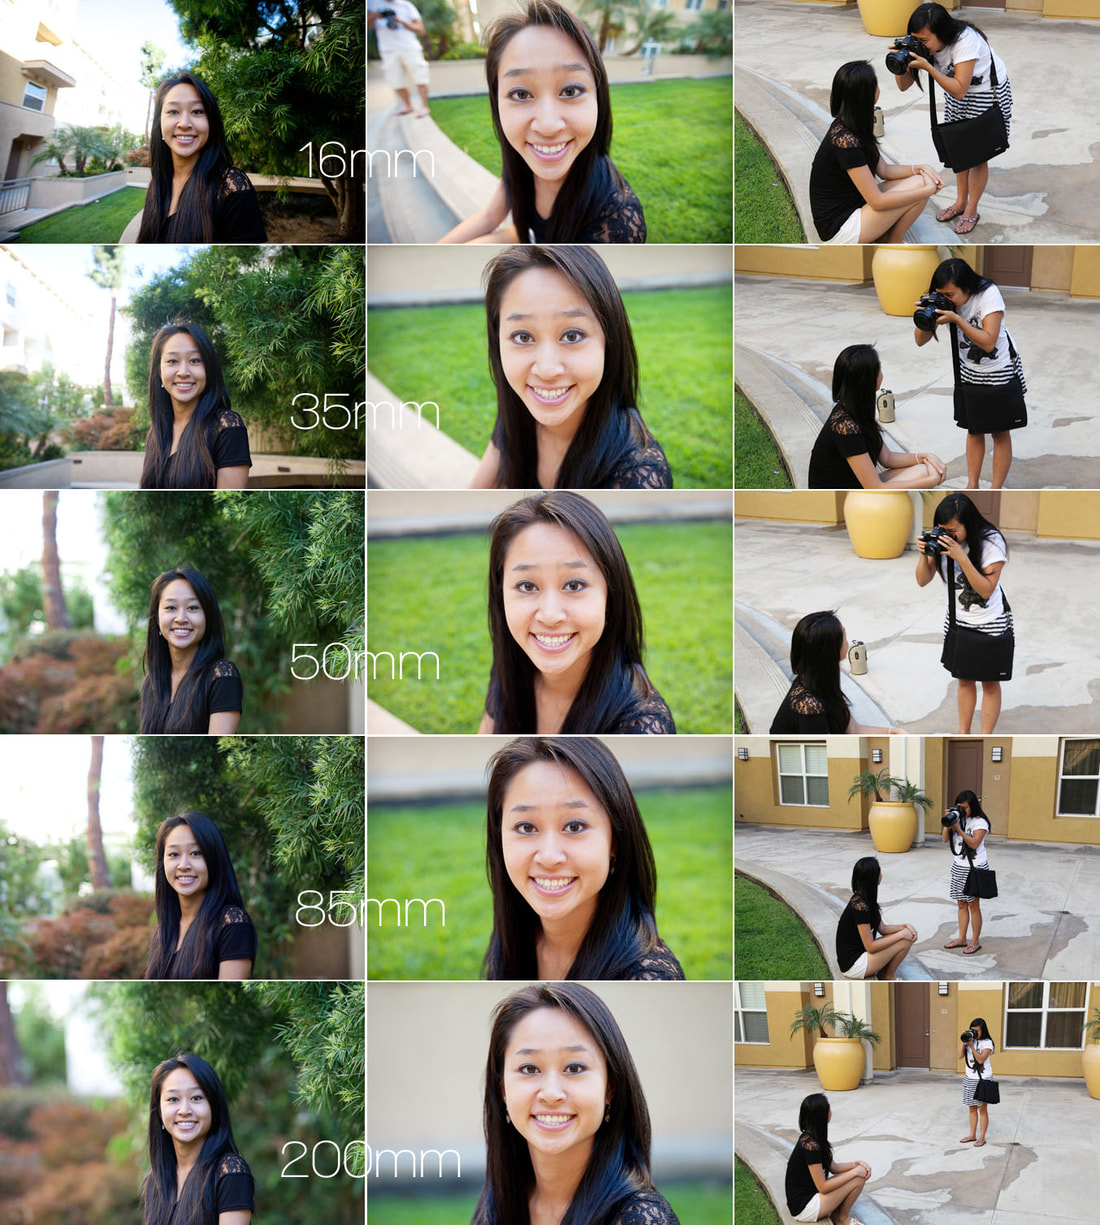
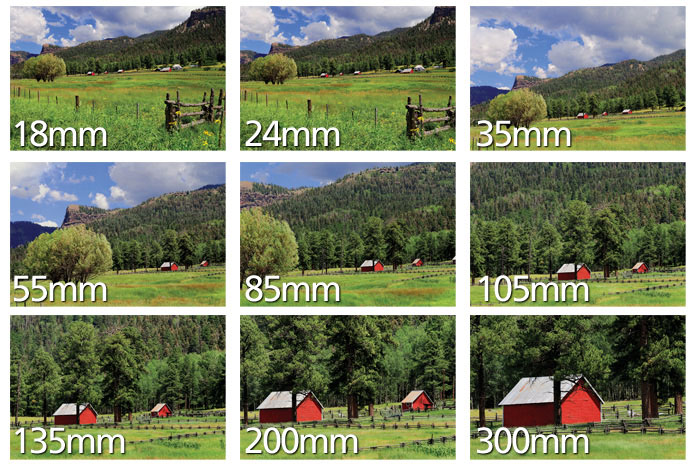
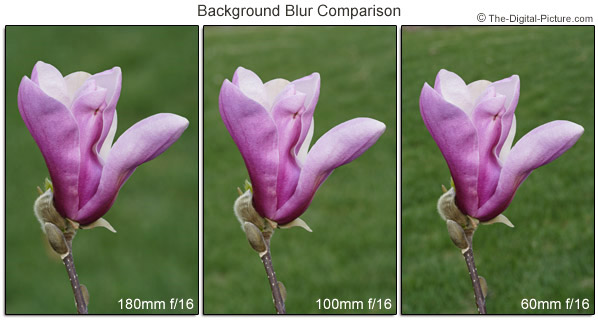
It's COMPRESSION! AND NATURE
Why?
- Because we are transitioning from camera settings into COMPOSITION studies.
- Compression is one way to alter the composition of a photo
- We have done a lot of photos with people, this will be a new "subject" for you to interact with.
HOW?
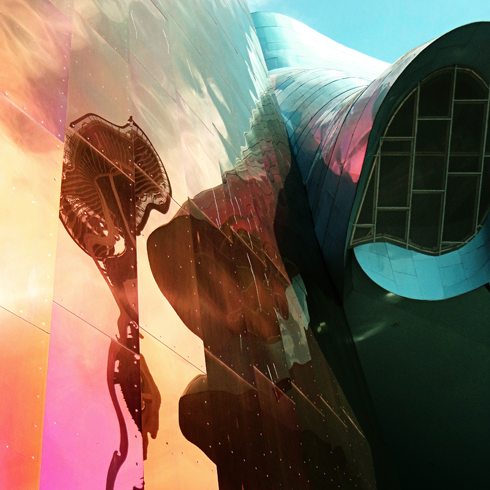
Watch the short video below for a simple EXPLANATION of compression and see the example photos that show the movement of the photographer and the results of each focal length on the overall composition.
Watch the short video below for a simple EXPLANATION of compression and see the example photos that show the movement of the photographer and the results of each focal length on the overall composition.
|
|
|
|
What?
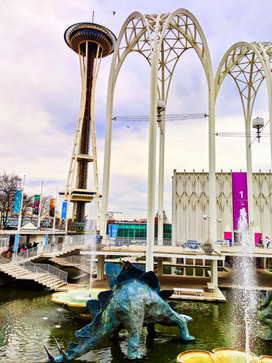
- 3 series of nature photos shot at varying focal lengths
- Same "scene" 3-5 photos of varying focal length.
- Try to find a space where you can move BACK AT LEAST 20 feet
- See the example Above
- Same "scene" 3-5 photos of varying focal length.
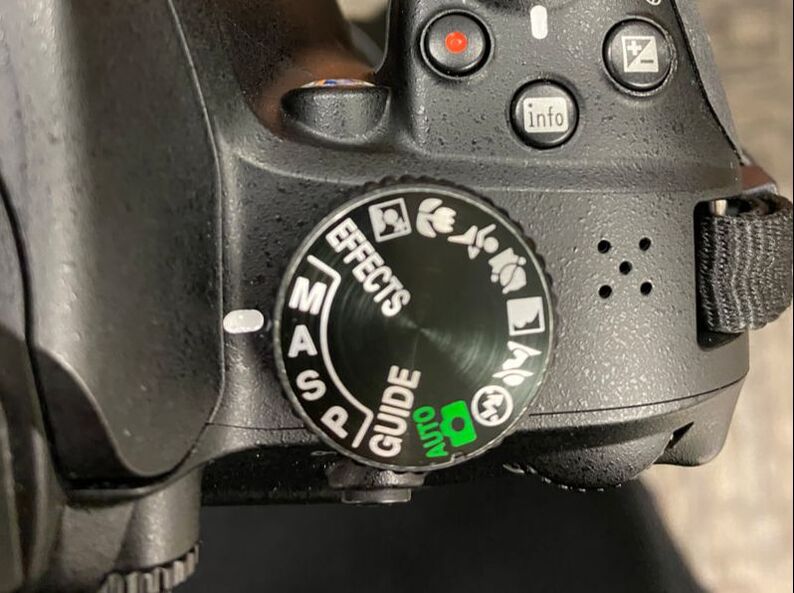
- Shoot in APERTURE Priority, between 4 and 13 f stop
- ISO should be 100-400 or on Auto
- unless you are inside go as high as you need
Ed, Edd n edit
|
Why?
|
WHat?
WHen?
|
How?
- Edit your photo using lightroom (Be sure to save the original)
- the below videos and websites are great resources
- Remember to choose an option that best suits your learning style
- watch videos, follow a step by step, ask a friend, search the web, just dive in and try it out
- We will do more in-depth tutorials as the semester PROGRESSES, this is just an introduction

|
|
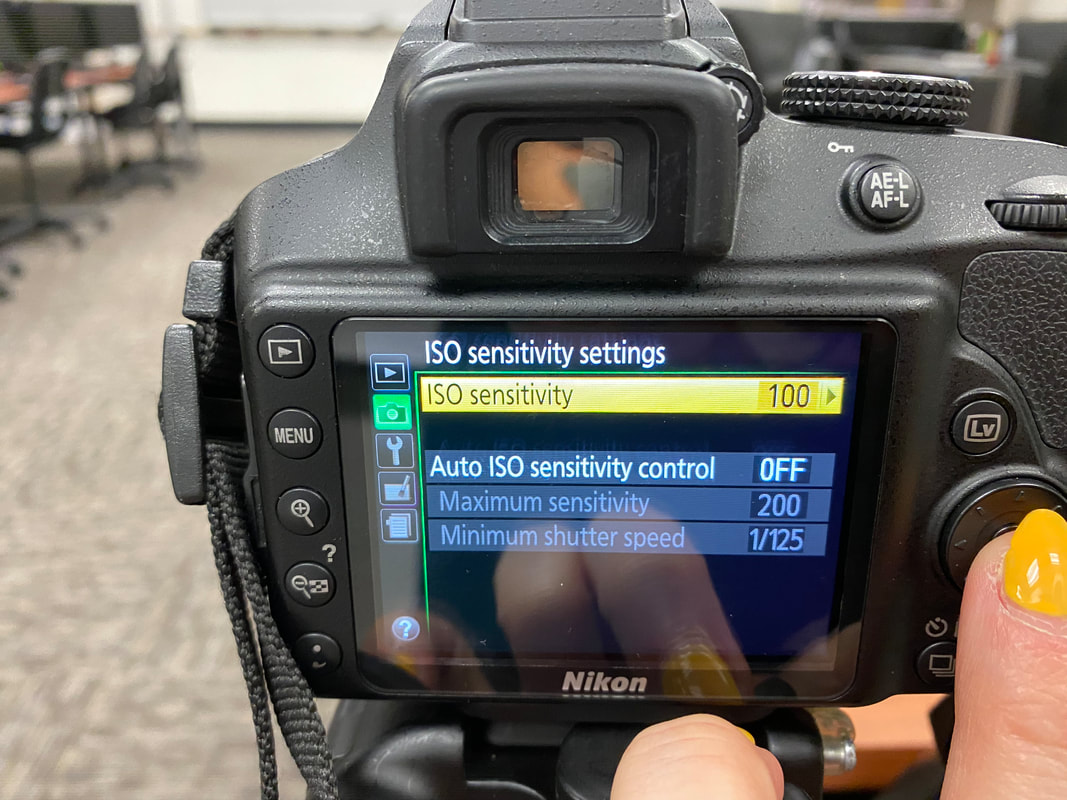
PART 2 & 3: Shutter Speed & ISO
|
Why?
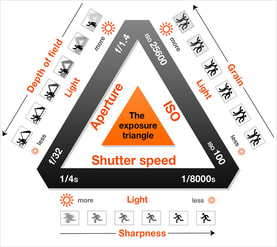
Before moving on, review the things below to better understand exposure triangle, Shutter Speed & ISO.
|
|
|
|
|
What?
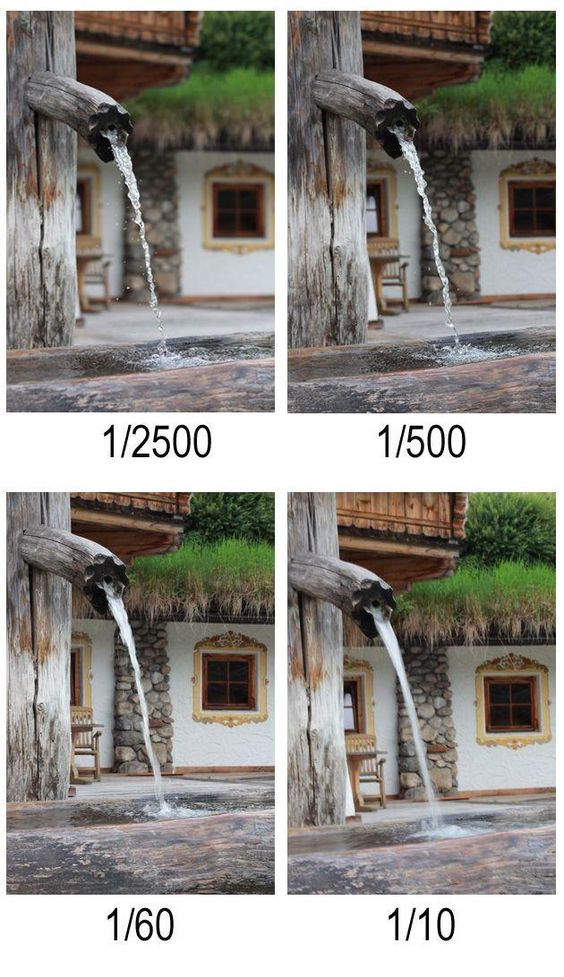
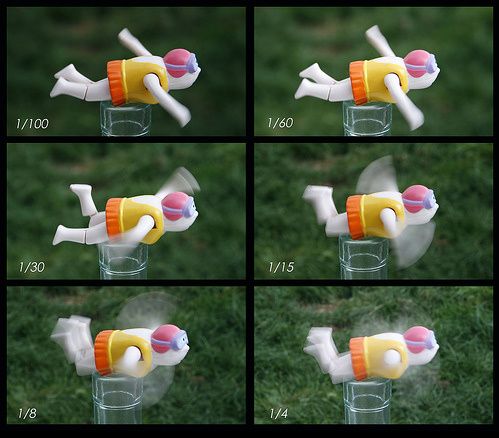
- A series of photos with the same COMPOSITION, shot at stepping Shutter SpeedS. (1/4000, 1/1000, 1/500....1 sec)
- See the example below
- Try to find a space where you can move the same object.
- !You HAVE TO USE A TRIPOD!
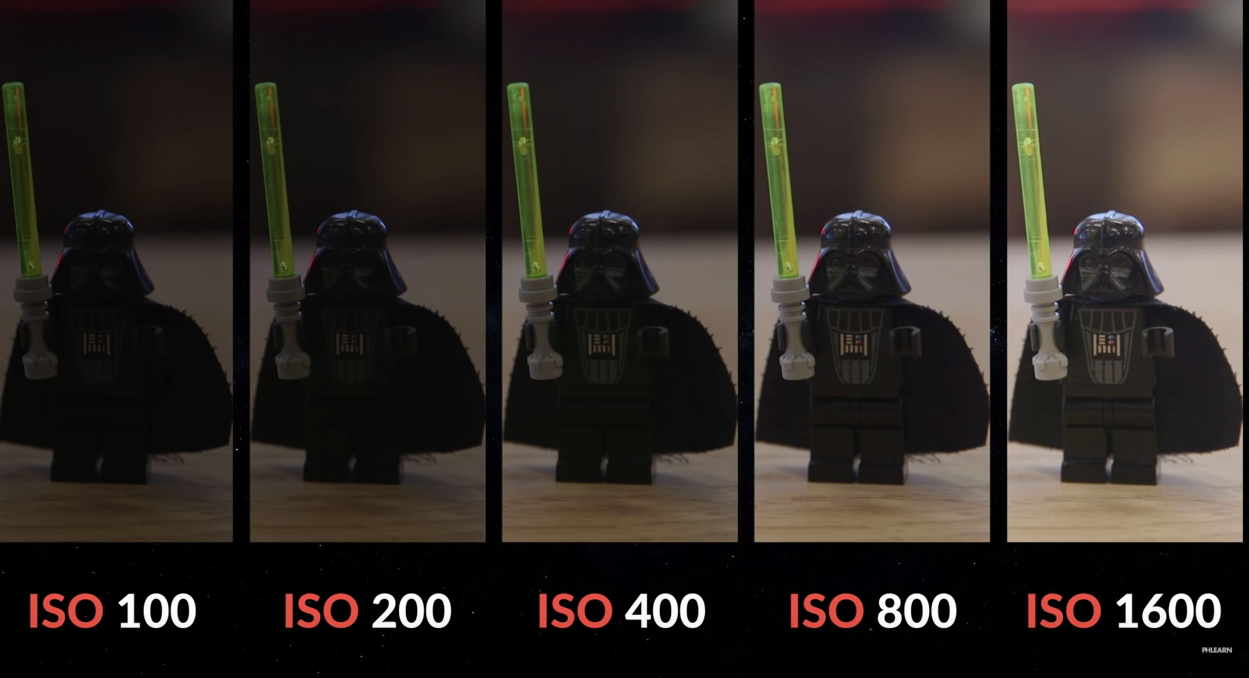
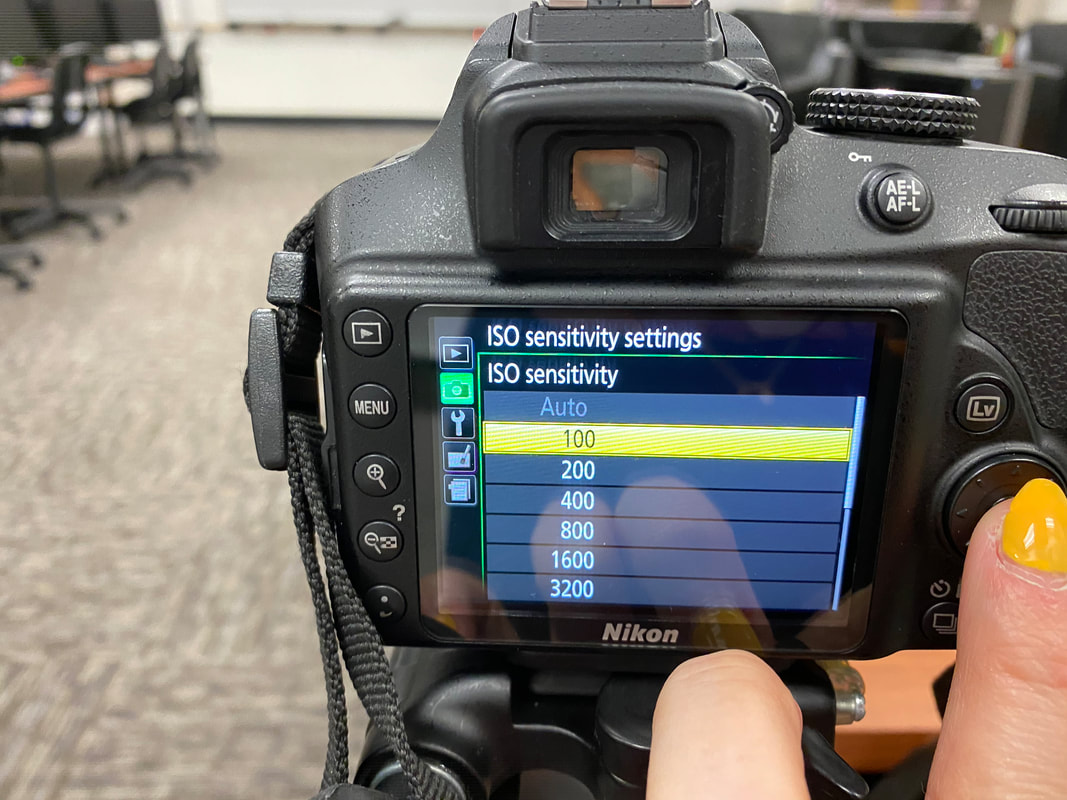
- A SERIES OF PHOTOS WITH THE SAME COMPOSITION, SHOT AT STEPPING ISO (100, 200, 400....3600)
- SEE THE EXAMPLE BELOW
- TRY TO FIND A SPACE WHERE there is "medium" amounts of light (not outside, not in a dark room).
- !YOU HAVE TO USE A TRIPOD!
|
|
|
How? SS
How? ISO
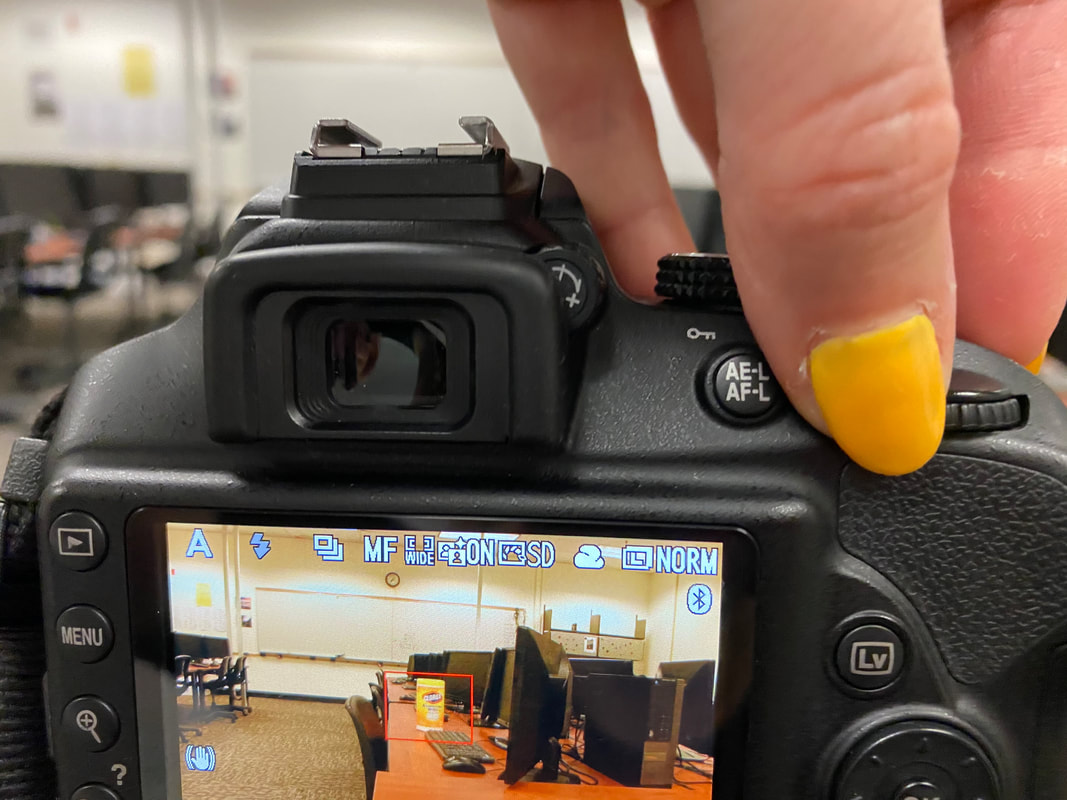
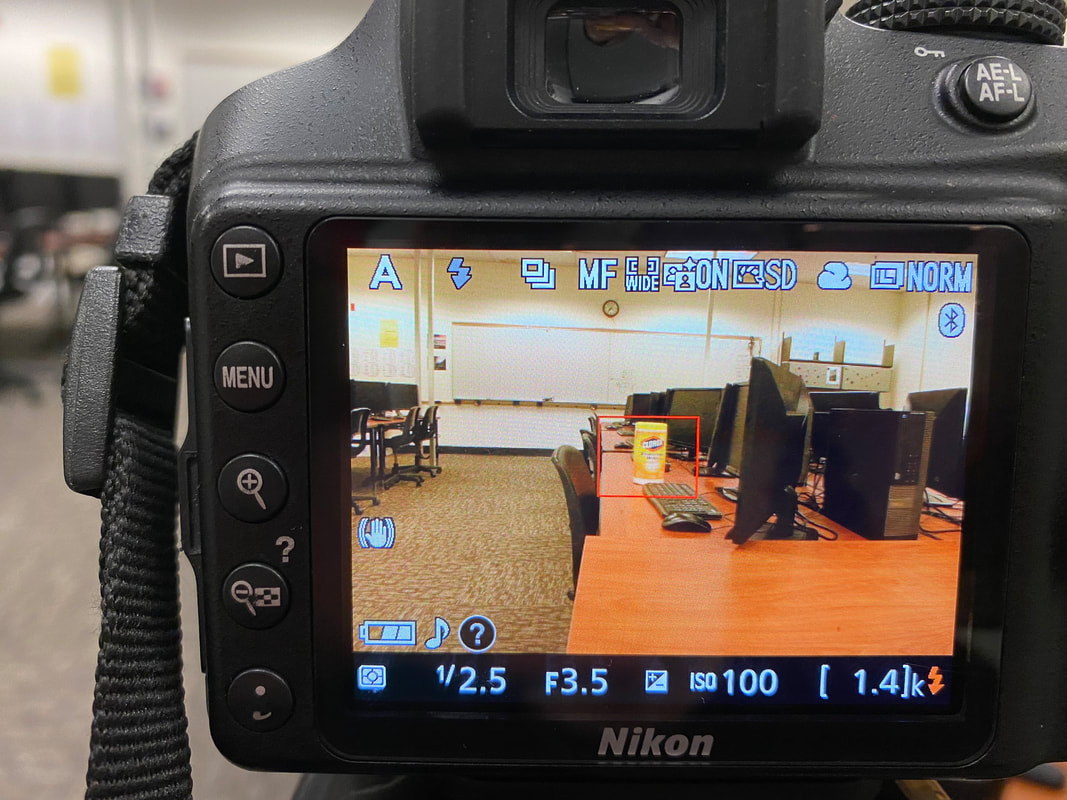
.A helpful tip is to shoot in live view, but be sure you have full battery as it sucks a lot of power. This is a helpful way to set up the shot. You can also look through the view finder. LV Button on the back of the camera.
|


|
PART 1 in the exposure Triangle: Aperture
Why?
- Because Light is the key to all photos, knowing how to control the light that enters the camera is the start of photography. And this is done by adjusting the three components of the exposure triangle.
- We will spend time in a few weeks talking about COMPOSITION, but you have to understand the camera settings first. A great composition doesn't matter if the photo is not properly exposed.
Before moving on, review the things below to better understand exposure triangle & Aperture.

|
|
|
|
|
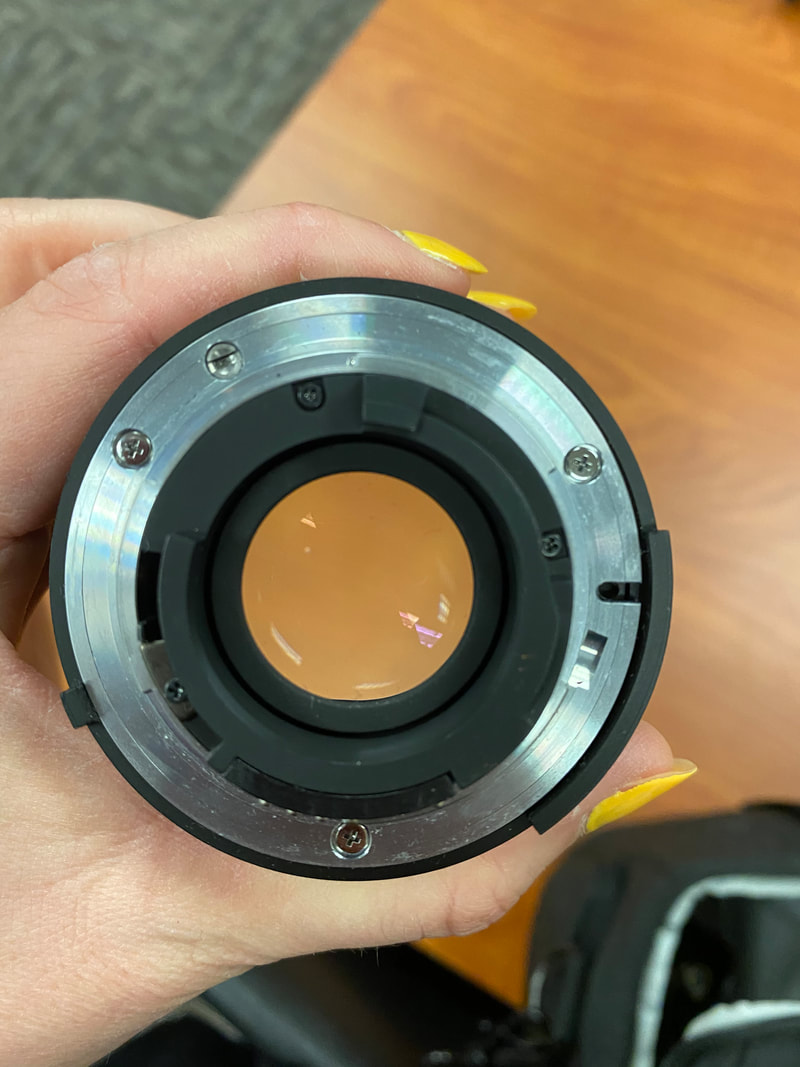
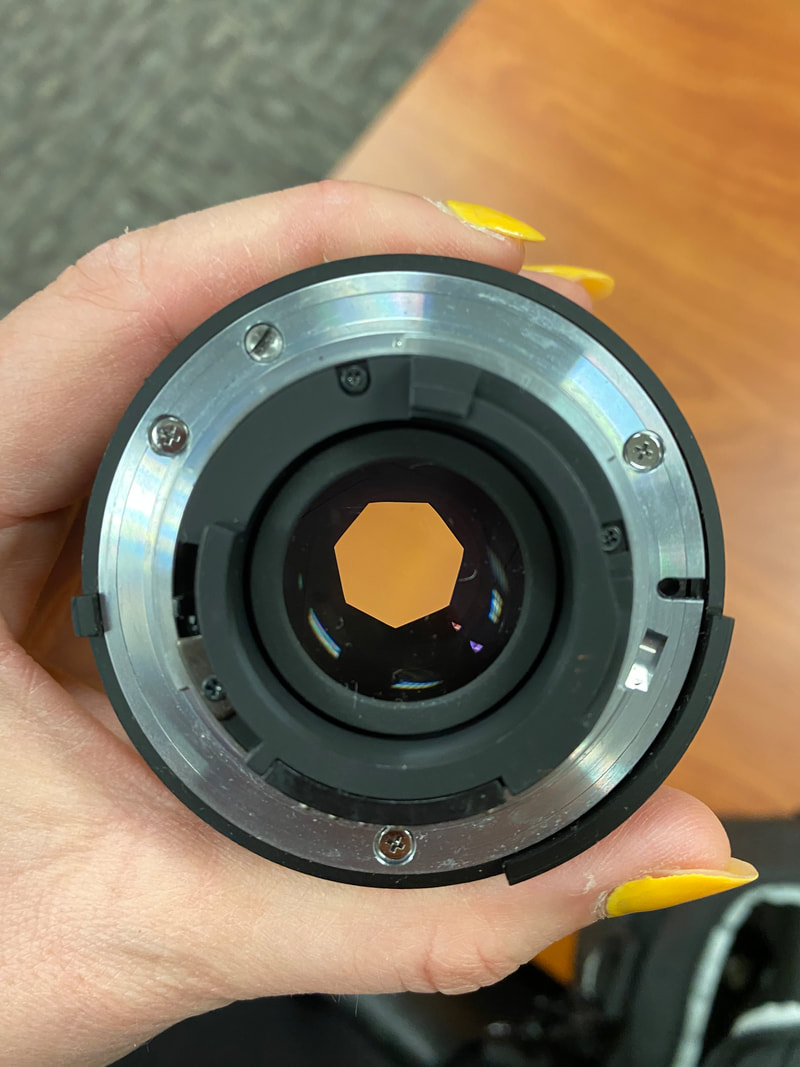
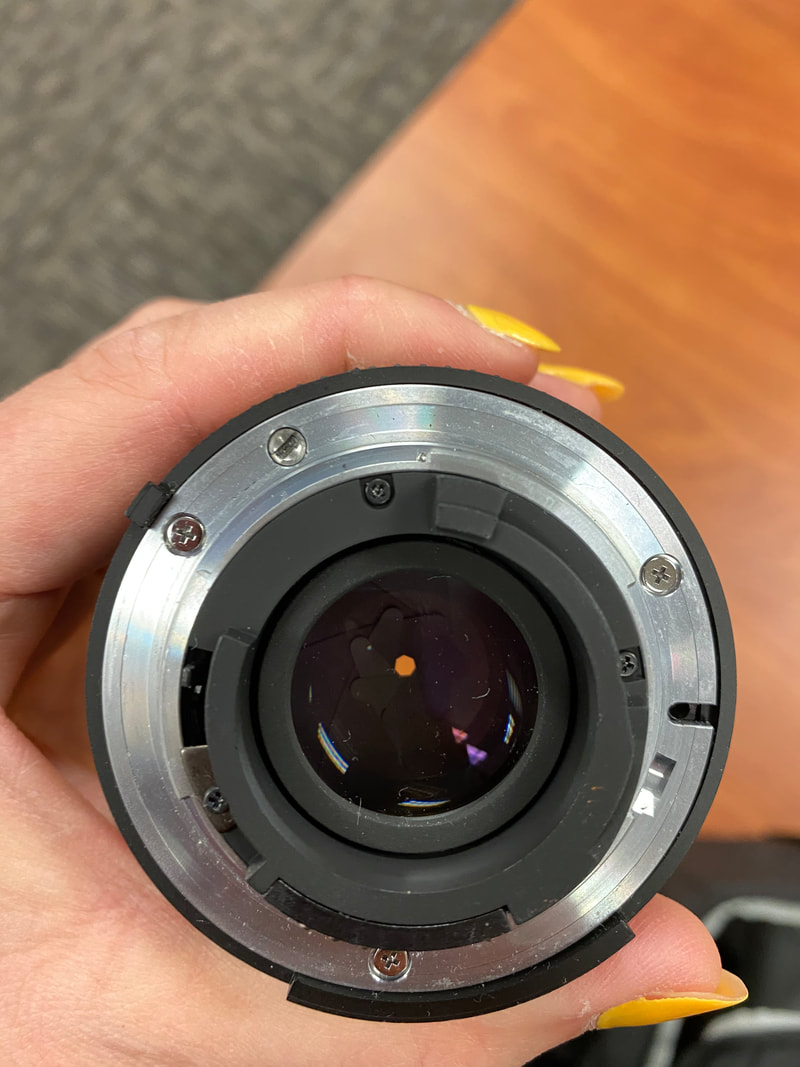
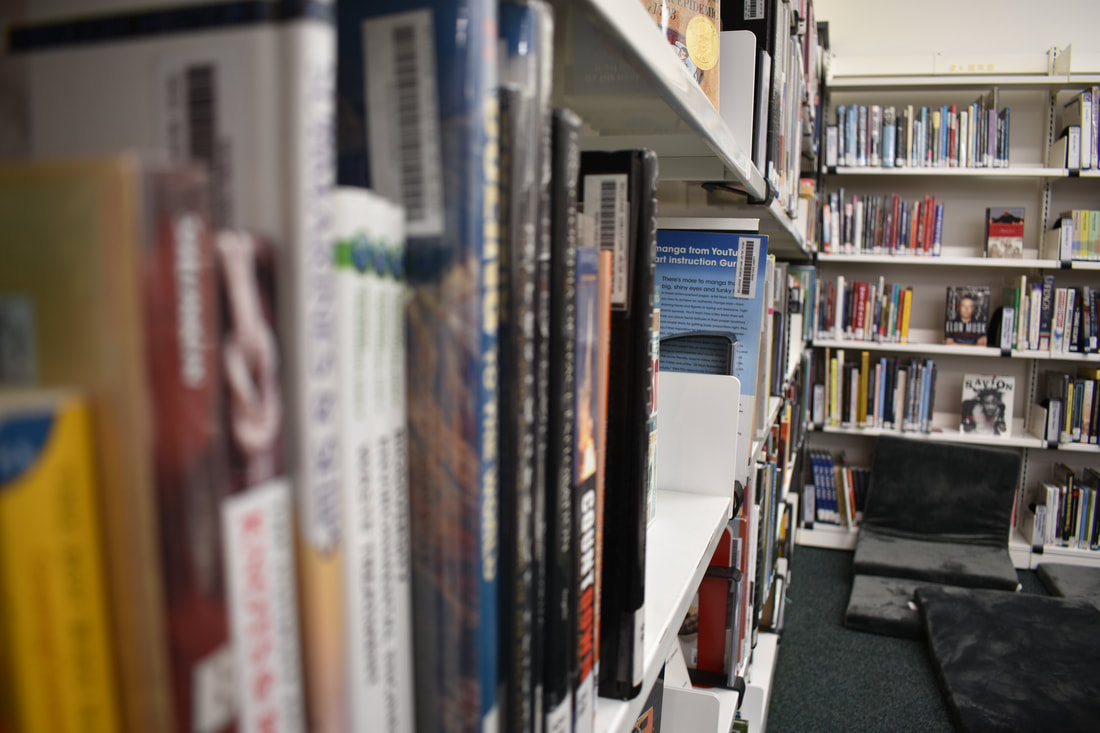
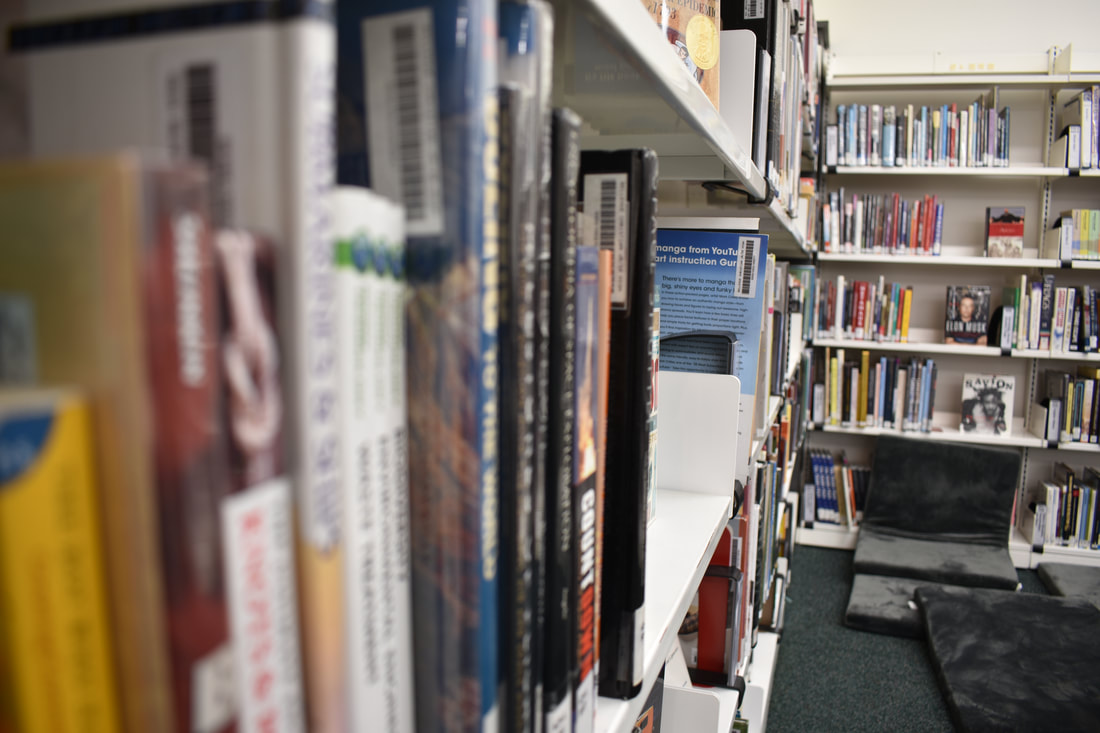
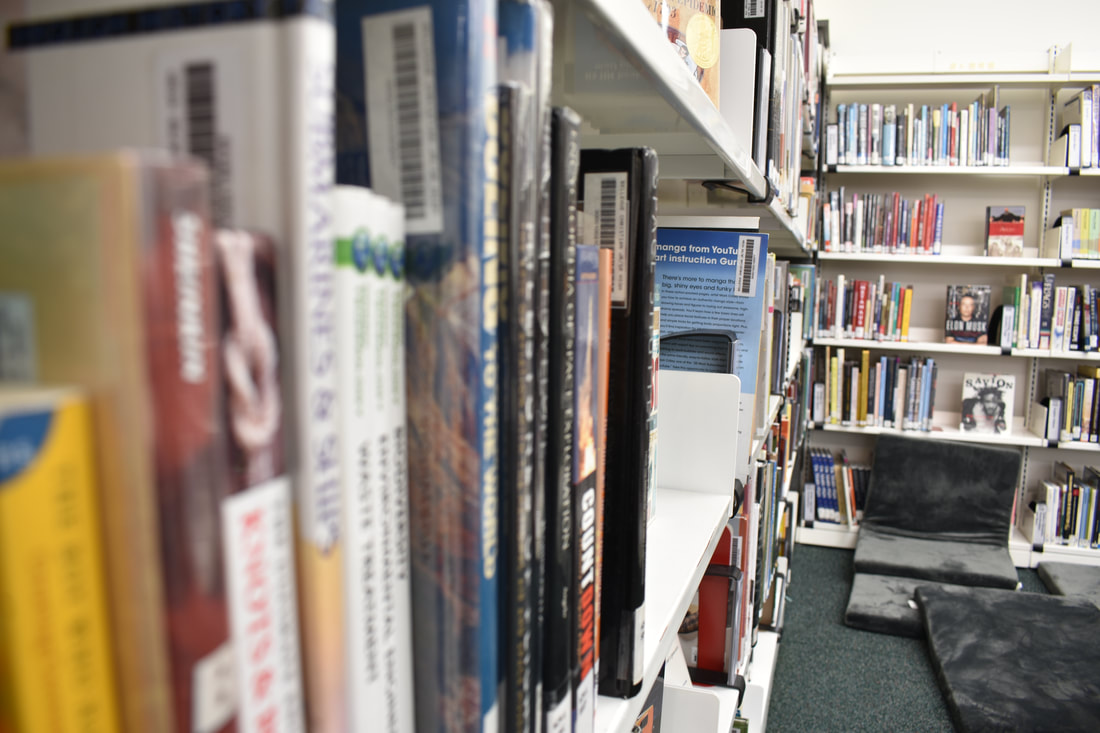
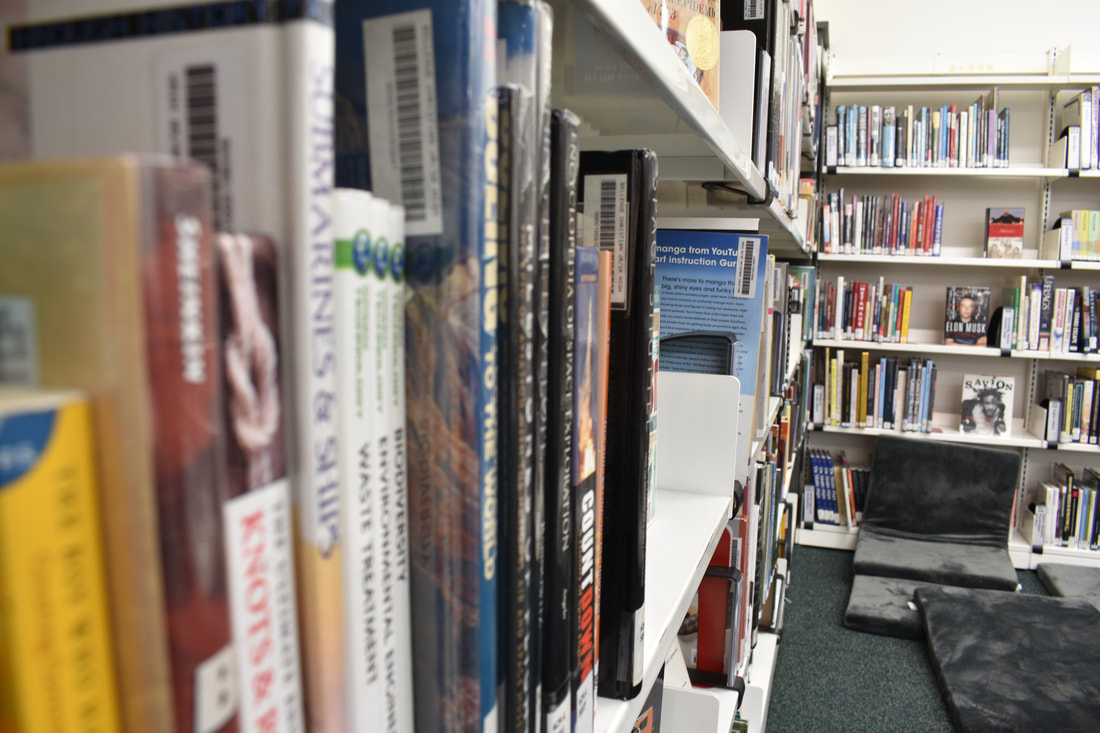
What?
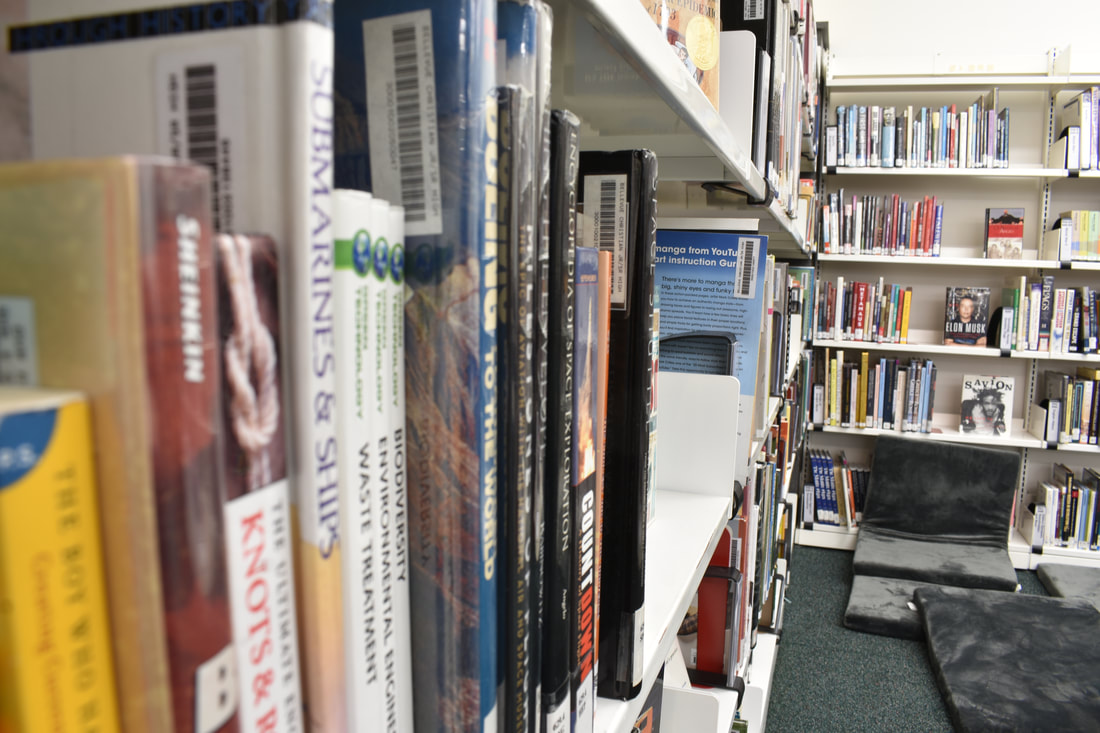
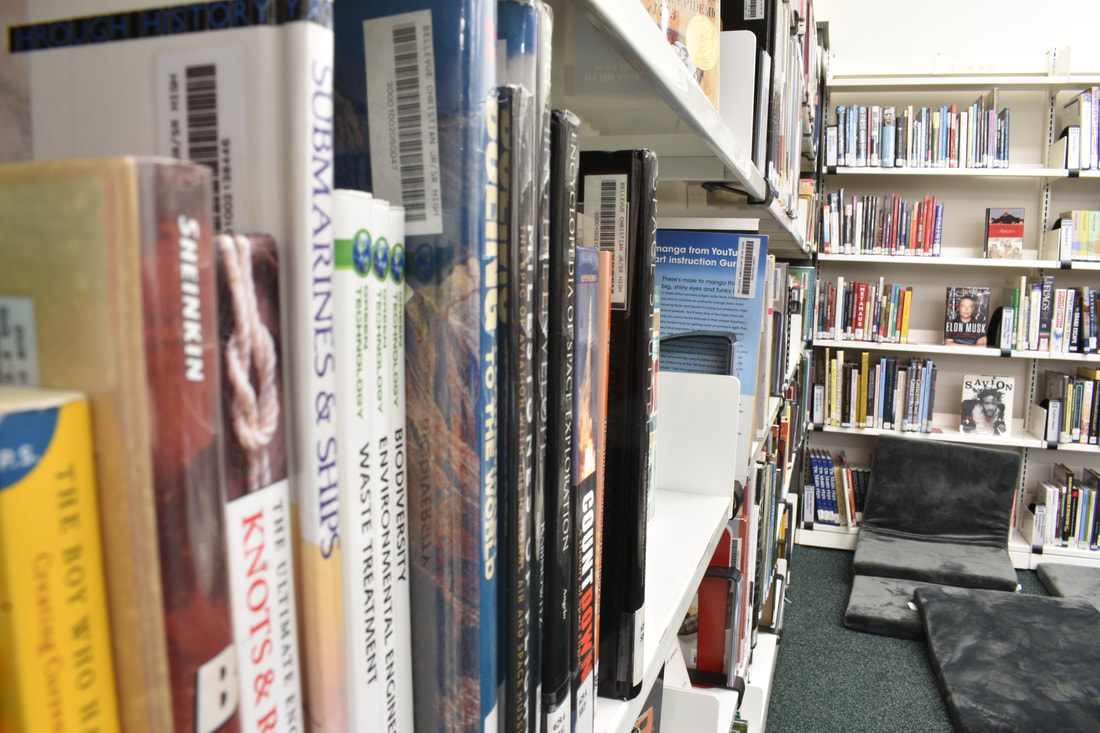
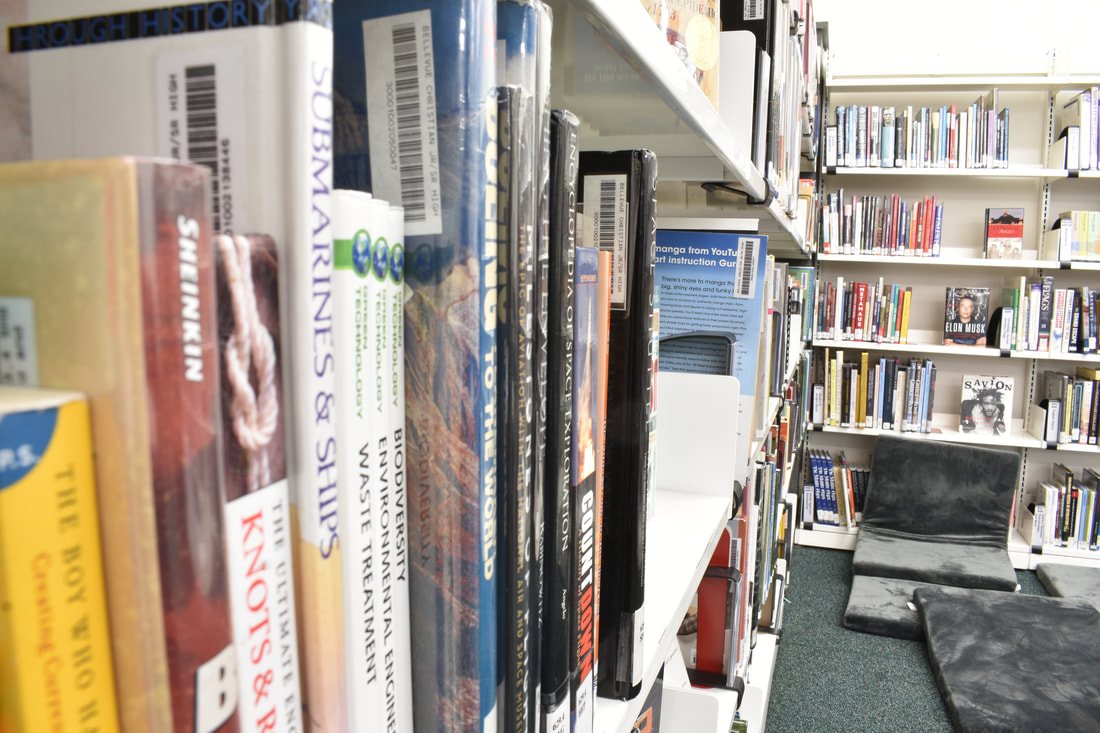
- A series of photos with the same COMPOSITION, shot at stepping APERTURES. (f 3.5, f 4.0..........f 22)
- See the example below
- Try to find a space that has "distance" aka a hallway or down a book shelf....
- Be sure to follow the step by step instructions, or watch the video.
|
|

|

|
|

|
|

|

|
|
|

|
|

|

|
|
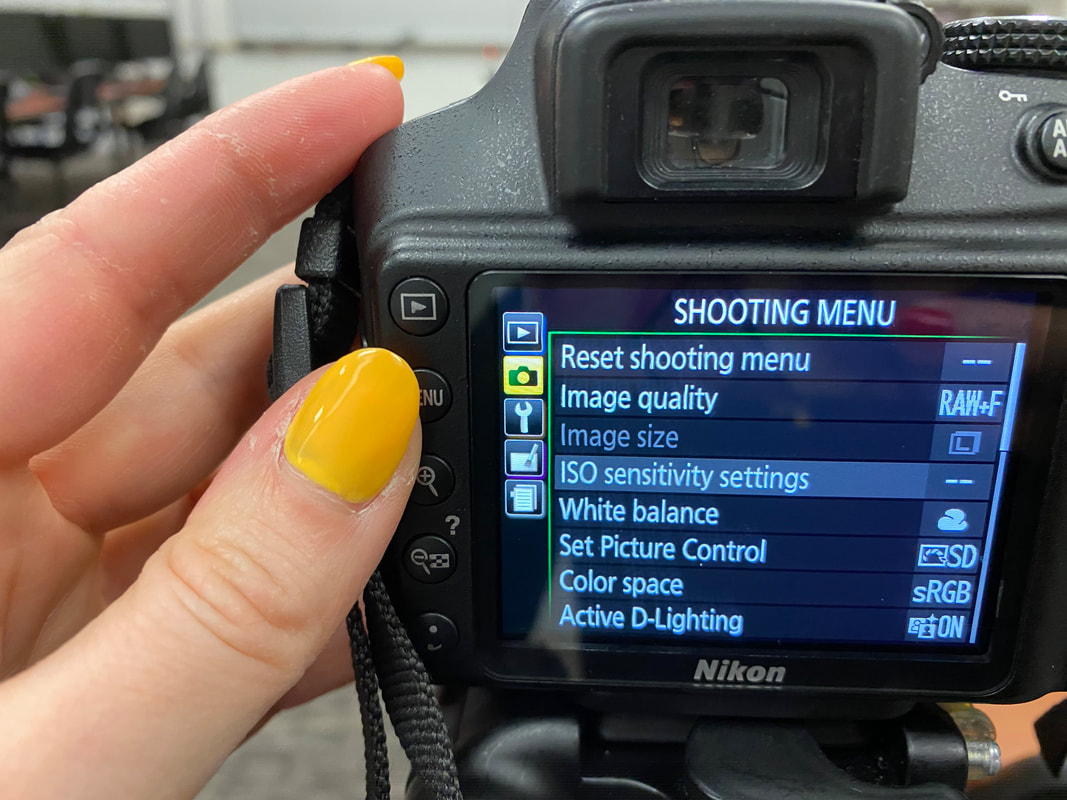
How?
|
|
|
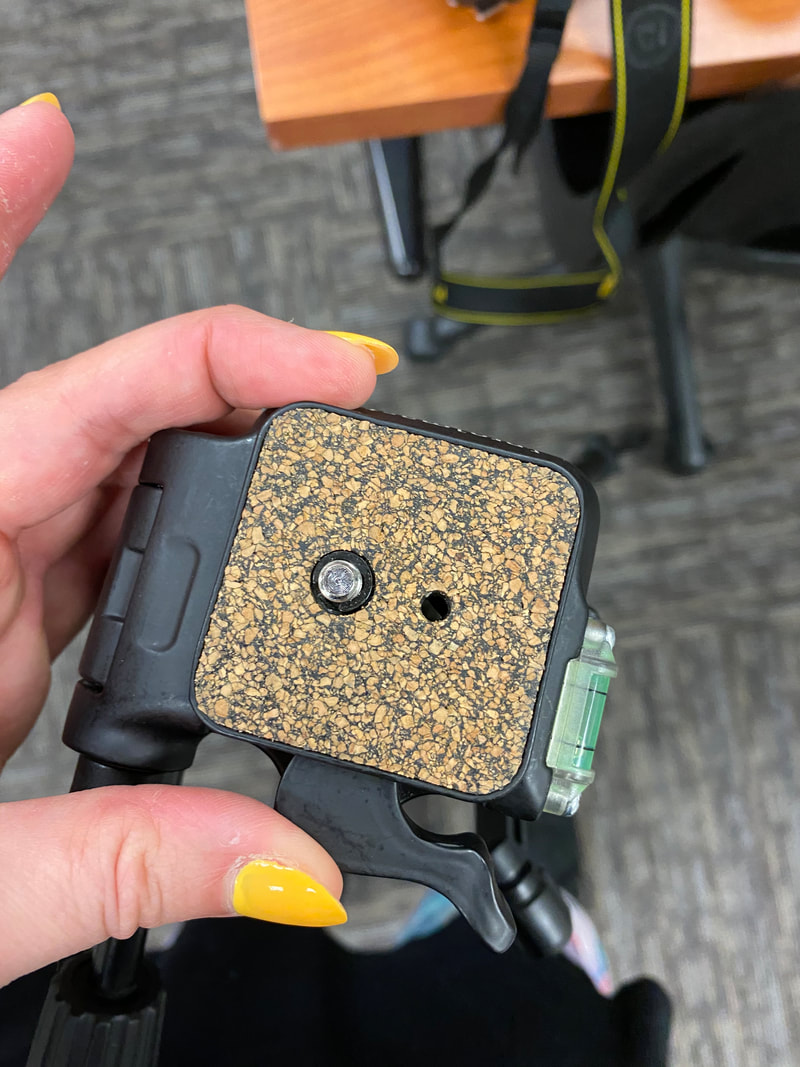
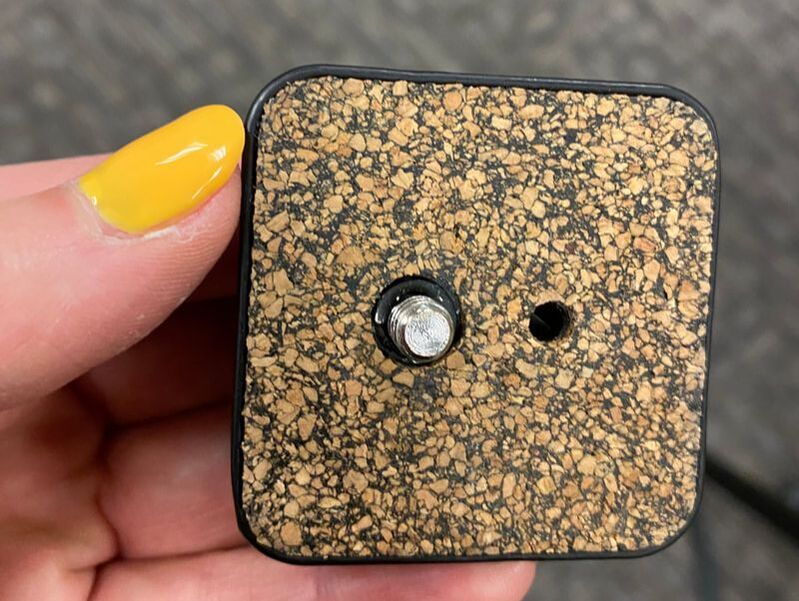
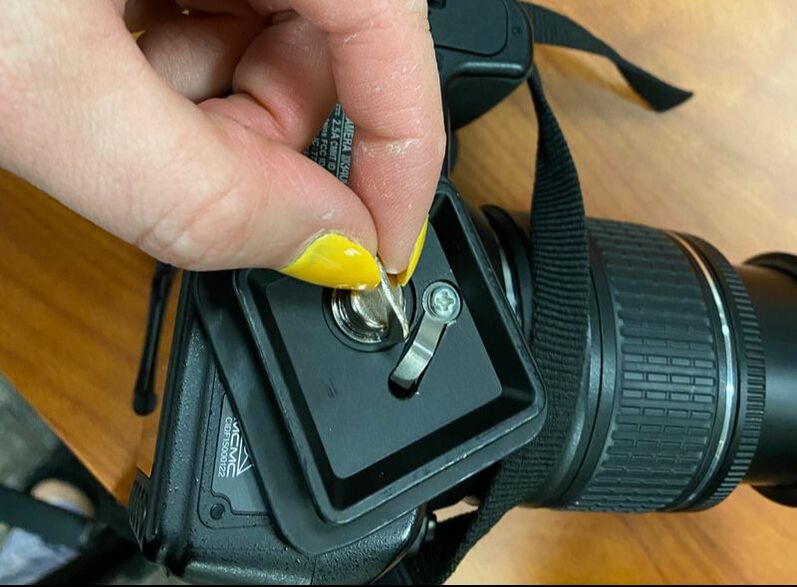
The tripod clips in. the black lever will click when your camera is secure. Make sure your camera is clipped in before shooting! Tighten all the part of the tripod as well.
|
A helpful tip is to shoot in live view, but be sure you have full battery as it sucks a lot of power. This is a helpful way to set up the shot. You can also look through the view finder.
|
|

|
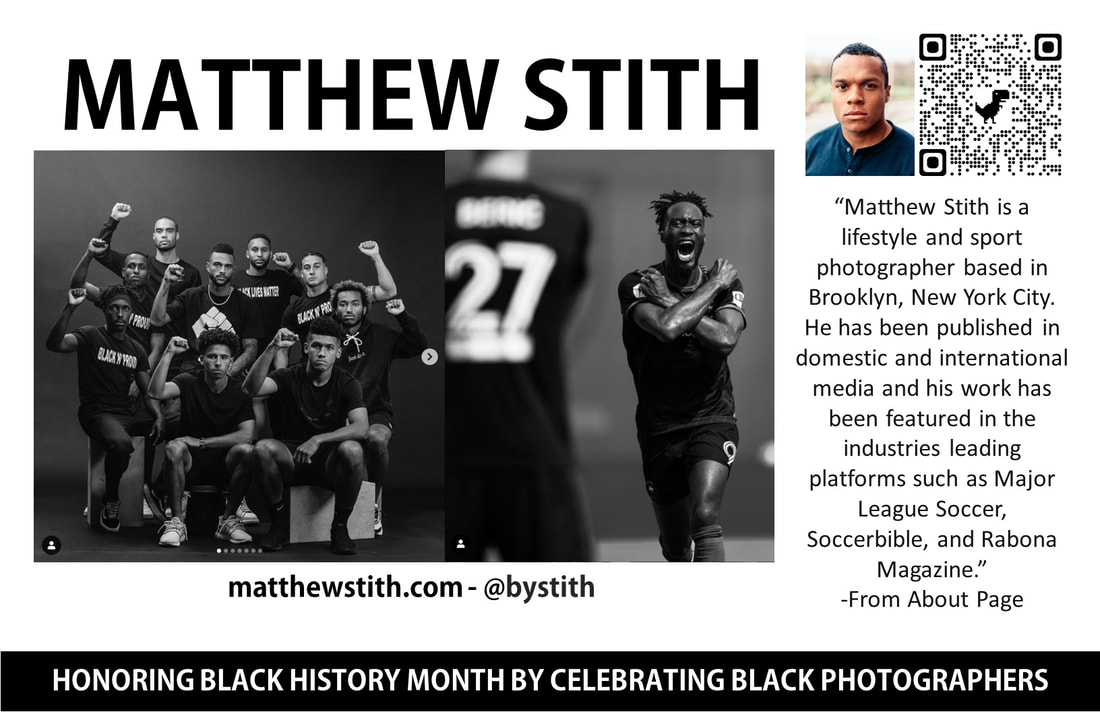
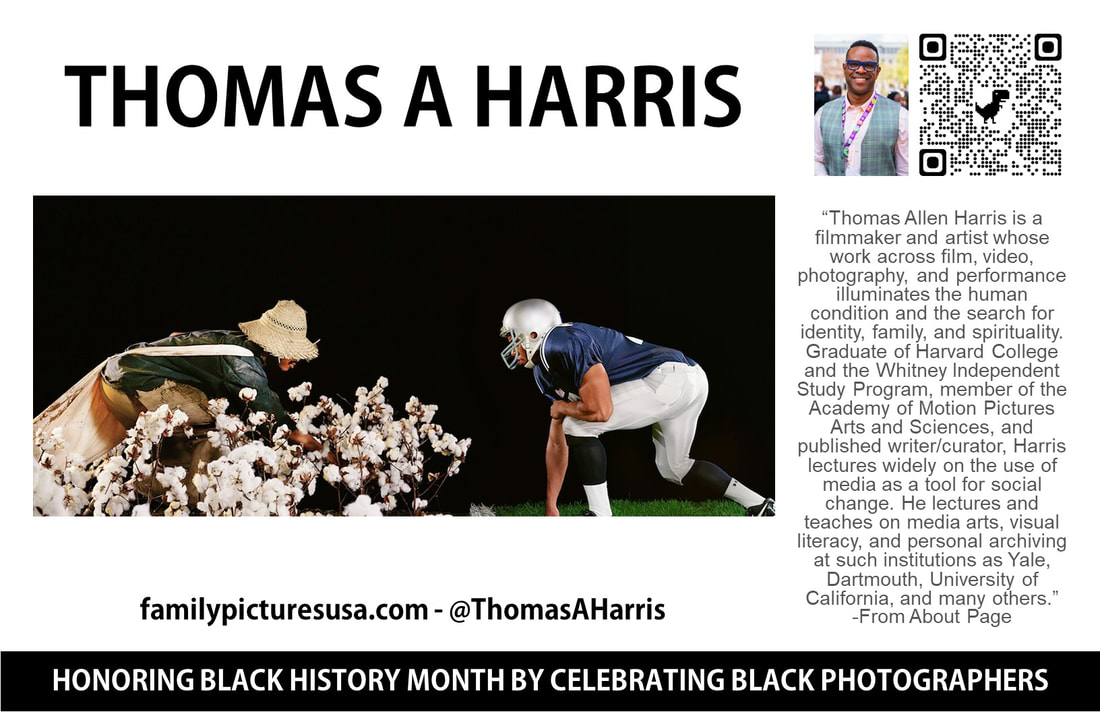
Celebrating Black Photographers
|
WHY?
WhAT?
|
How?
WhEN?
|
EXAMPLES of celebration poster
(choose your own photographer, but we will keep the same format.)
(choose your own photographer, but we will keep the same format.)


|
|
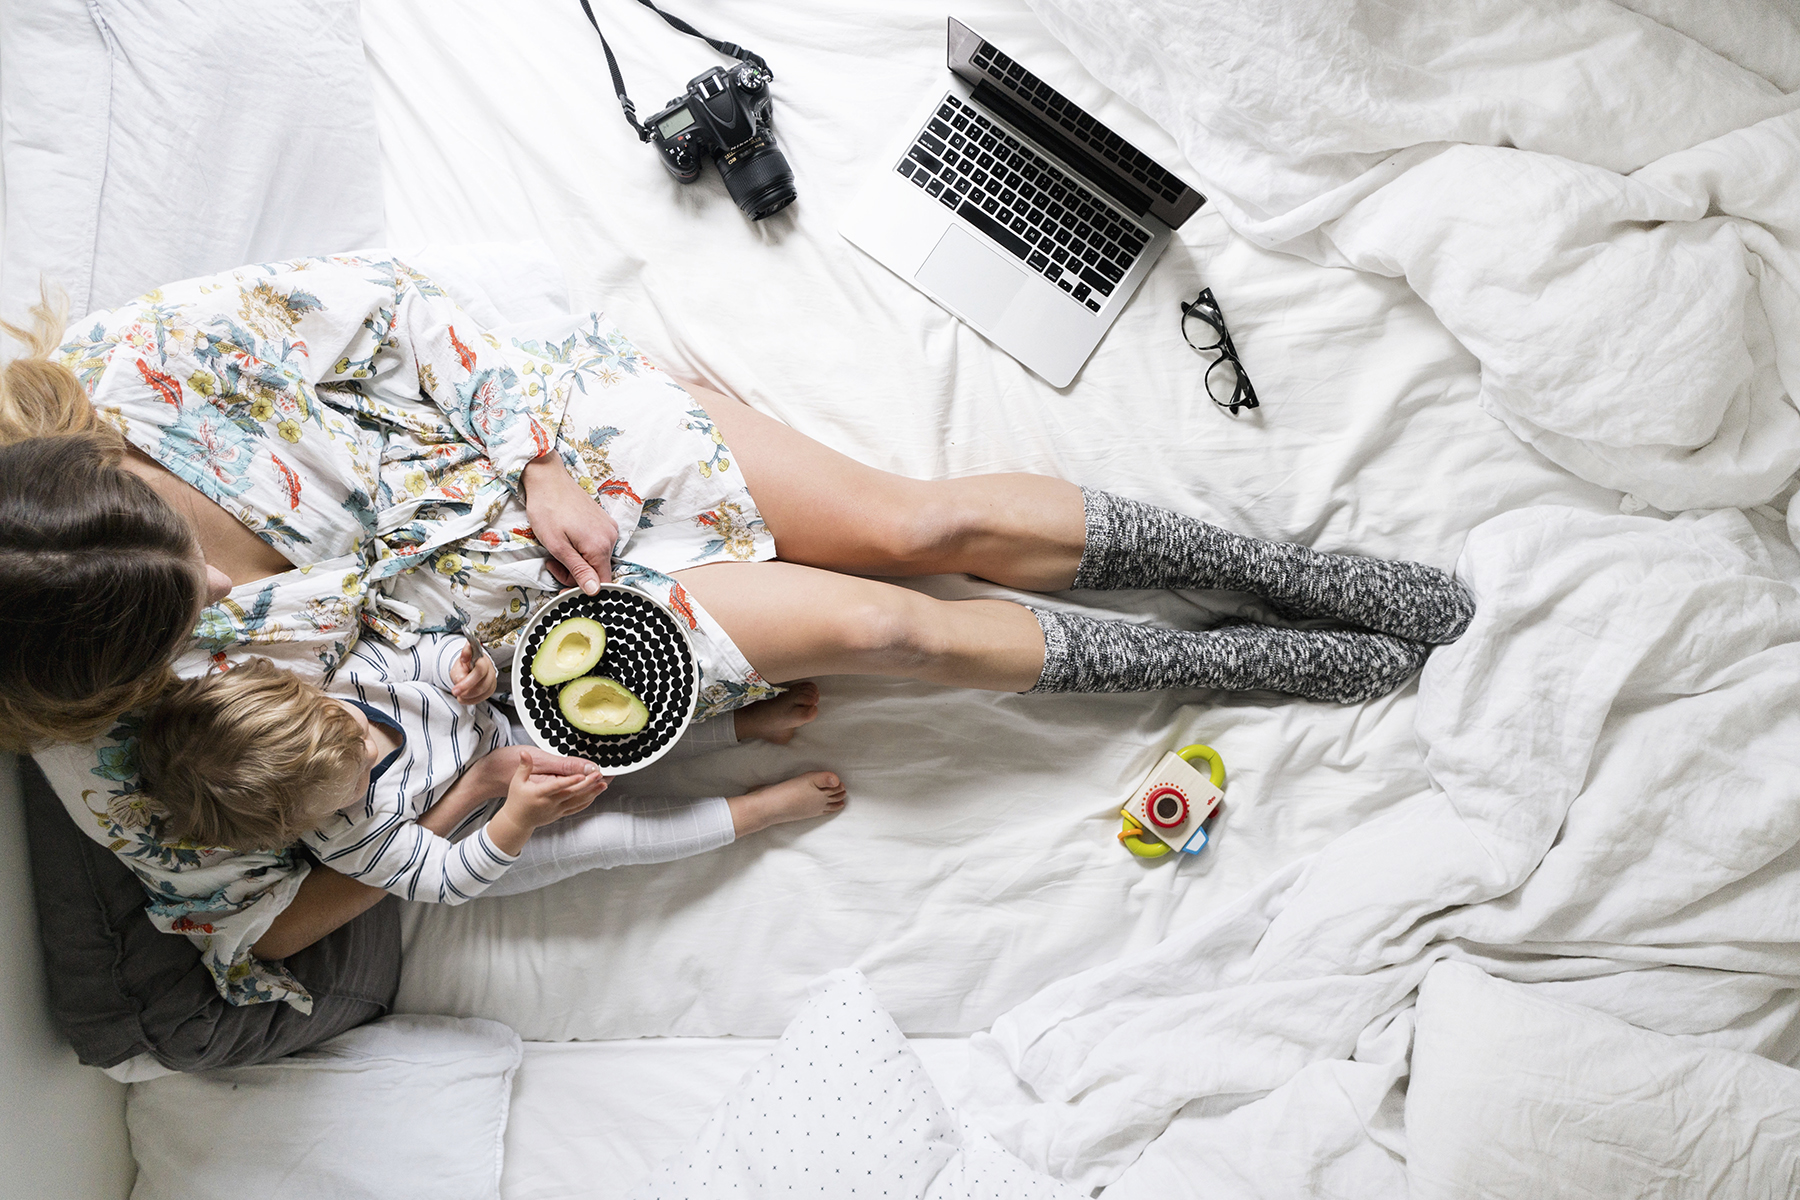
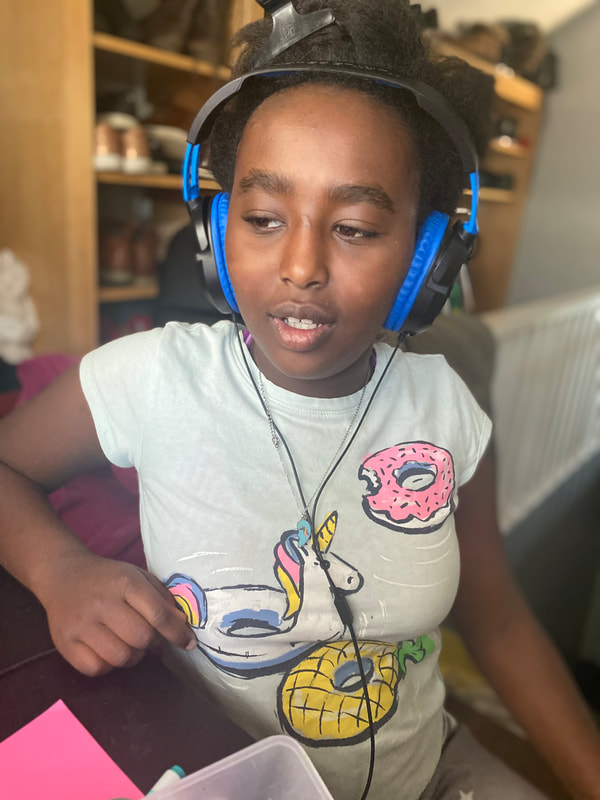
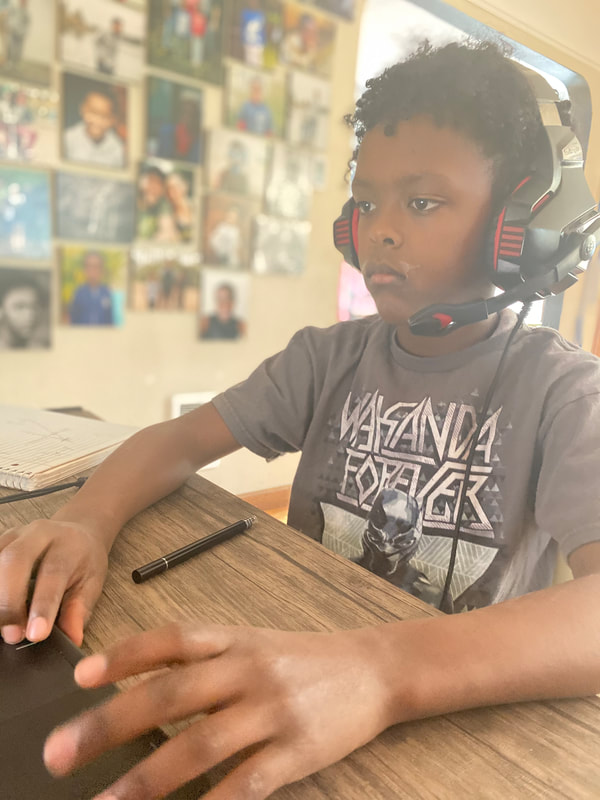
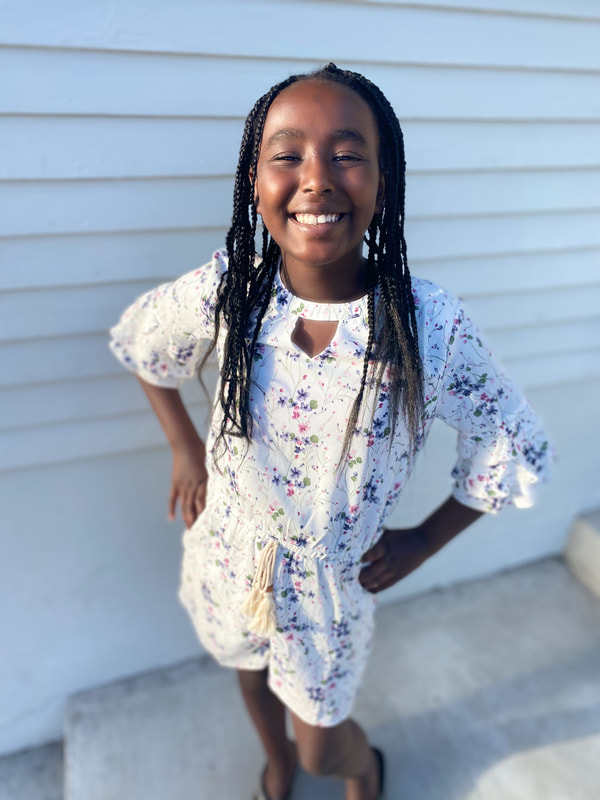
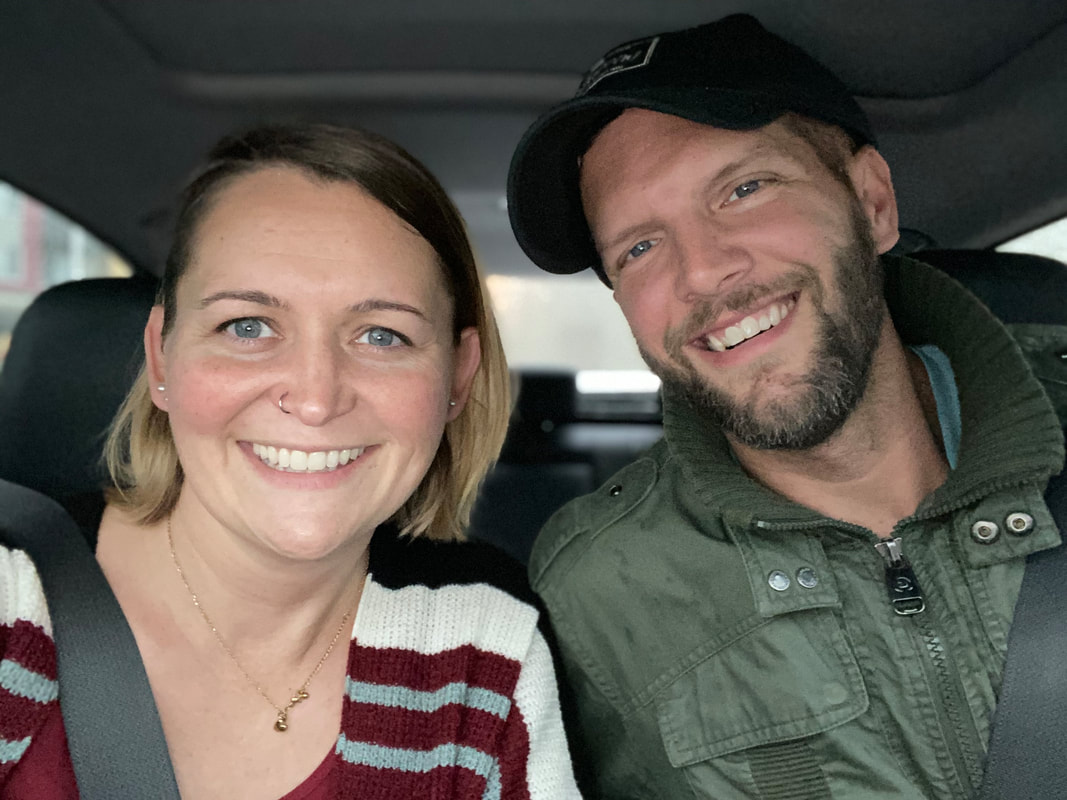
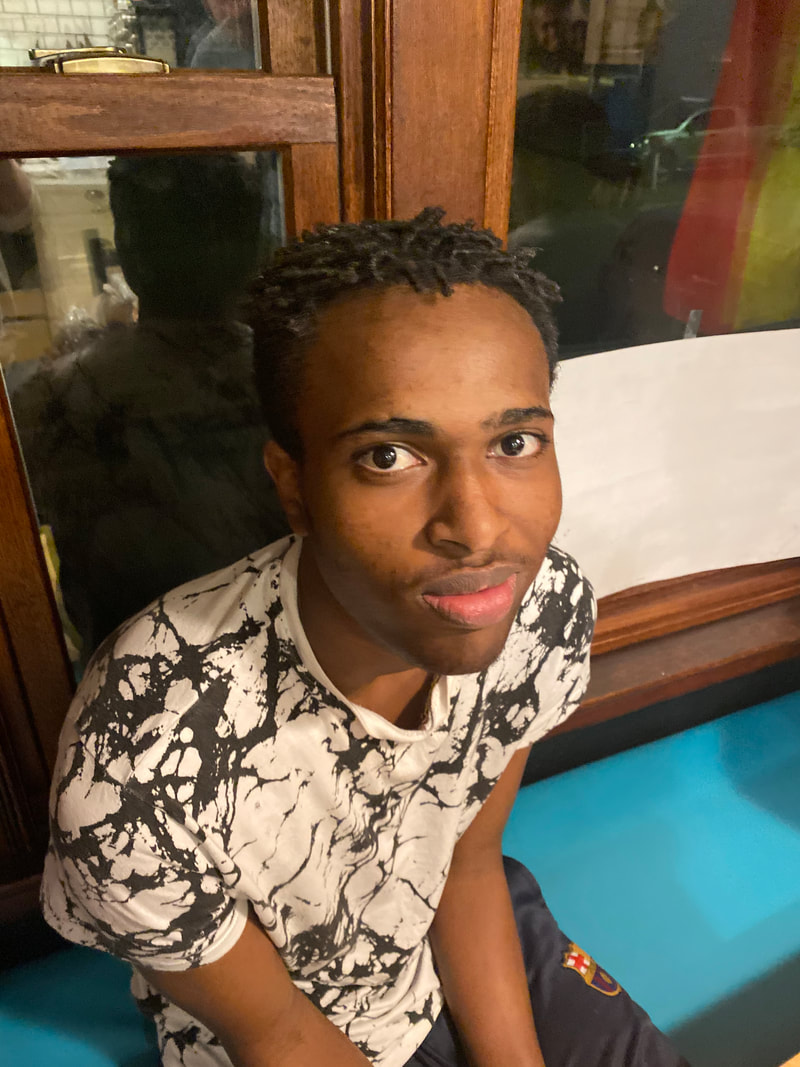
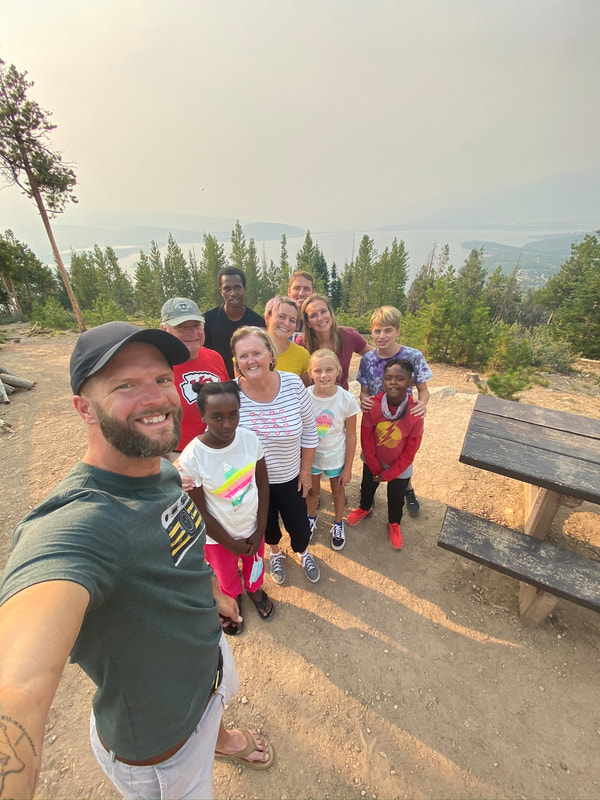
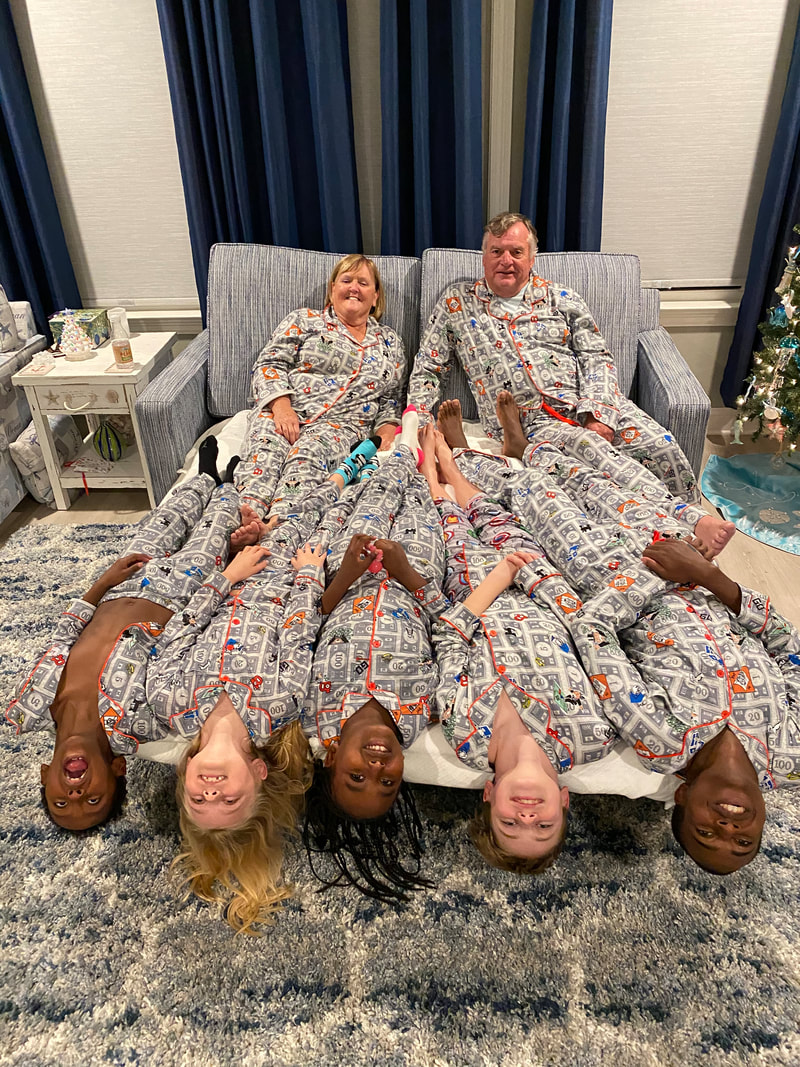
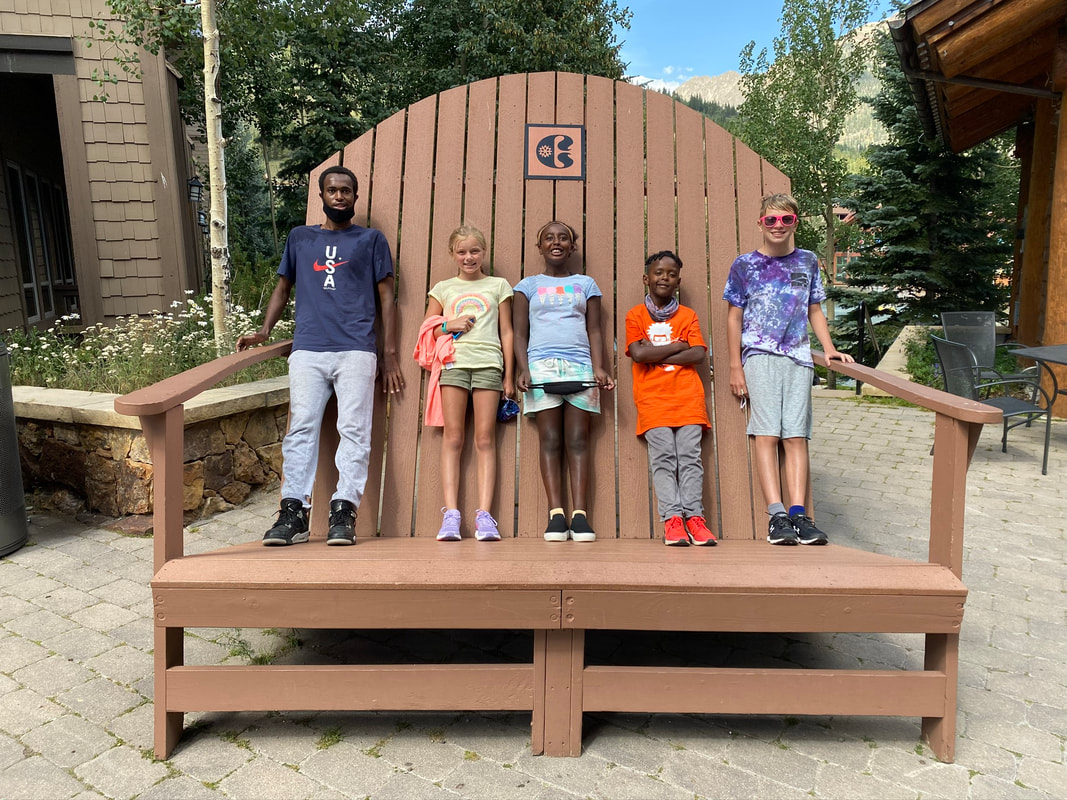
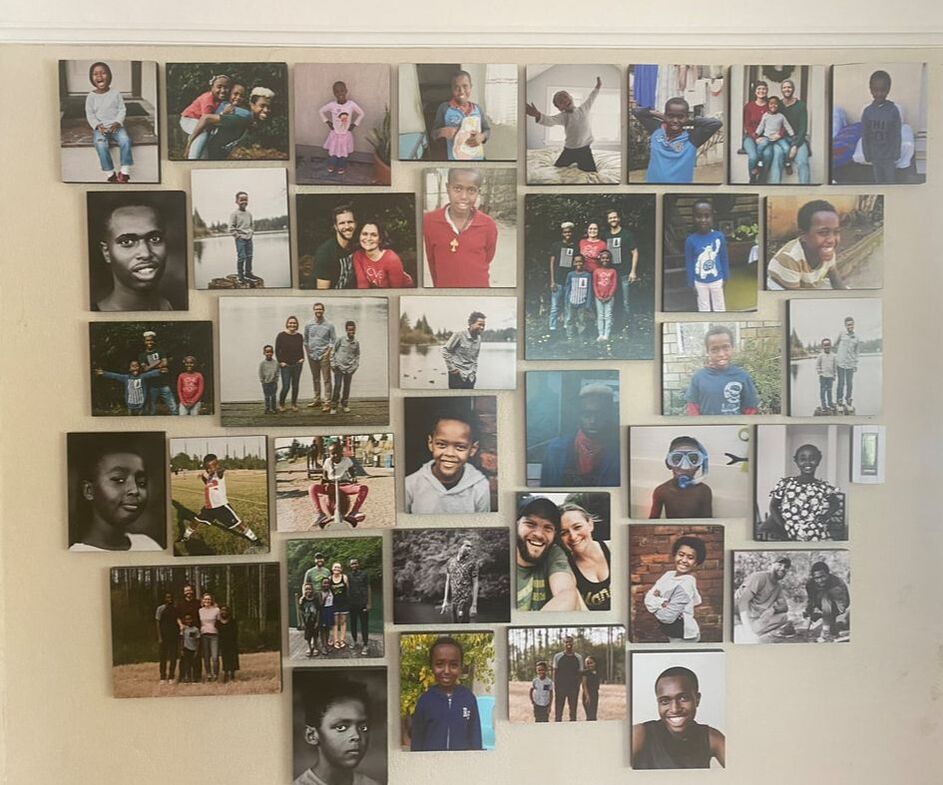
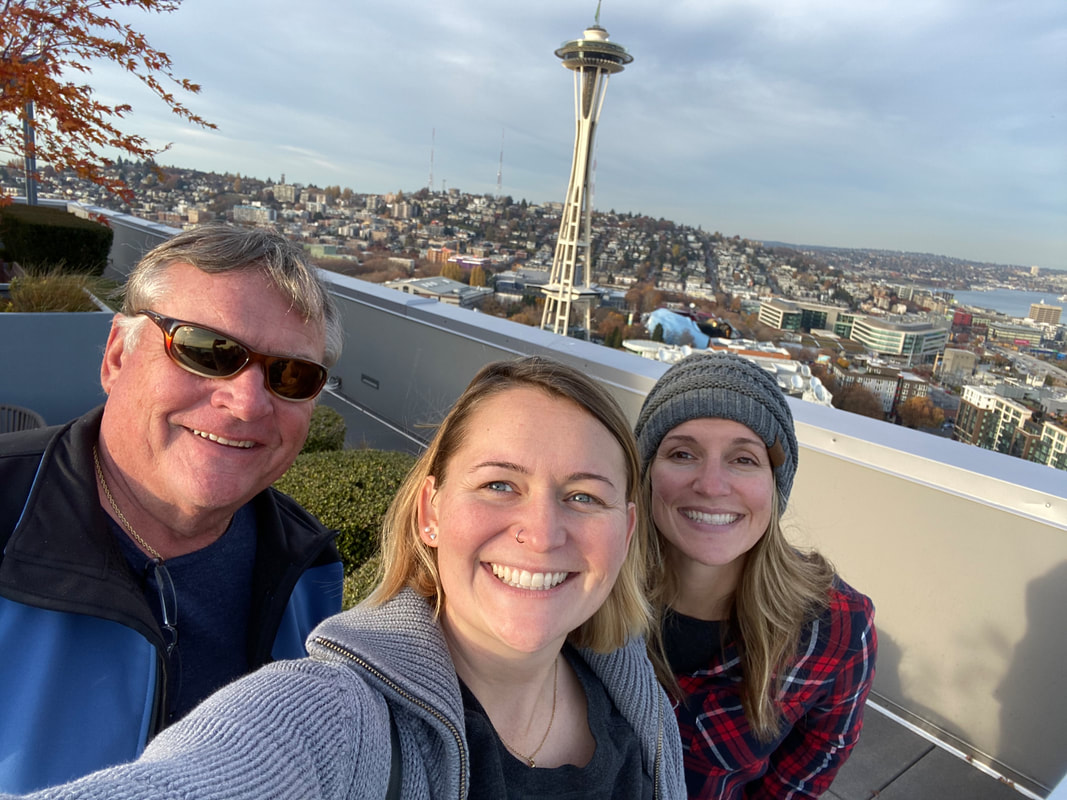
MY Family Album
(your webpage will reflect you, but this is the general idea)
(your webpage will reflect you, but this is the general idea)

|
|
|

|
|

|
|

|
|
|
|

|


Create Your own Website
|
Why?
WHAT?
The below items must be included in your personal website. ADDITIONAL items or deviation should be discussed with mrs. fiechtner. Anything is an option once you have a base site.
|
NOTE:
I believe in the power of choice, as well as, students advocating for their best learning experience. I also BELIEVE in a safe and CONDUCIVE LEARNING environment. I WILL GIVE YOU THE FREEDOM TO EXPLORE THESE DIFFERENT learning OPTIONS AS YOU SEE FIT. THIS FREEDOM REMAINS AS LONG AS YOU ARE USING YOUR CLASS TIME WISELY, I CAN SEE YOU MAKING PROGRESS TOWARD THE PROJECT REQUIREMENTS, and you are not disrupting the class environment. Choose the option that leads to your best work and be willing to adjust and relearn as you go. How?
WHEN?
Learning, building, revising: IN Class Jan. 27- Feb 10 Shell Site Due Feb 10th Ongoing revision and photo additions will continue throughout the semester. Students are expected to put all projects on their site and keep it up to date. LOGISTICS:
You can choose the site platform of your choice. Weebly is very user friendly, but if you are more comfortable with a different platform that is the best place to start. Remember these sites are published for your classmates and parents to see. Create something you are proud to have seen. Look at websites from previous students by clicking here. They are a great resources to see how sites can be set up and managed. |
