scratching the surface of possibilities in all things "visual arts"
Reflection!
Why?
- Because reflection is often part of starting a new year, of course that is more symbolic reflection, but it could play a part in what you choose to capture in your photos.
- Maybe there is something you learned in 2020 that you want to capture in your photos
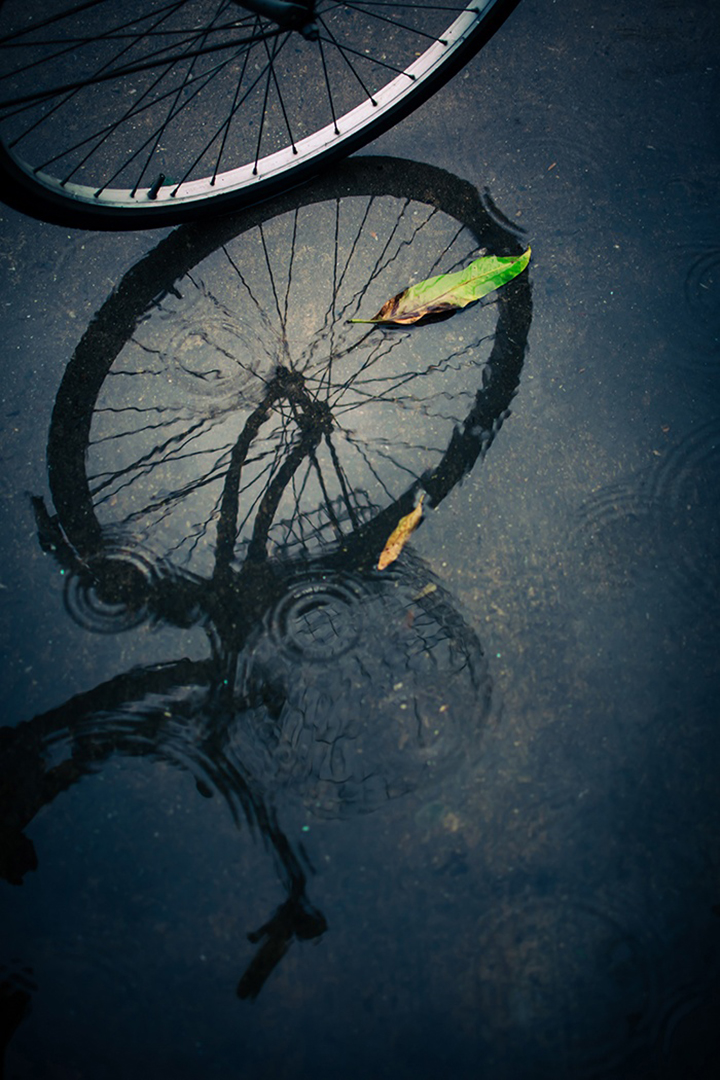
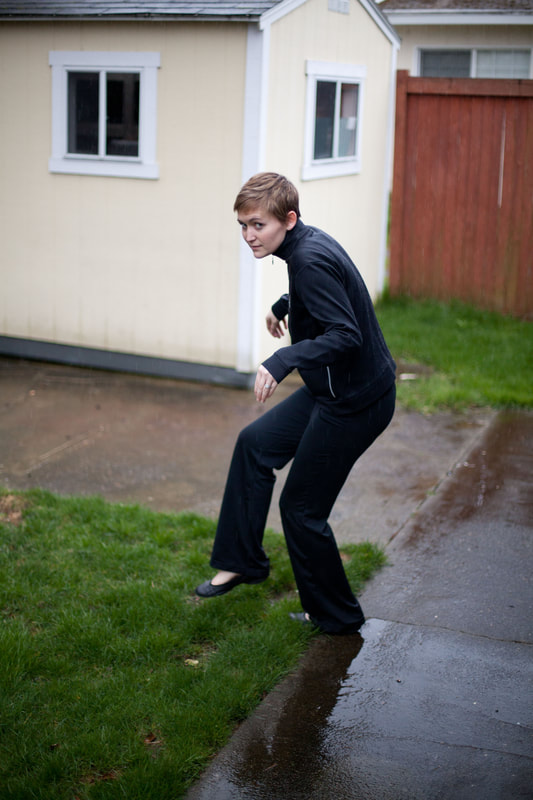
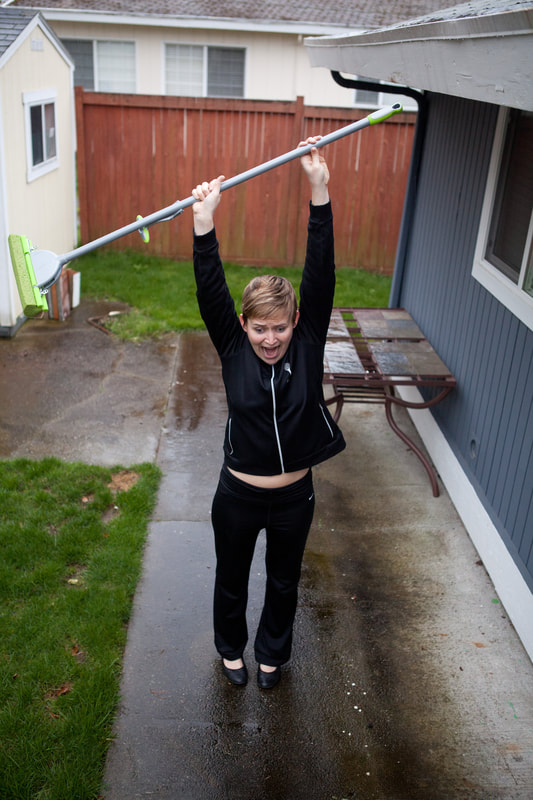
- It is the rainy season, which typically means shooting outside is less than ideal, But puddle reflections are a great way to make lemonade out of lemons.
HOW?
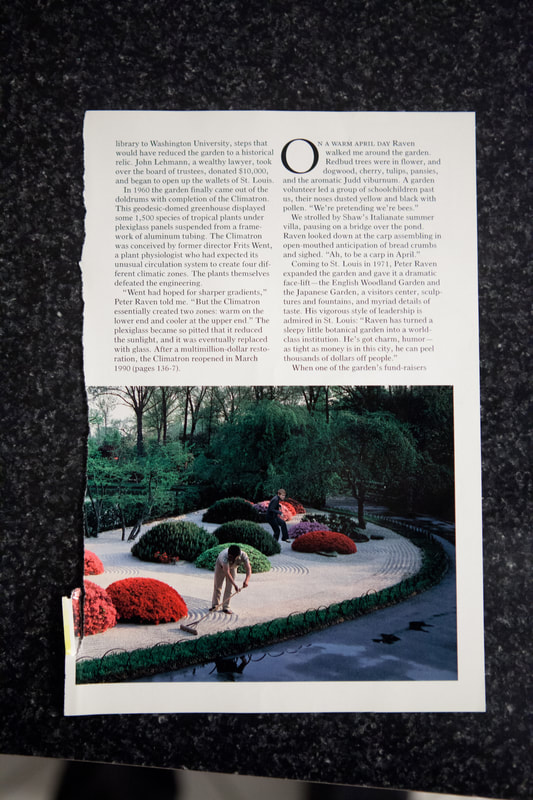
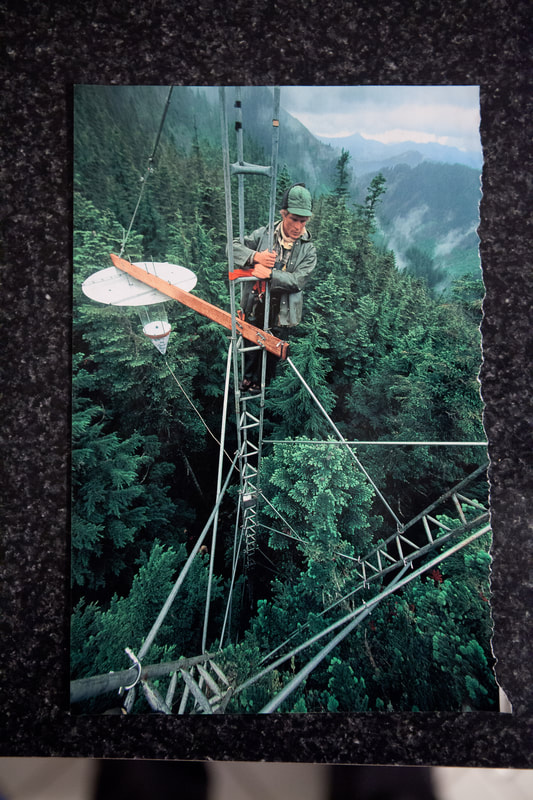
- As with all photos, first identify what you want to photograph. See the examples I included below and do some research on your own.
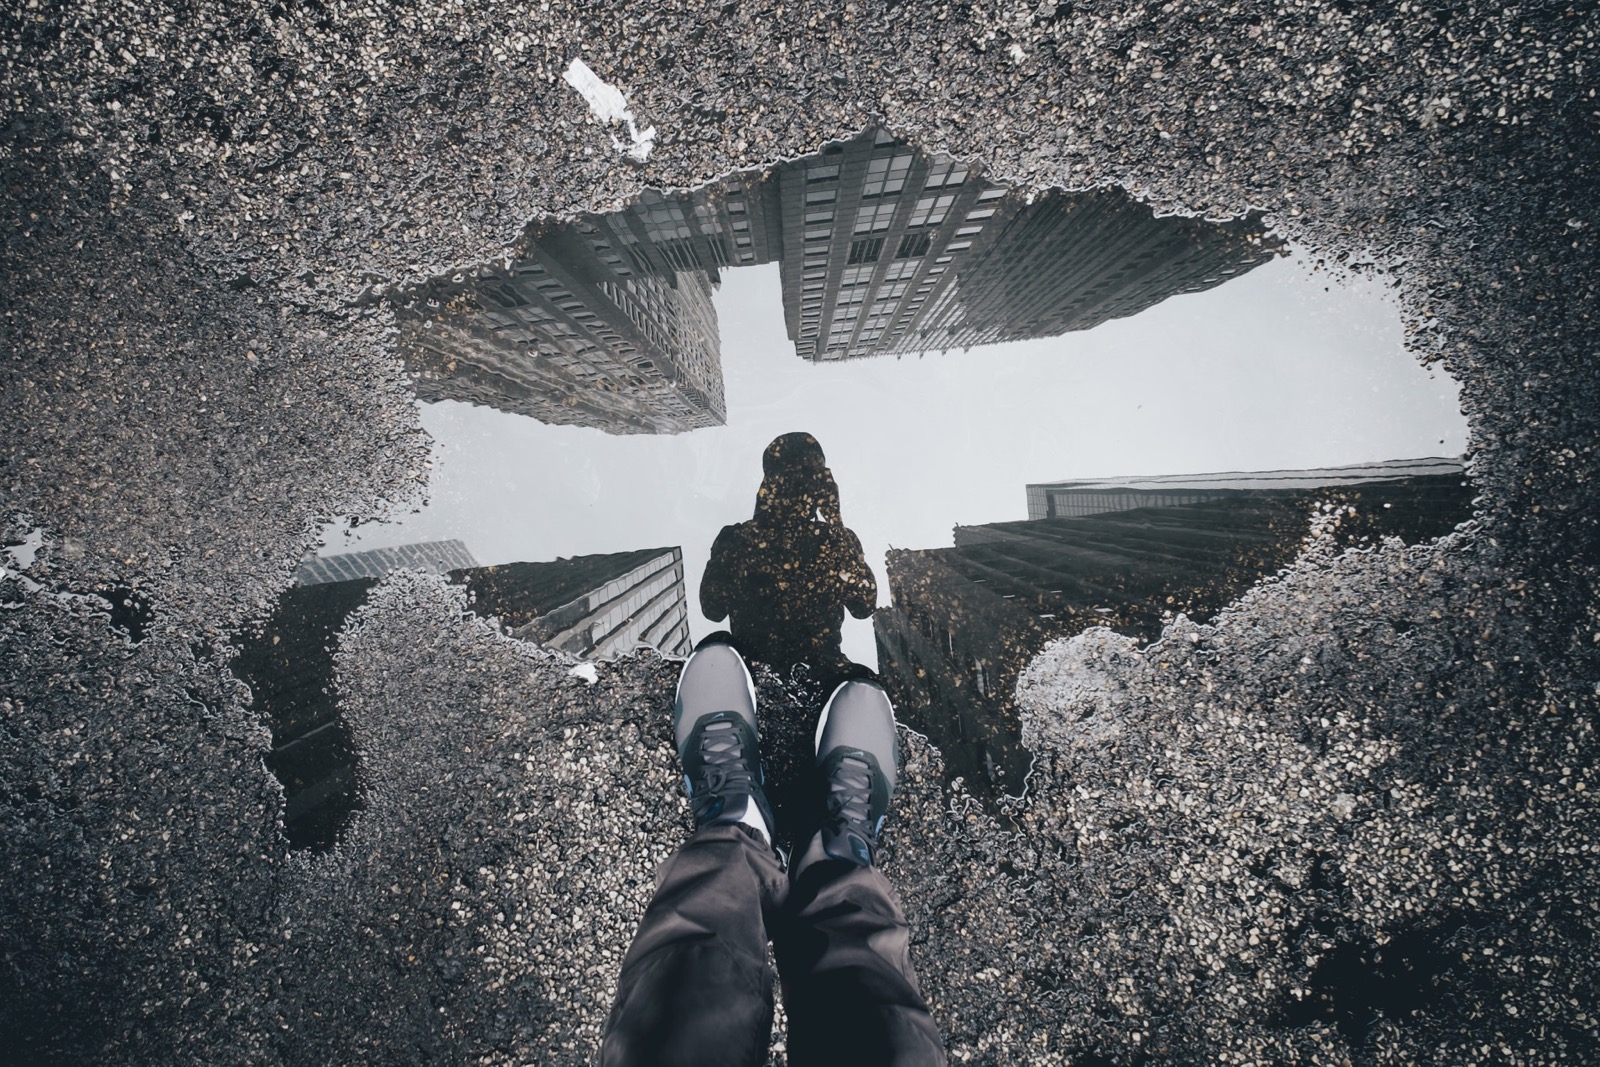
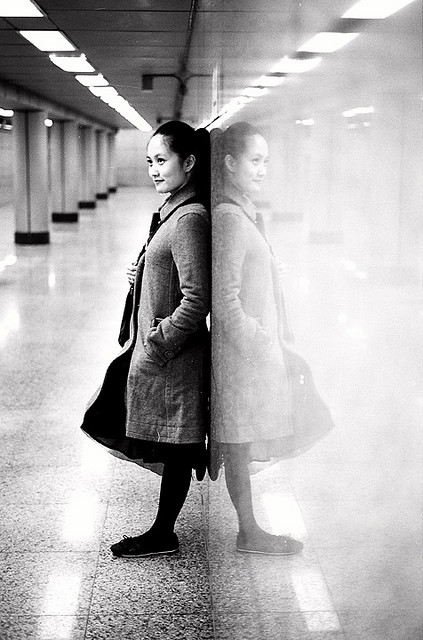
- Find your reflective surface. A puddle is the best place to start. If you have plans to be out and about, buildings with larger windows can work as well. As a last option, you could use a mirror inside or reflective items like sunglasses or spoons.
- Get low to the ground, maybe even having the camera on the ground.
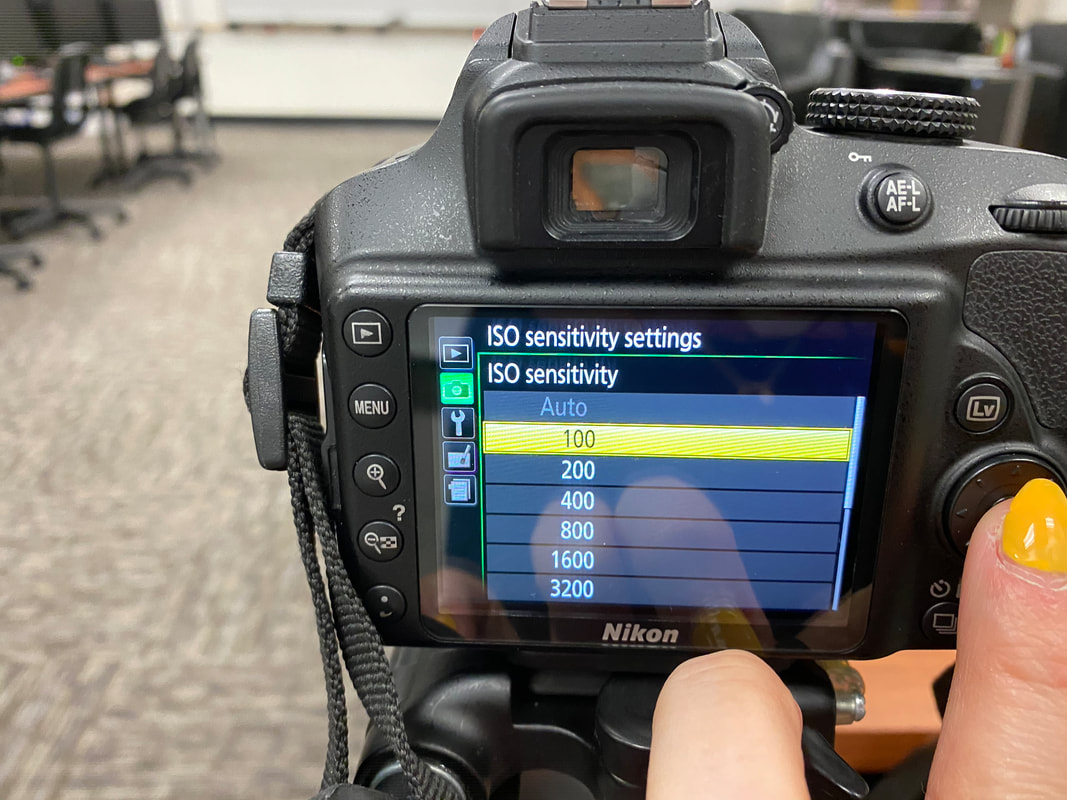
- Find Camera settings that allow for the reflection and the object to be in focus.
- Around f13, SS 200 or higher, Iso 800 or lower
- You Should try other settings as as well! But start with these and adjust
- Around f13, SS 200 or higher, Iso 800 or lower
- Work through different COMPOSITIONS,
- you should have 10-20 photos total. 3-4 different set ups minimum.
- Look for a still puddle (aka wait until it stops raining)
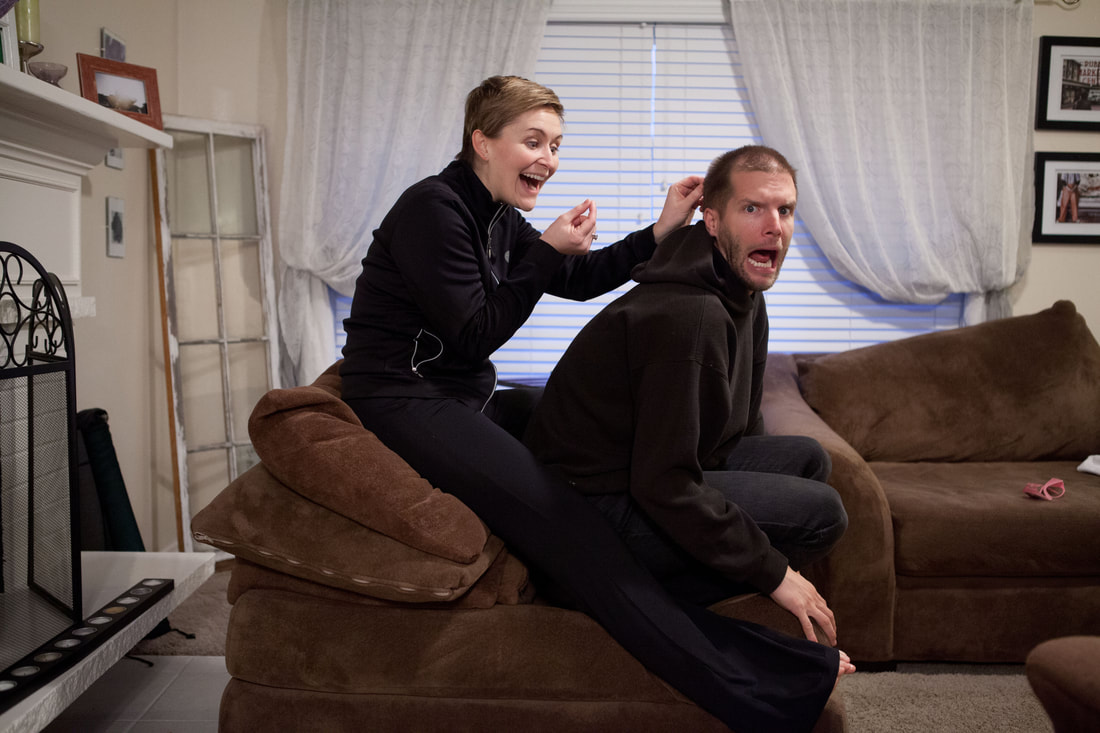
- Get a friend to help (having people is a more COMPELLING subject)
- Choose a variety of subjects to see how different sized objects reflect (house or car Vs. bike or person)
|

|

|
What?
- Reflection photos similar to the examples above.
- 10-20 photos on your process page
- 1-3 photos on your final page
Photo Manipulation, USING GIMP
|
WhY?
|
HOW?
|
WHEN?
|
WHAT?
- SEE Examples BElow
|
|
|
|
|

|

|
|
|

|

|

|
Magazine Design
|
Why?
to explore in-design as well as layout and compostion Design. It will also help you think through the process of taking photos and translating them to the page. |
WhEN?
Due Nov 6th. You will have time in class to work. |
WHAT?
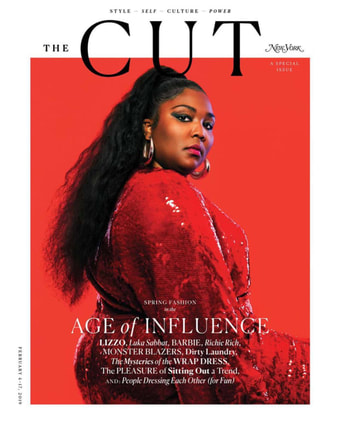
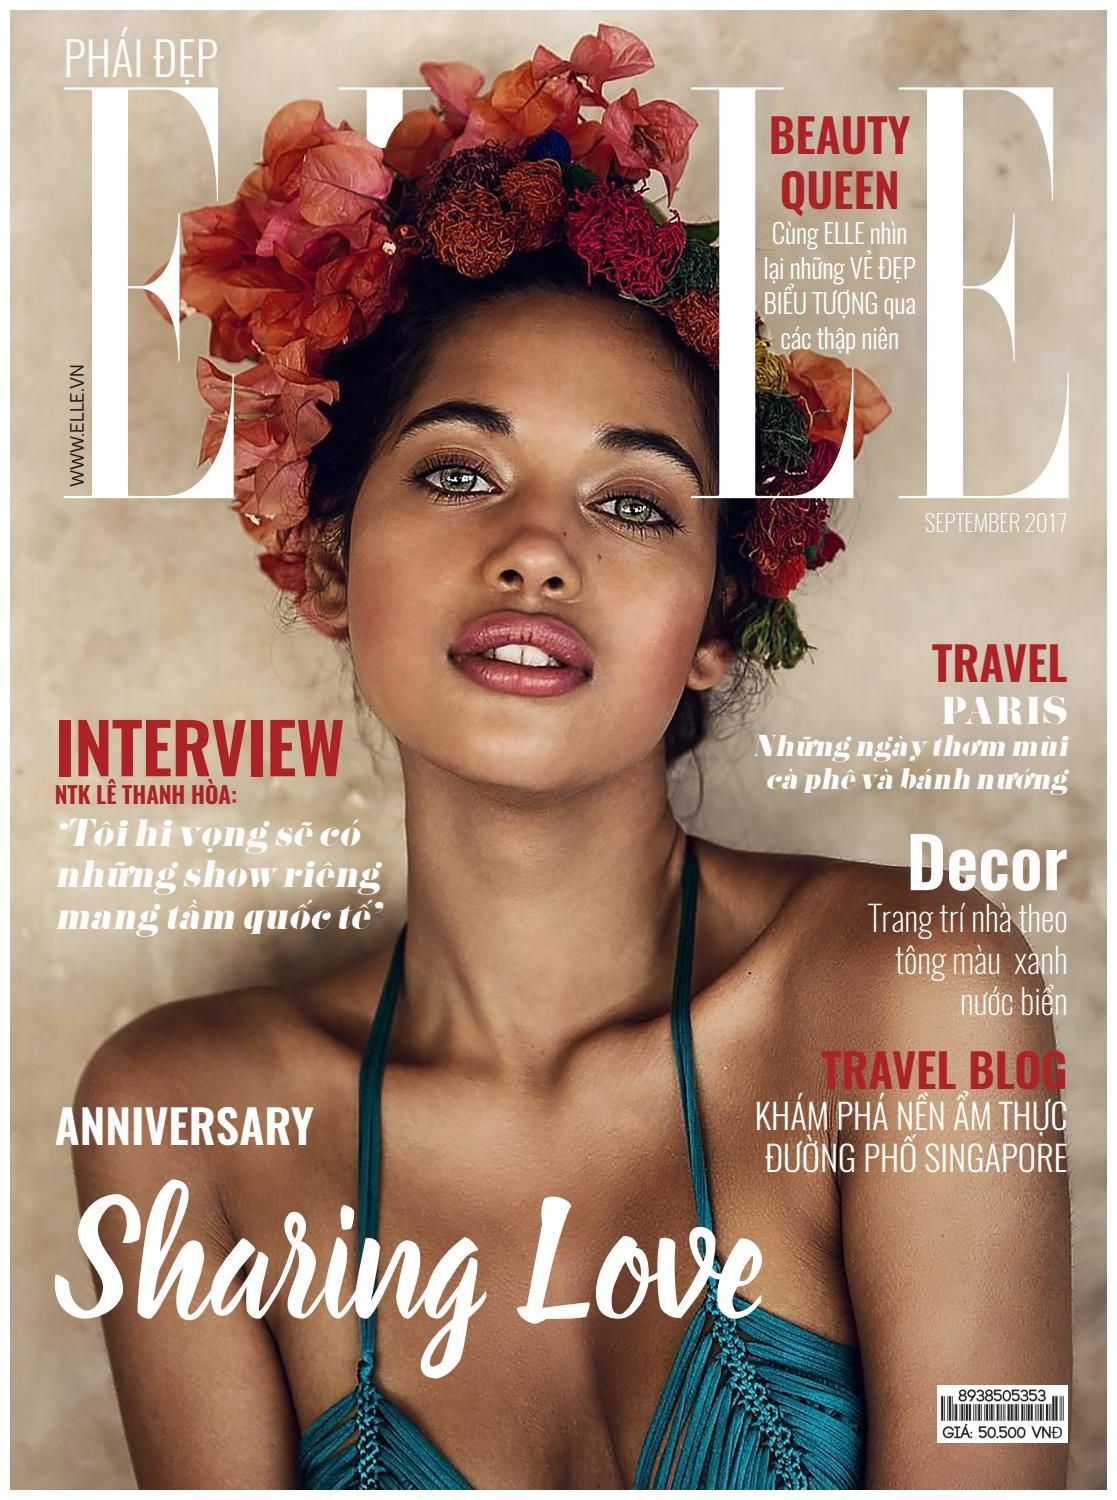
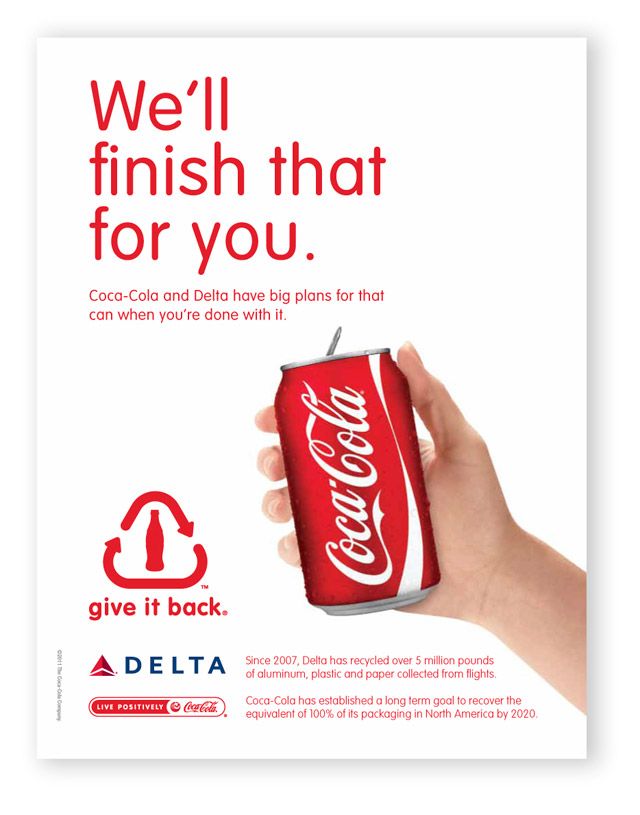
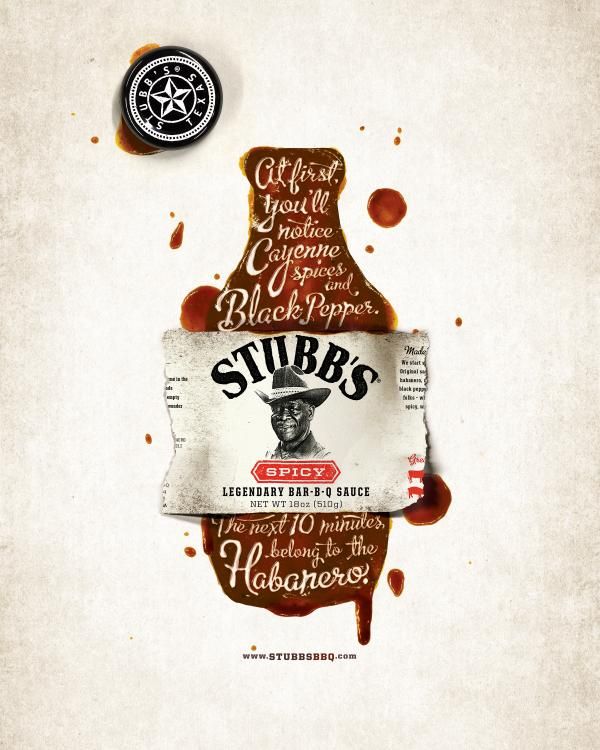
A cover + two Spread Layout that show cases a topic of your choice + An Advertisement on the back cover.
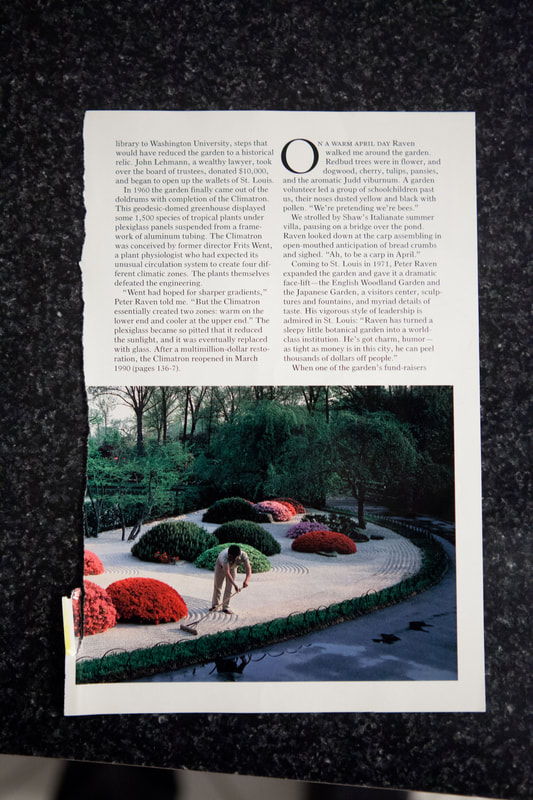
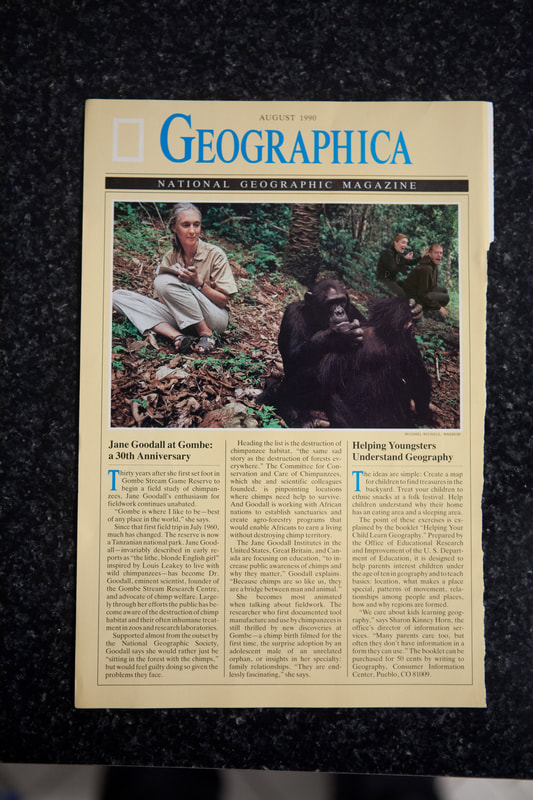
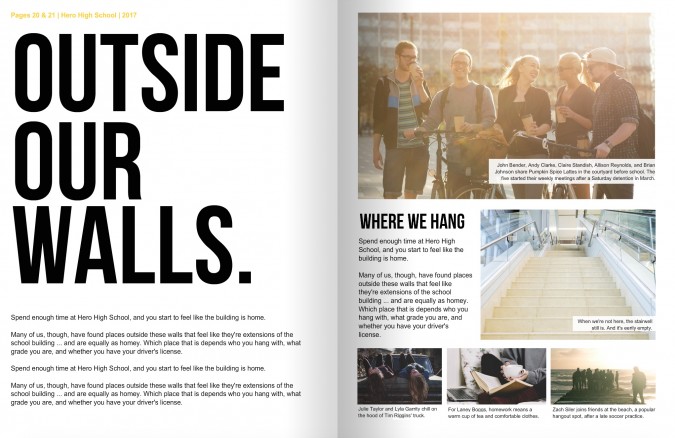
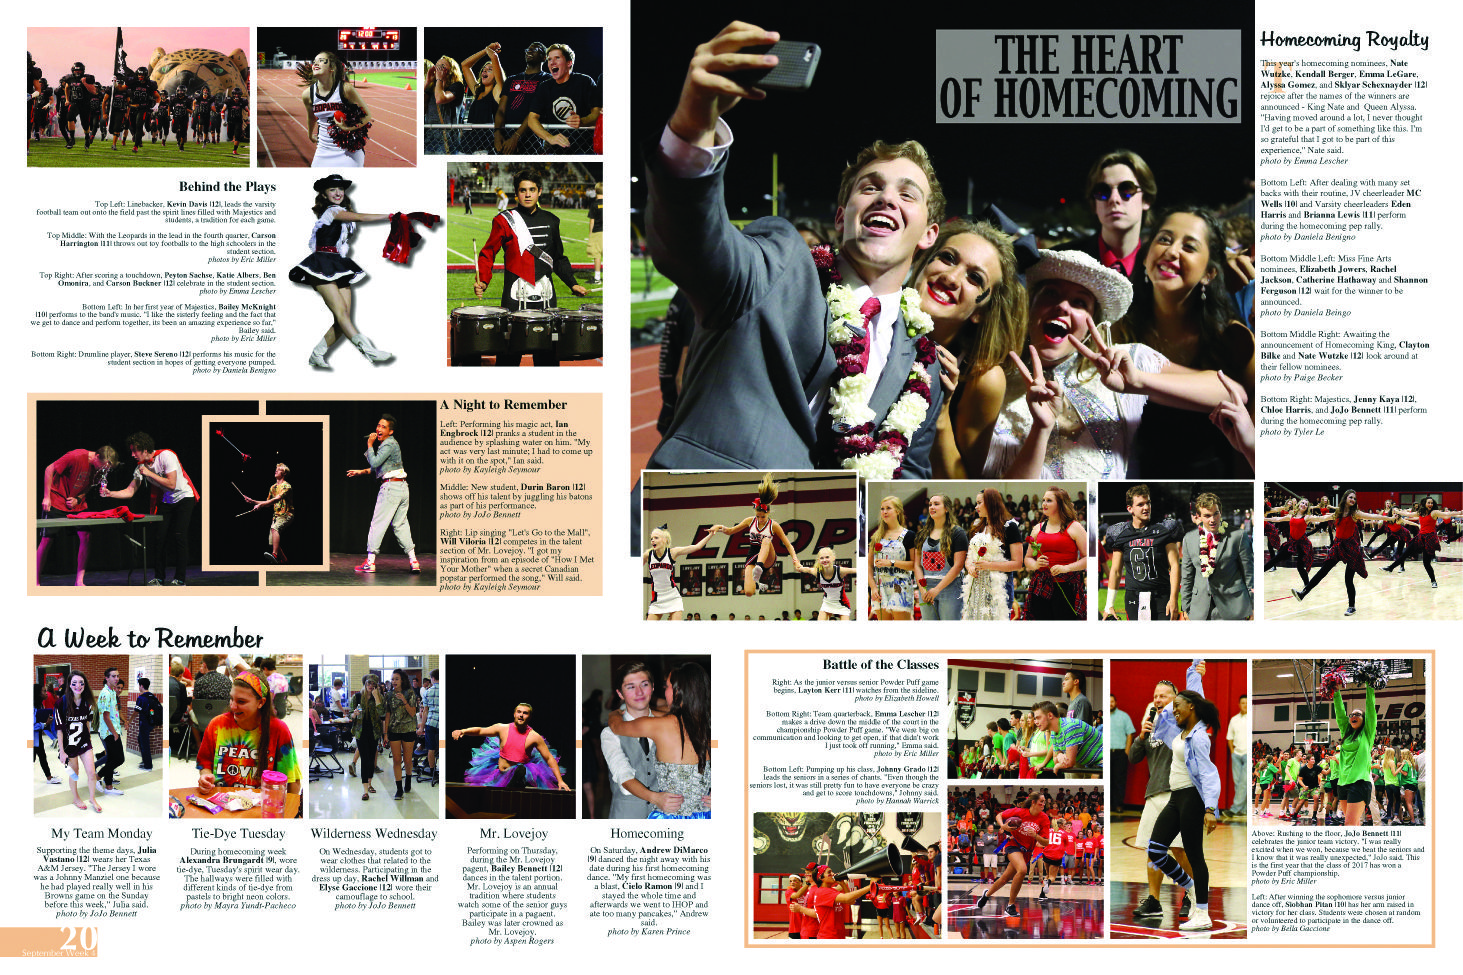
See Examples Below.
A cover + two Spread Layout that show cases a topic of your choice + An Advertisement on the back cover.
See Examples Below.
|
BE sure you consider and intentionaly include the below items on your layout.
|
HOW?
WATCH AND REVIEW the tutorial provided by Ms. Fiechtner during class (the TEAMS recording). Consult additional tutorials on In-Design and/or photography. Discuss in class and recieve feedback from classmates.
WATCH AND REVIEW the tutorial provided by Ms. Fiechtner during class (the TEAMS recording). Consult additional tutorials on In-Design and/or photography. Discuss in class and recieve feedback from classmates.
EXAMPLES:
inside spreads

|
|
|

|
Covers

|
|

|
Advertisements

|

|
TUTORIALS:
In addition to an in class demonstration (Which you can rewatch on the Teams Recording). The Below tutorials could be helpful in learning In-DeSign. Click the title and/or the videos.
The below video tutorials all cover the basics, it's a matter of choosing the one that's most appealing to you.
|
|
|
|
Magazine Recon
Below is the example of what should be on your webpage onthe process tab.

|

|
|

|

|
|

|
|
Principles of Design
Why?
Because you need to understand the principles and elements of design
Because you need to understand the principles and elements of design
HOW?
Follow the below instructions: READ, WATCH AND REVIEW before starting your assignment. BE SURE TO READ THOROUGHLY AND WATCH tHE VIDEO IN its ENTIRETY.
Follow the below instructions: READ, WATCH AND REVIEW before starting your assignment. BE SURE TO READ THOROUGHLY AND WATCH tHE VIDEO IN its ENTIRETY.
Read:
The Elements of Design are like the parts of a car: STEERING Wheel, Transmission, tires, gas, engine, seats. Every car requires these things to run. But the way these Elements are arranged or designed will vary depending on the model and make. A Project can have the elements of design: line, shape, Color... but not utilize the PRINCIPLES of design well: Balance, RHYTHM, contrast. In other words, just because the car runs doesn't mean it is AESTHETICALLY pleasing, the same is true in graphic design.
The Elements of Design are like the parts of a car: STEERING Wheel, Transmission, tires, gas, engine, seats. Every car requires these things to run. But the way these Elements are arranged or designed will vary depending on the model and make. A Project can have the elements of design: line, shape, Color... but not utilize the PRINCIPLES of design well: Balance, RHYTHM, contrast. In other words, just because the car runs doesn't mean it is AESTHETICALLY pleasing, the same is true in graphic design.

|

|
|
watch:
This series is very helpful! We will watch more throughout the semester But You only have time for this one today. vIdeo from GCFLearnFree.org |
REview:
Click the first image for an overview of the Design PRINCIPLES. Refer back to these as you create your document. Click the second image for a more in-depth description, SPECIFIC to graphic design. We will come back to this throughout the semester. If you want or need more information, take a look today.
|

|
WHAT?
BY THE END OF CLASS YOU WILL CREATE A VISUAL REPRESENTATION OF THE PRINCIPALS OF DESIGN (See Example). FOLLOW THE STEP BY STEP INSTRUCTIONS.
20 PT Participation Grade |
This is an EXAMPLE! Use it as a guide but make yours unique. Similarity is ok, but there should be clear differences.

|
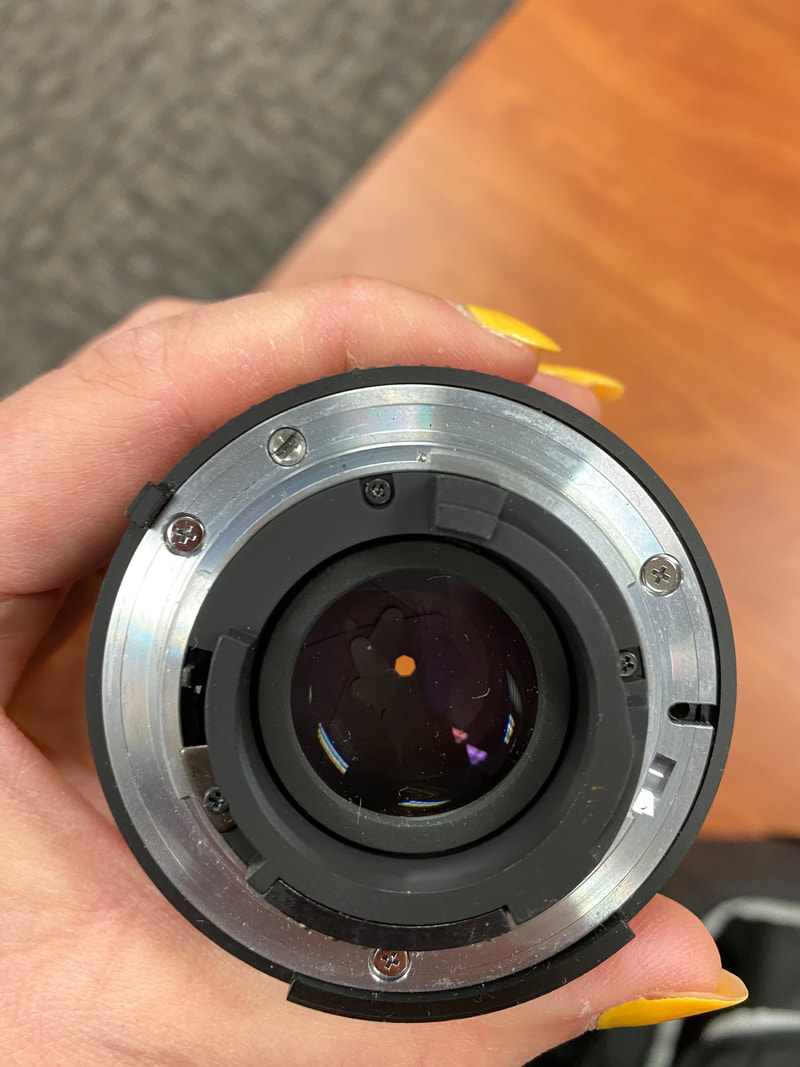
PART 1 in the exposure Triangle: Aperture
Why?
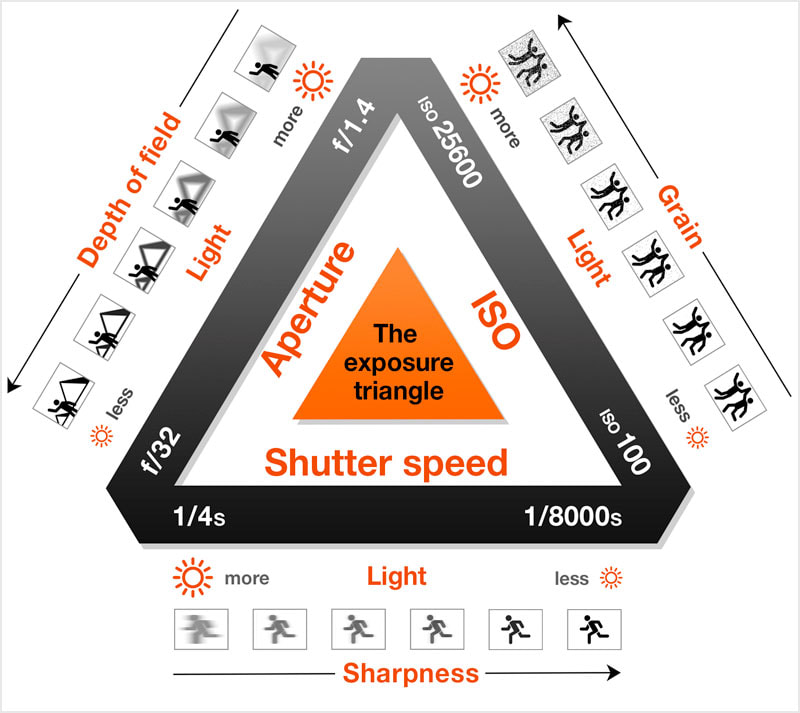
- Because Light is the key to all photos, knowing how to control the light that enters the camera is the start of photography. And this is done by adjusting the three components of the exposure triangle.
- We will spend time in a few weeks talking about COMPOSITION, but you have to understand the camera settings first. A great composition doesn't matter if the photo is not properly exposed.
Before moving on, review the things below to better understand exposure triangle & Aperture.
|
|
|
|
|
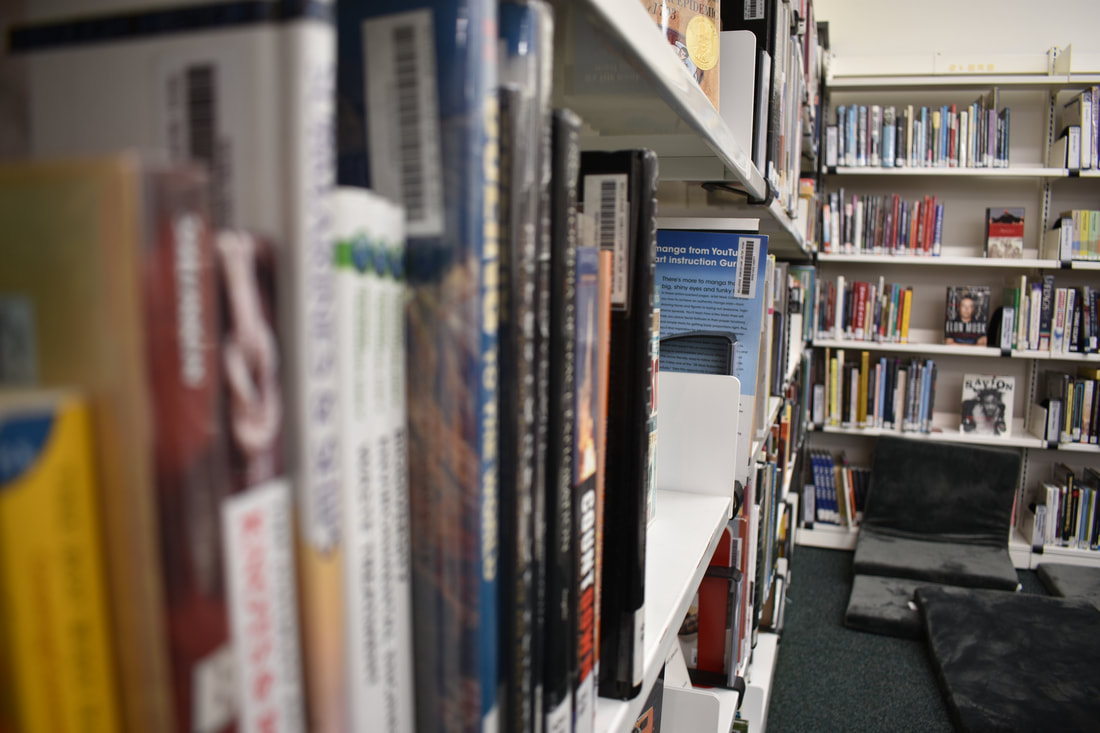
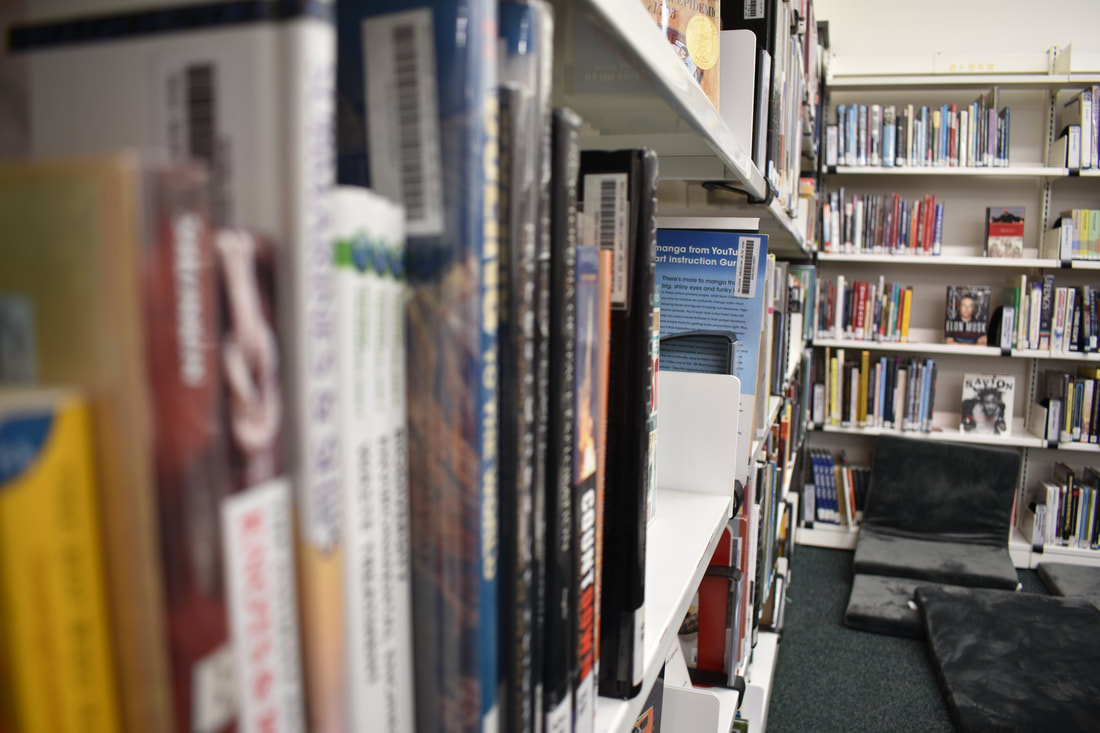
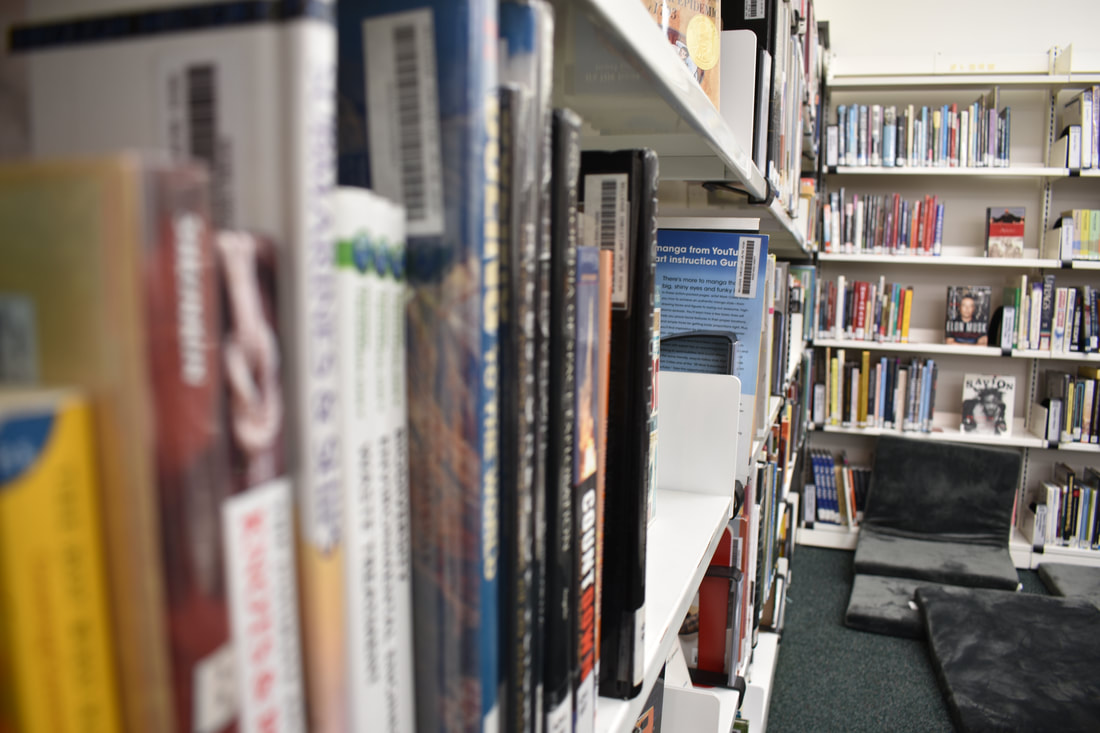
What?
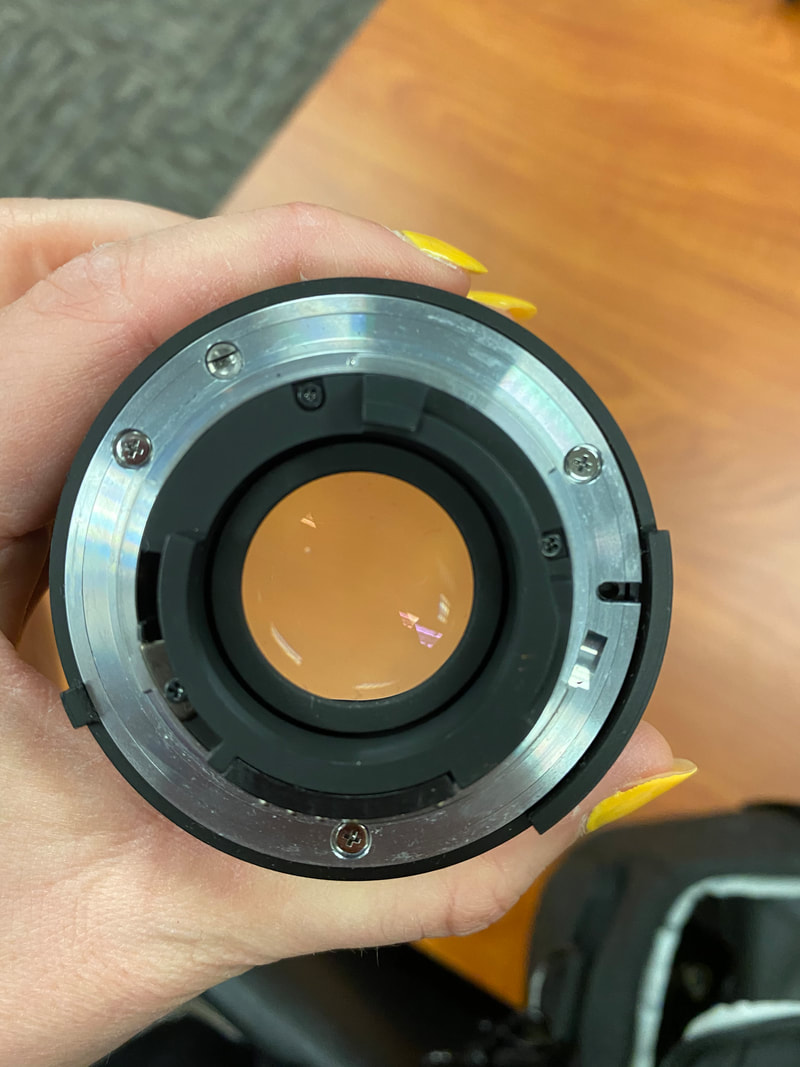
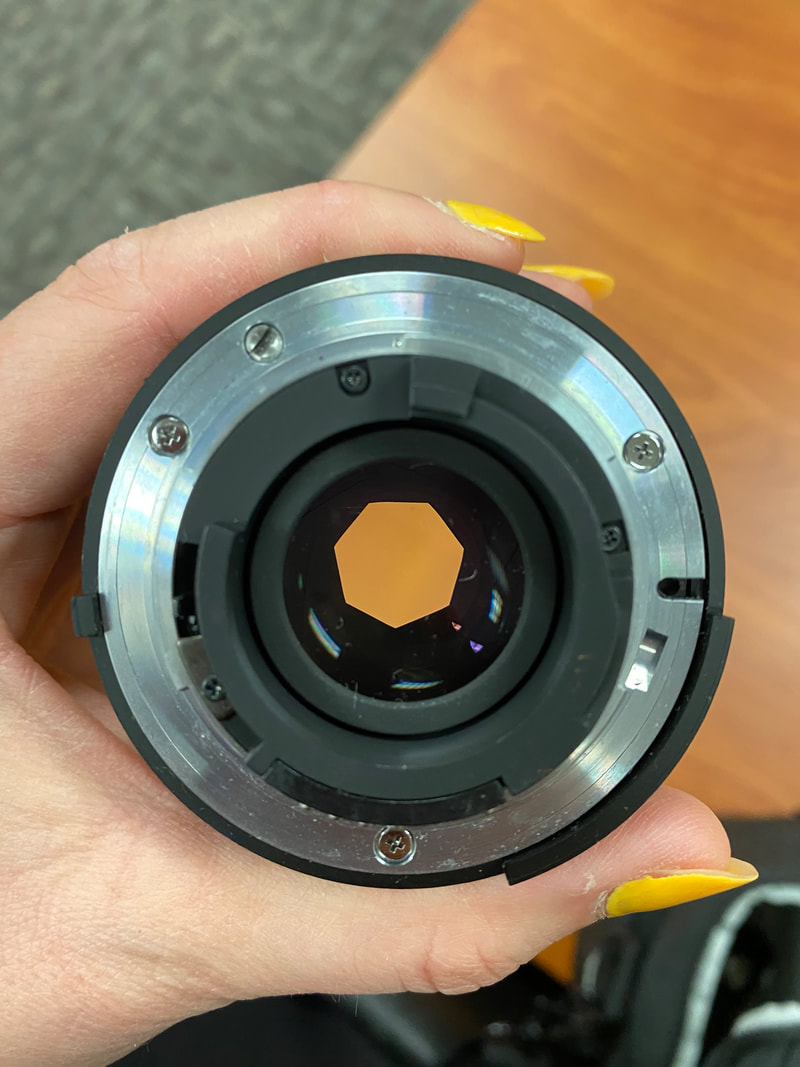
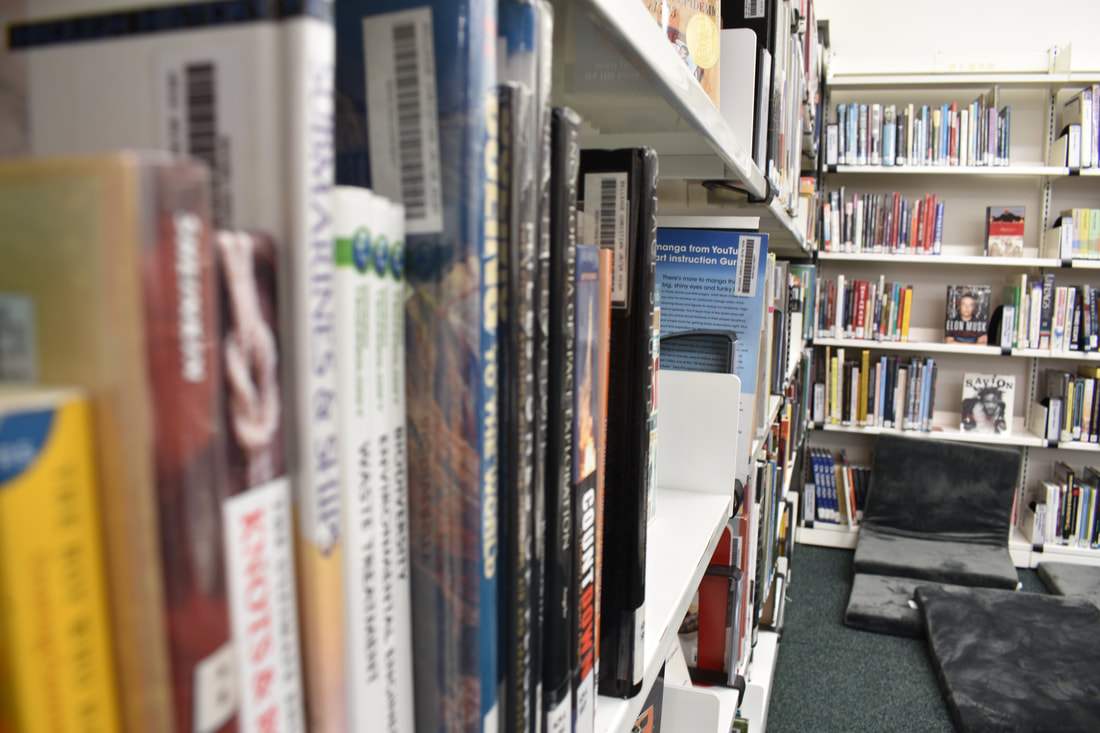
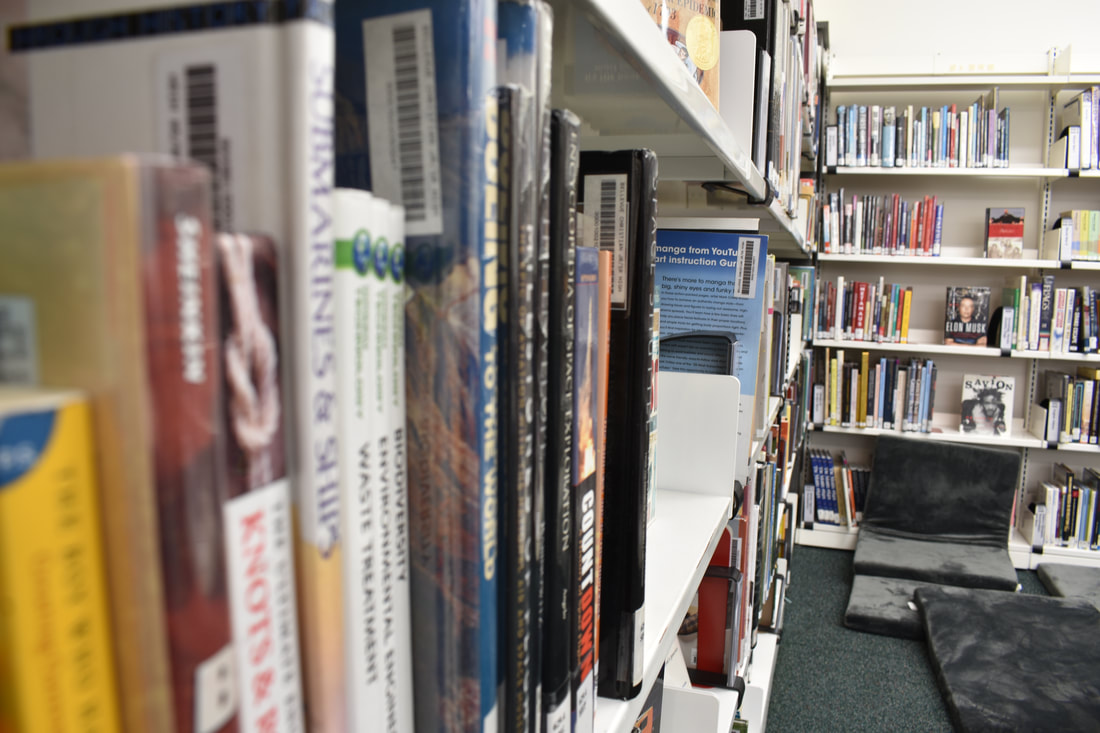
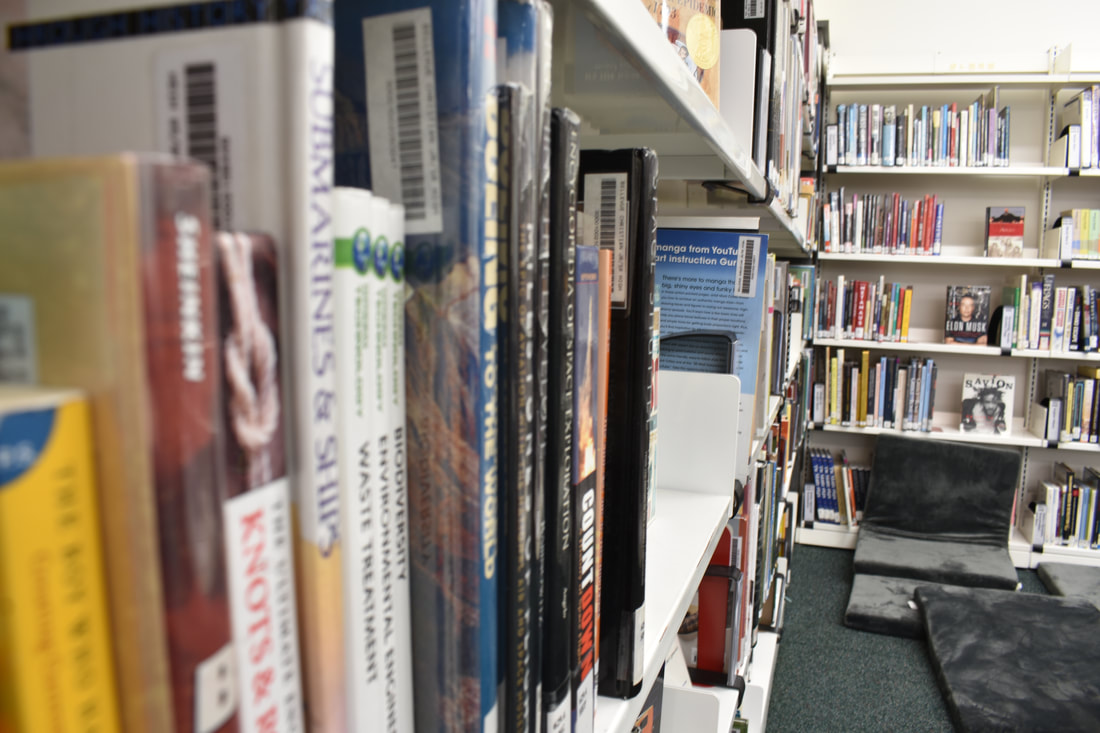
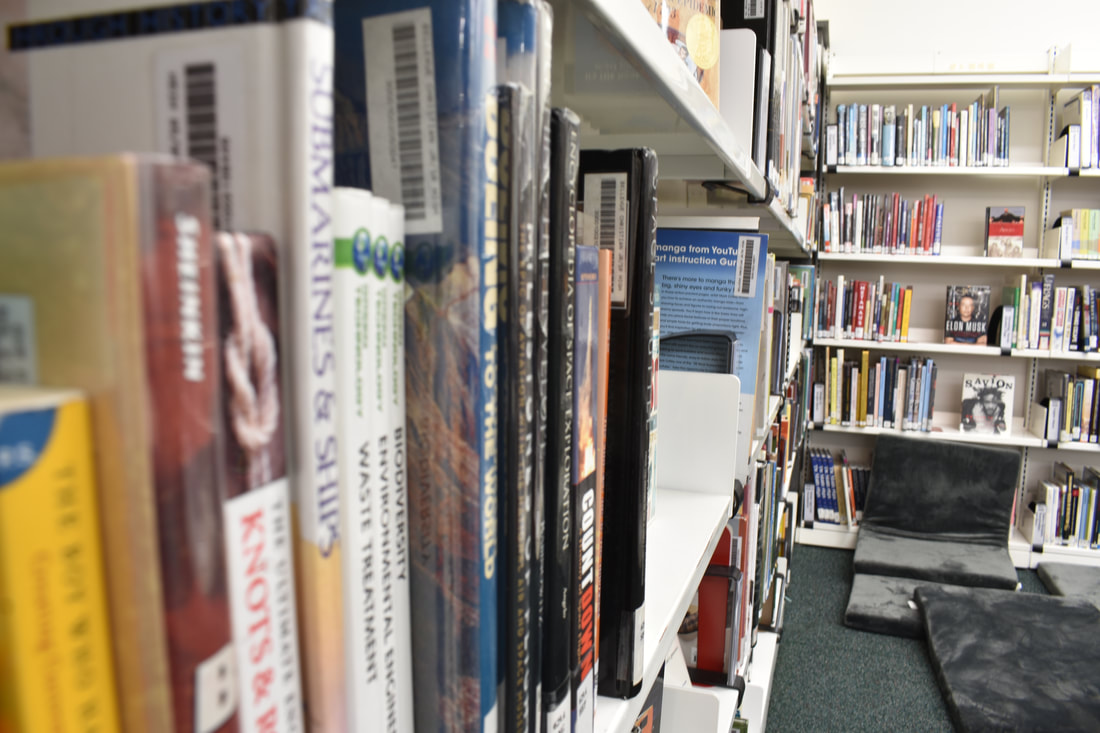
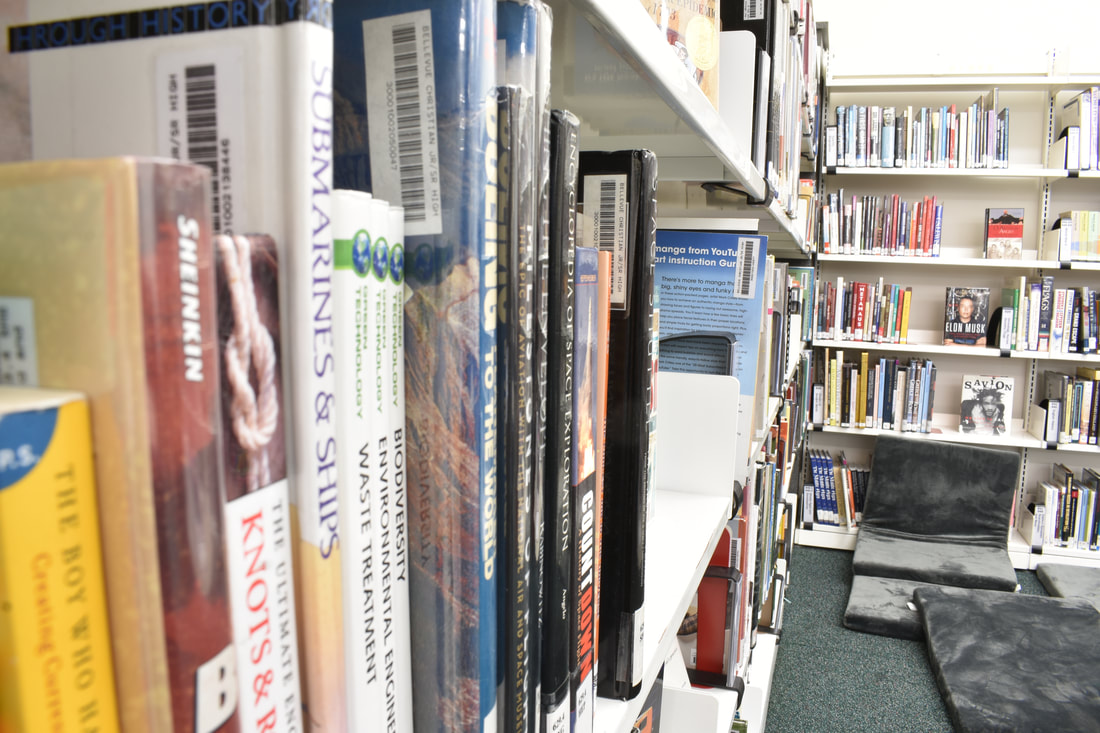
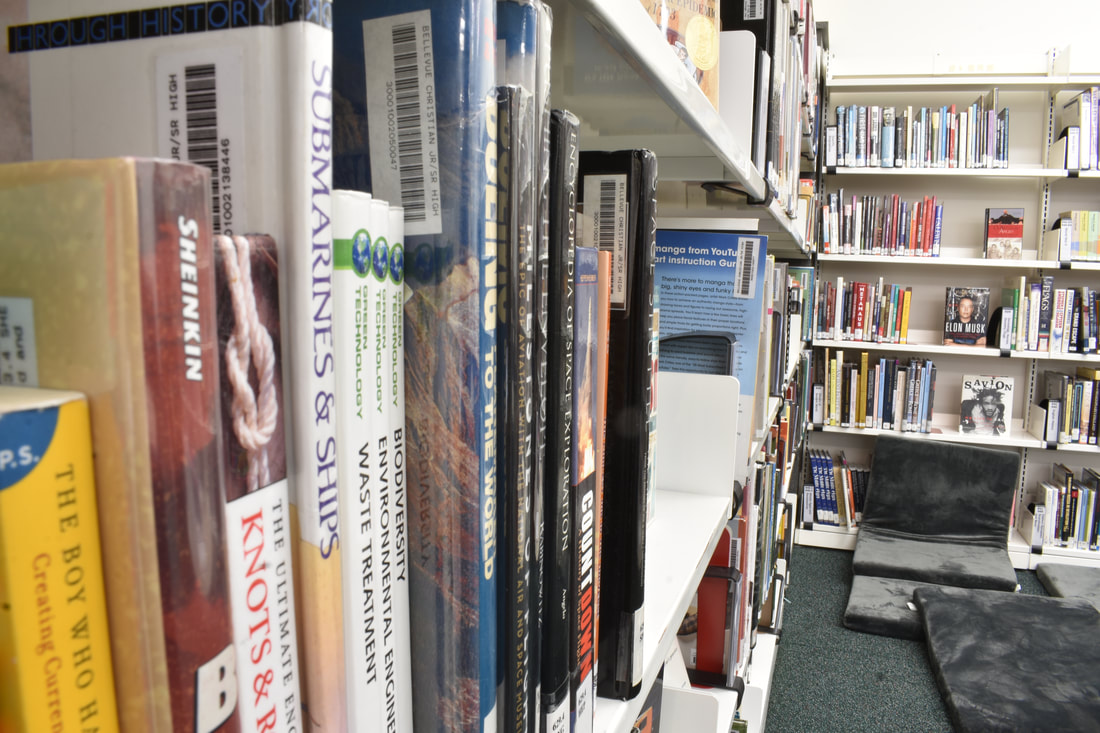
- A series of photos with the same COMPOSITION, shot at stepping APERTURES. (f 3.5, f 4.0..........f 22)
- See the example below
- Try to find a space that has "distance" aka a hallway or down a book shelf....
- Be sure to follow the step by step instructions, or watch the video.
|
|
|

|

|
|
|
|
|

|

|

|
|

|
|
|
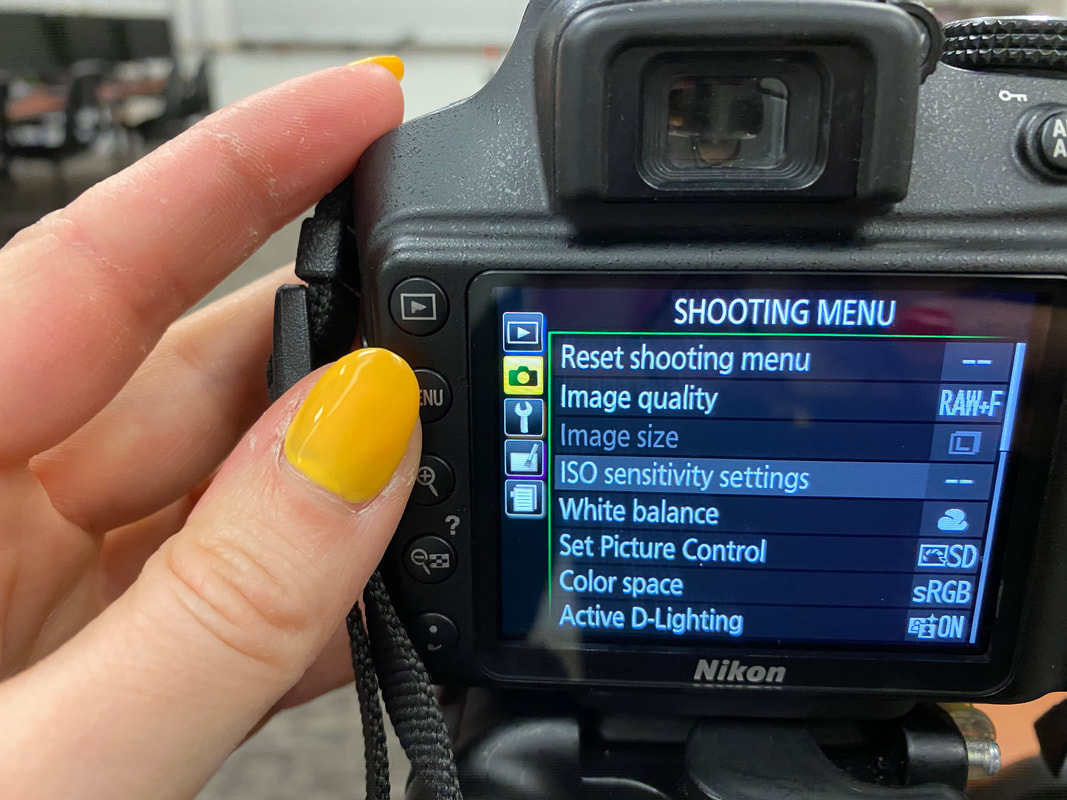
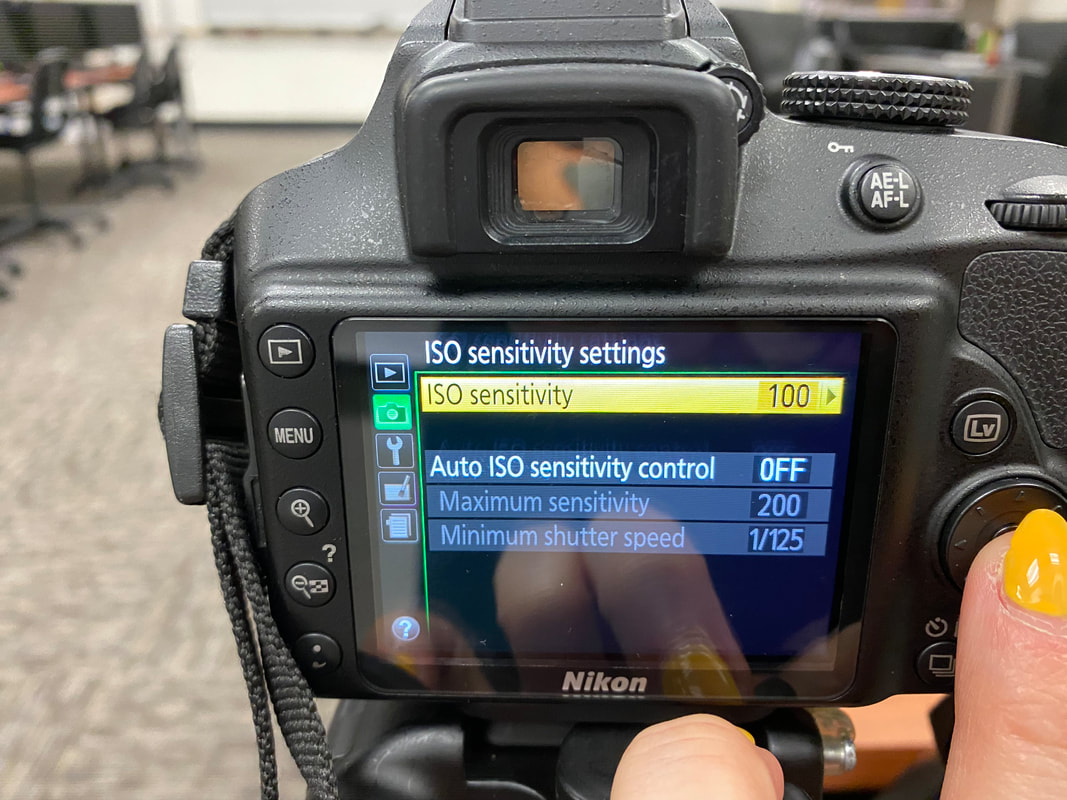
How?
|
|

|
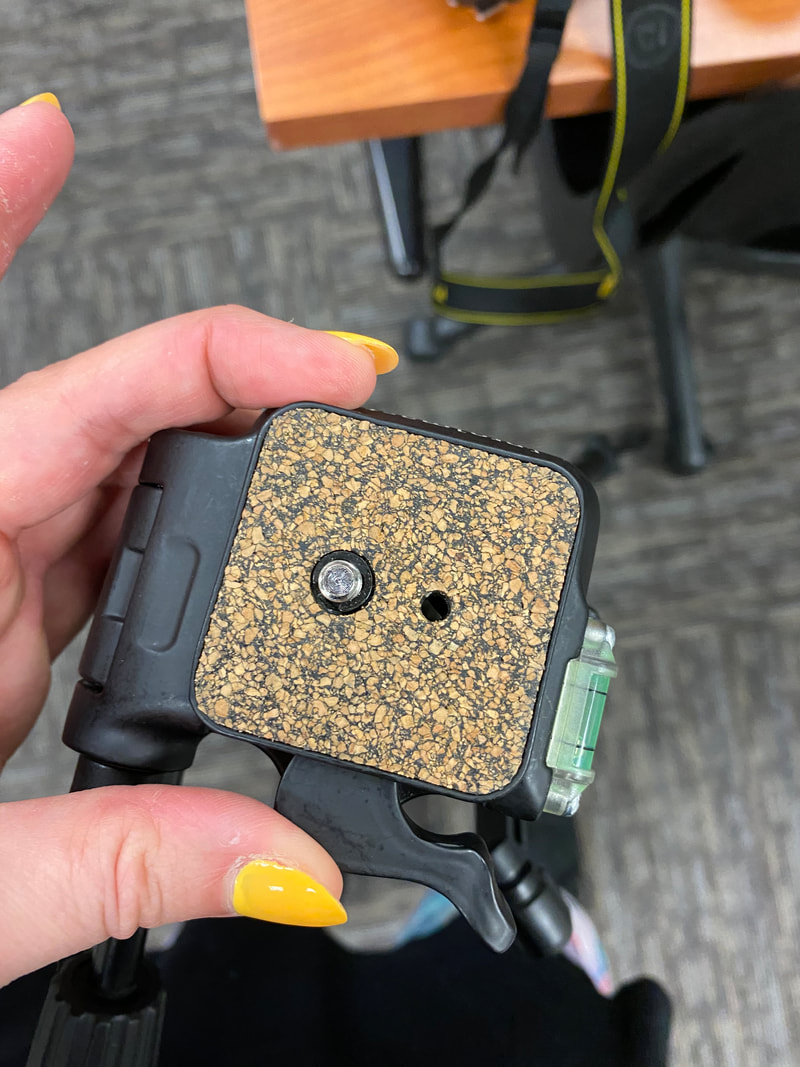
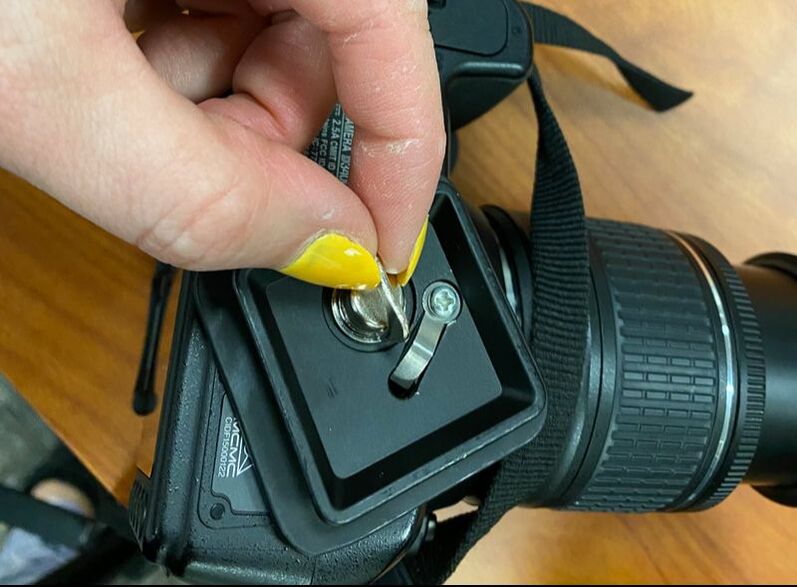
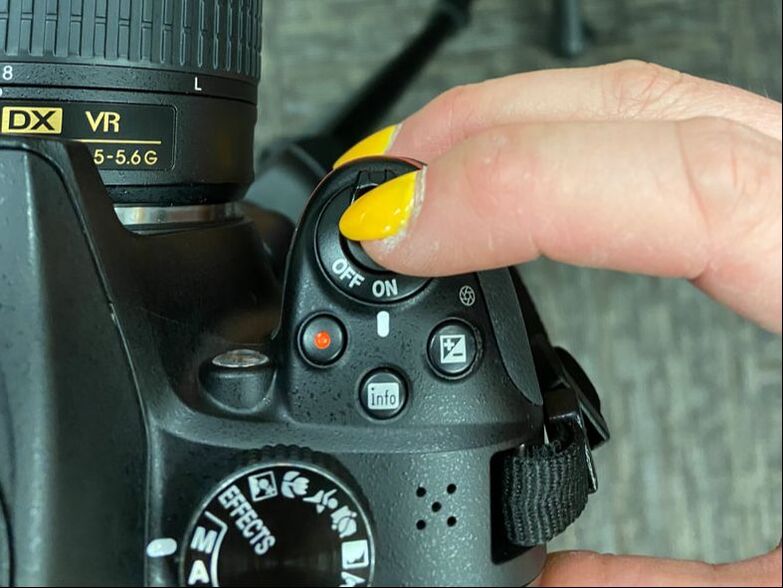
The tripod clips in. the black lever will click when your camera is secure. Make sure your camera is clipped in before shooting! Tighten all the part of the tripod as well.
|
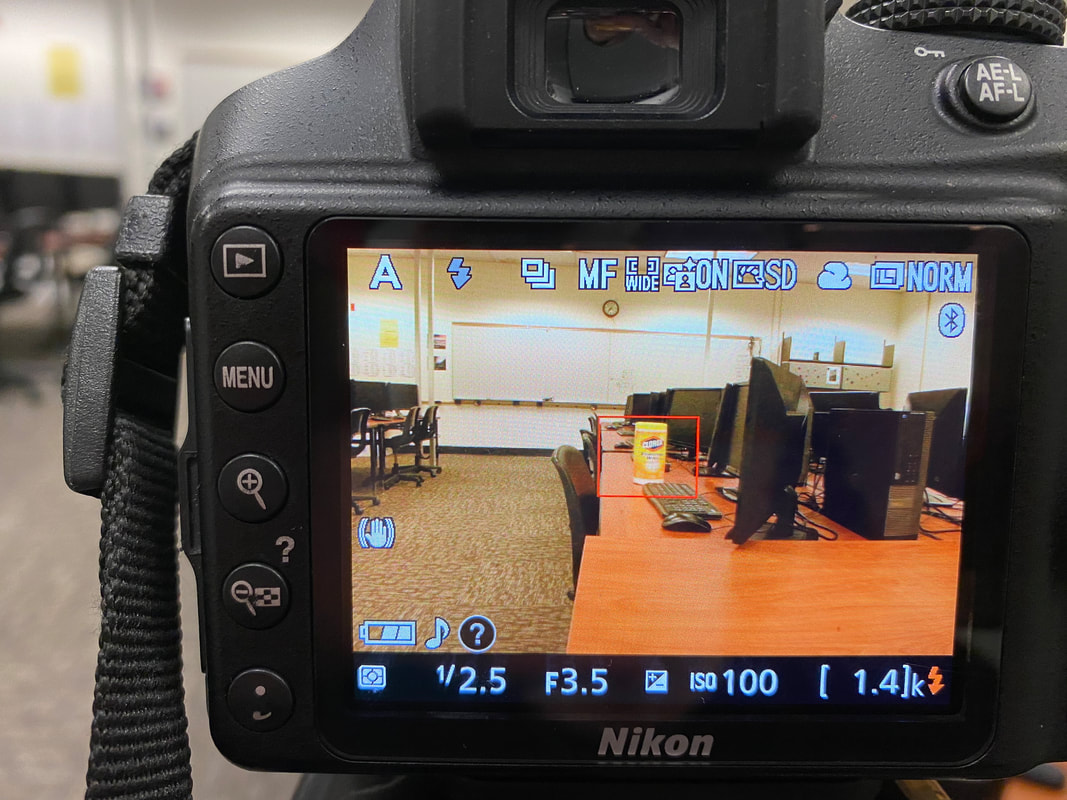
A helpful tip is to shoot in live view, but be sure you have full battery as it sucks a lot of power. This is a helpful way to set up the shot. You can also look through the view finder.

|
|
|
I am From...
|
Why?
WhAT?
|
HOW?
|
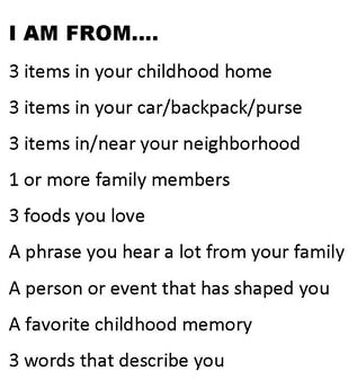
Adapted from George Ella Lyons Poem "where I am From" And Hope and Healing in Urban Education By SHawn GinWright

|
|


Design Your OWN WEBSITE
|
WHY?
It will serve as a place for you to:
HOW?
We will use the visual arts department "guide to the creative process" as we engage. Additional RESOURCES, presentations and tutorials will be provided throughout the process. 
WHEN?
DUE Sept. 30th |
WHAT?
The below items must be included in your personal website. ADDITIONAL items or deviation should be discussed with mrs. fiechtner. Anything is an option once you have a base site.
|
